
You spend a Saturday morning cleaning, wiping every surface until it shines, only to find a fresh, faint layer of dust on your TV stand by Tuesday. It’s a universal frustration that makes your effort feel pointless. The truth is, this rapid return isn’t a sign of poor cleaning—it’s the inevitable result of physics and a constant influx of new particles. Understanding why dust comes back after cleaning is the first step to breaking the cycle. The issue is twofold: first, dust is a living system in your home, constantly being generated and circulated. Second, and more crucially, most of us clean in the wrong order, accidentally knocking settled dust from high places down onto areas we’ve already cleaned. This article cuts through the frustration with a clear, two-part solution: a quick look at the science of dust (so you can stop blaming yourself) followed by a simple, foolproof cleaning protocol that works with gravity, not against it.
Dust returns quickly because you’re never removing all of it—new particles constantly enter your home from air, people, and pets. The most effective fix is to change your cleaning order to work with gravity, starting high and dry before going low and wet. This means tackling ceiling fans, shelves, and other high surfaces first with a dry tool, then moving down to furniture, and finally cleaning floors last to capture everything that has settled.
The Science of Fast-Returning Dust (It’s Not Your Fault)
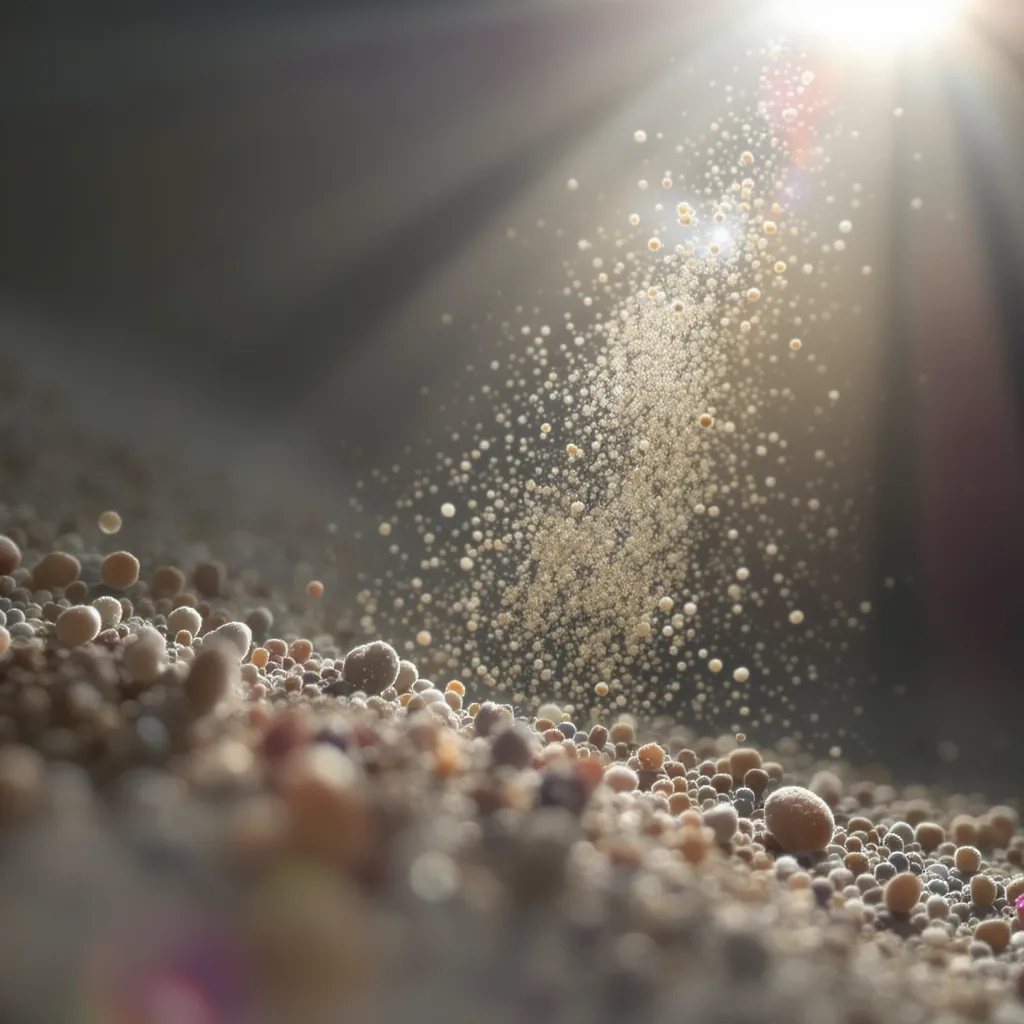
First, let’s clear the air: a completely dust-free home is a myth. The reason dust returns quickly isn’t because you’re a bad cleaner; it’s because your home is a dynamic ecosystem. Household dust is a constant, microscopic influx of particles. A significant portion is made of shed human skin cells and fibers from clothing, carpets, and upholstery. The rest comes from outdoors (pollen, soil), pet dander, and even microscopic bits of plastic and debris tracked in on shoes.
These particles are incredibly light. They float on air currents created by your HVAC system, opening doors, and even just walking through a room. They eventually settle on surfaces, but the cycle never stops—new particles are always arriving to replace the ones you wipe away. This is the core science behind why dust reappears after cleaning so fast. Your goal isn’t elimination, which is impossible, but effective dust removal and control through smarter habits. For more on indoor air quality and particle sources, the EPA provides detailed resources.
The #1 Cleaning Order Mistake That Spreads Dust
Now, let’s tackle the human error that makes the natural dust problem feel much worse. The most common of all dusting mistakes is getting your cleaning order for dust completely backwards. Here’s the typical, frustrating scenario: You vacuum or mop your floors until they shine. Feeling motivated, you then look up, notice dust on the ceiling fan blades, and decide to give them a quick wipe. Or you run a duster over your bookshelves.
What happens? You knock a cloud of dust downward, where it settles right back onto your freshly cleaned floors and surfaces. An hour later, you see a fine new layer and think, “It’s already back!” This creates the illusion of immediate failure, but the dust isn’t “back”—it’s dust you redistributed yourself. This mistake turns cleaning into a circular, defeating task instead of a linear, effective one.
The Safest Cleaning Order Protocol
To break the cycle, you need a protocol that works with gravity, not against it. The safest, most effective method follows two simple principles: Top to Bottom and Dry to Wet. This sequence ensures any dust you dislodge falls onto areas you haven’t cleaned yet, and you finish with the dirtiest task (floors) last.

Step-by-Step Guide:
- Start High & Dry: Begin at the top of the room. Use an extendable duster or a microfiber cloth on a pole to clean ceiling fan blades, light fixtures, and the tops of door frames. This captures the highest, driest dust first.
- Shelves & Furniture Tops: Move down to high shelves, the tops of cabinets, bookcases, and picture frames. Still use a dry or lightly dampened microfiber cloth to trap dust, not a feather duster that just flings it into the air.
- Walls & Window Dressings (Damp): Switch to a damp cloth to wipe down windowsills, which are major dust collectors, and blinds or shutters. A damp cloth grabs and holds dust particles. Wipe walls if you notice smudges or cobwebs in corners.
- Furniture & Electronics: Now dust all remaining furniture surfaces, tables, and electronics. For screens, use a dedicated microfiber cloth to avoid scratches.
- Finish Low & Wet: Finally, address the floors. Vacuum thoroughly (don’t forget under furniture), as this will pick up all the dust that has settled during the previous steps. If mopping, do it after vacuuming.
Sticking to this dust reduction strategy is more important than how often you clean. Doing it right once is better than doing it wrong twice.
Pro Habits to Slow Down the Dust Cycle
Your core cleaning order for dust is the battlefield strategy. These supporting habits are the long-term campaign to reduce the enemy’s reinforcements. Adopt a few to make your protocol even more effective.
- Upgrade Your Cloth: Always use a dampened microfiber cloth for dusting. The electrostatic charge and tiny fibers grab and hold dust instead of sending it airborne. Wash them frequently.
- Change HVAC Filters Regularly: This is your home’s primary air filter. A clean filter (every 1-3 months) traps more particles before they can circulate and settle as dust.
- Manage Entry Points: Use high-quality doormats and adopt a no-shoes policy indoors to drastically cut down on tracked-in dirt and pollen.
- Control Humidity: Dust mites, a component of dust, thrive in humidity. Keeping indoor humidity between 40-50% can help reduce their population.
- Declutter Surfaces: Fewer knick-knacks and papers mean fewer places for dust to land and fewer items you need to move and clean around.
Take Control of the Dust Cycle
The frustration of seeing dust return isn’t a sign of failure, but a physics problem with a practical solution. By understanding that dust is a constant influx and that your old dusting mistakes were working against gravity, you can shift your mindset from futile elimination to smart management.
Your decisive next step is simple: On your next cleaning day, commit to the top-to-bottom, dry-to-wet protocol just once. Pay close attention to the order, not just the effort. You’ll likely find that your home stays visibly cleaner longer, and the task itself feels less repetitive and more satisfying. Consistency with the right cleaning order for dust is your most powerful tool for turning a source of annoyance into a routine you control.