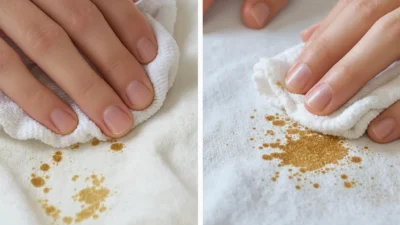
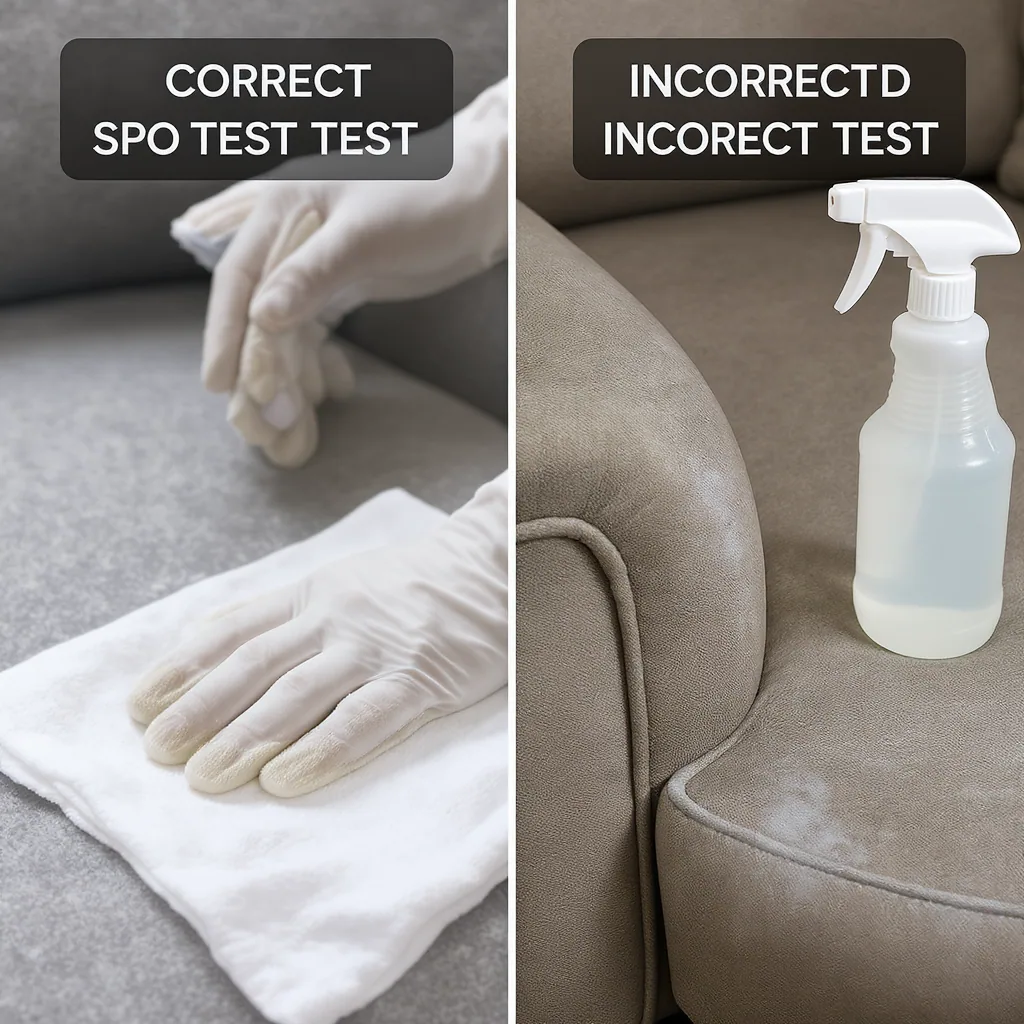
You’ve seen the stain on your favorite sofa and you’re ready to tackle it. The thought process is familiar: “I’ll just use a little of this trusted cleaner on a hidden spot; it’ll be fine.” This assumption—that a quick, casual dab in an out-of-sight corner is a sufficient test—is arguably the number one cause of permanent upholstery damage. It’s a well-intentioned but critical error that turns a simple cleaning task into an expensive reupholstery project. The reality is that proper spot testing isn’t a mere suggestion; it’s a non-negotiable diagnostic step that reveals how your specific fabric will react to a specific chemistry. Getting it wrong means risking color bleed, texture distortion, or a stubborn ring that becomes a permanent fixture. By understanding the most common upholstery spot test cleaning mistakes, you move from guessing to knowing, protecting your furniture from the very solutions meant to save it.
The biggest mistake in upholstery cleaning is performing an inadequate spot test or skipping it entirely. To avoid permanent damage, you must test any cleaner on a truly hidden area, wait for it to dry completely, and check for color bleed, texture change, or ring formation before proceeding. Rushing this step or using the wrong test area are classic couch fabric cleaning mistakes that lead to irreversible harm. A proper test requires patience and a methodical approach to upholstery cleaner testing.
Myth 1: Any Hidden Spot Will Do for Testing
This is one of the most common couch fabric cleaning mistakes. The logic seems sound: find a spot no one sees, like the back of a cushion or under a skirt, and test there. The problem is, not all hidden spots are created equal. Testing on a seam, a heavily faded area, or a section that’s been protected from light and wear can give you a completely false sense of security.
The fabric on a seam may have been treated with a different dye lot or have a tighter weave. A faded area might react unpredictably to moisture. If your test spot isn’t representative of the main fabric’s current condition, you’re not actually testing the cleaner—you’re conducting a flawed experiment. These spot test errors can lead you to believe a product is safe, only to have it cause discoloration or damage on the more exposed, visible sections of your sofa.
The Fact: Your test spot must be both inconspicuous and representative. Choose an area like the back corner of a seat cushion or a spot behind a throw pillow—somewhere that gets similar light and wear as the rest of the piece. This gives you an honest result for your upholstery cleaner testing.
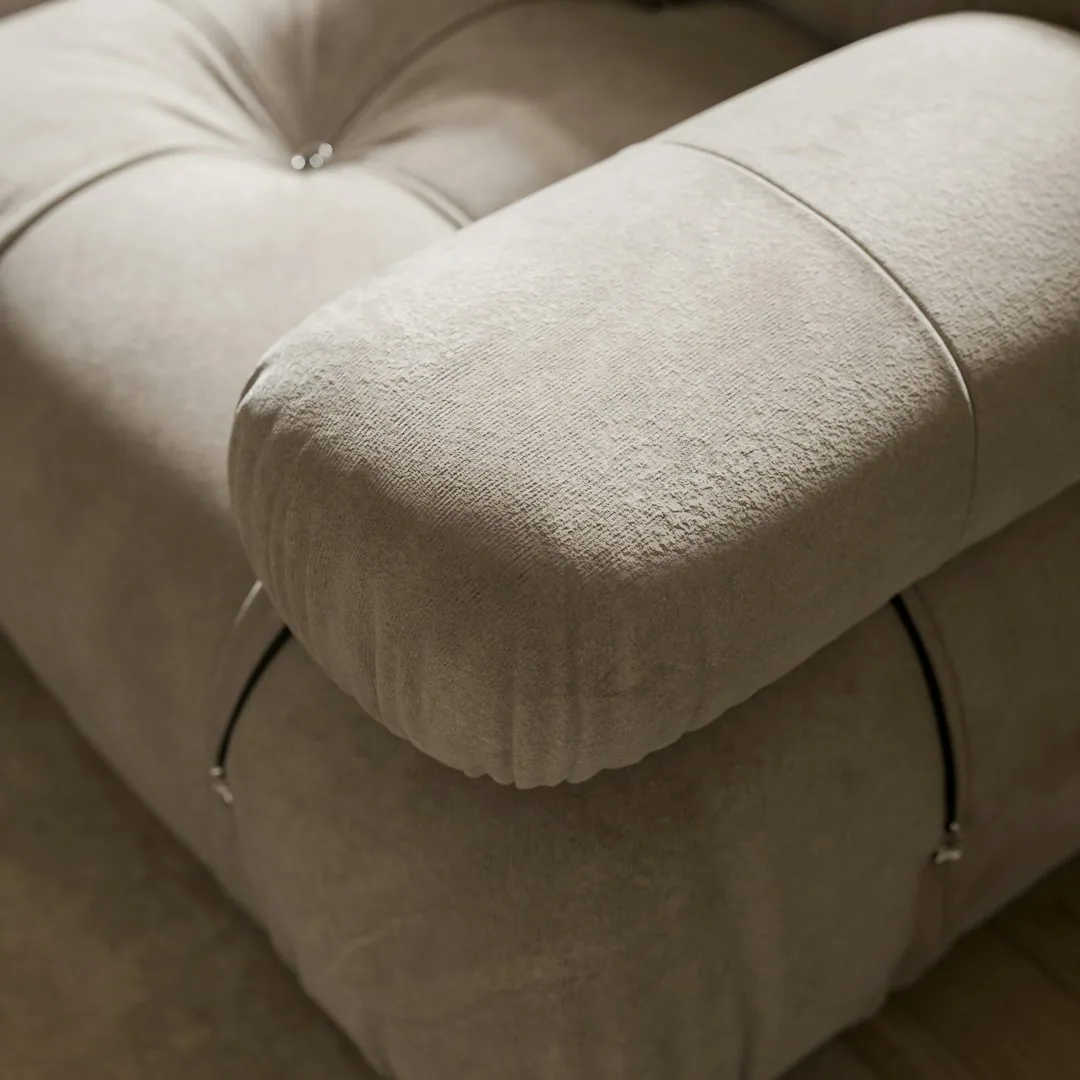
Photo by Jejo Jose on Unsplash
Myth 2: If It Doesn’t Stain Immediately, It’s Safe
Picture this: you dab a bit of cleaner on your hidden test spot, wait 30 seconds, and see no dramatic color bleed. You think, “Great, it’s safe!” and proceed to tackle the whole stain. A few hours later, you’re left with a stiff, discolored ring where you cleaned. This scenario is the direct result of another critical cleaning product testing error: not waiting for the full drying cycle.
Many fabric reactions are delayed. Color bleed can be subtle and only appear as the fabric dries. Some cleaners can leave behind a residue that stiffens the fibers or attracts more dirt, creating a “ring.” Water-based cleaners can cause a watermark to form. The only way to catch these issues is to let the test area dry completely—a process that can take 1-2 hours for most fabrics, and up to 24 hours for delicate materials like silk or linen.
Rushing this step is a pre-test cleaning blunder that turns a small, controlled test into a large, visible problem. Patience is non-negotiable.
Myth 3: All Cleaners Need the Same Test Method
Treating every cleaning solution the same way is a shortcut to disaster. A one-size-fits-all approach ignores the fundamental differences between product types, which is a core part of incorrect spot testing. The method you use for a gentle, water-based upholstery foam is not the same as for a potent, solvent-based stain remover.
Let’s break this down with some clear dos and don’ts to avoid these upholstery spot test cleaning mistakes:
Do:
- For water-based cleaners & DIY solutions (vinegar, dish soap): Dilute them properly first. Test for both cleaning efficacy and water-marking.
- For foam cleaners: Apply a small amount to a cloth and dab it on. Never soak the fabric.
- For solvent-based cleaners: Test in a very well-ventilated area and check for any dissolving of dyes or finishes, not just staining.
Don’t:
- Assume passing a “water test” means a solvent-based product is safe. They work differently.
- Apply any cleaner directly from the bottle onto the fabric. Always use a white cloth as an intermediary.
- Use a scrubbing motion during the test. Always dab gently to mimic proper cleaning technique.
Understanding your cleaner’s base is essential for effective upholstery cleaner testing. When in doubt, check the manufacturer’s instructions or a reputable fabric care guide like the one from The American Cleaning Institute.
The Right Way: A Foolproof Spot Test Checklist
Now that we’ve dismantled the myths, let’s build the perfect protocol. Follow this sequential checklist to perform a definitive, safe spot test every time. This method eliminates guesswork and protects your furniture from sofa fabric test mistakes.
- Vacuum the test area. Remove any loose dirt that could interfere with your observation.
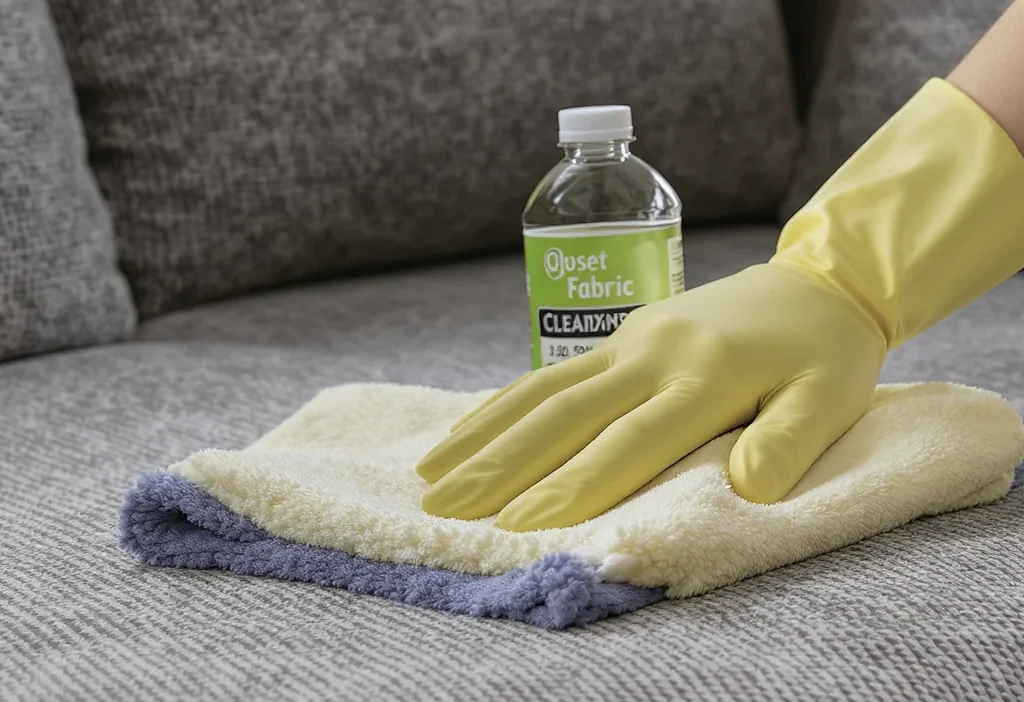
- Apply cleaner to a white, colorfast cloth first. Never spray or pour directly onto the upholstery. This initial step checks if the cleaner itself bleeds color.
- Dab (don’t rub) the damp cloth onto your chosen, representative hidden spot. Use minimal pressure.
- Let it dry completely. Do not use heat or fans to speed this up. Allow the full 1-2 hours (or more for delicate fabrics).
- Inspect thoroughly. After drying, look for:
- Color transfer to your white cloth.
- Any change in the fabric’s color (bleaching or darkening).
- Alteration in texture (stiffening, puckering, fuzzing).
- Formation of a ring or watermark at the edge of the damp area.
- Repeat if unsure. If you see any negative change, the cleaner is not safe. If you see nothing, but are still cautious, repeat the test on a different hidden spot for confirmation.
This checklist is your safeguard. By following it, you transform upholstery cleaning from a risky gamble into a controlled, confident process.
Clean With Confidence, Not Crossed Fingers
The goal of spot testing isn’t to find an excuse to use your favorite cleaner; it’s to gather definitive data on whether that cleaner will harm your fabric. Skipping or rushing this step is the single biggest cause of permanent upholstery damage, a mistake that can cost hundreds in reupholstery or replacement.
Investing 30 minutes in a proper test, as outlined in the checklist, is the ultimate form of furniture care. It empowers you to clean effectively without fear. Now that you know the common pitfalls—from choosing the wrong test spot to misjudging drying times—you can avoid them. Your couch is a major investment; protect it with knowledge and a little patience.