You might think a sopping wet mop is the key to a truly clean floor, but here’s the counterintuitive truth: the real enemy isn’t the dirt you’re removing—it’s the water you’re leaving behind. Using too much water when mopping is one of the most common, and costly, cleaning mistakes. That excess moisture doesn’t just sit on the surface; it seeps into the microscopic seams, pores, and joints of your flooring. There, it can linger, leading to a cascade of hidden problems like warped boards, stained finishes, and the silent creep of mold and mildew. This article will diagnose exactly how this over-wetting causes damage and guide you toward safer, more effective cleaning habits that protect your floors for the long term.
Using too much water when mopping forces moisture into the tiny seams and pores of your flooring, where it can’t evaporate quickly. This trapped water is what leads to warping, cupping, mold growth, and permanent damage to the floor’s finish. The core solution is to always wring your mop until it’s just damp, never dripping wet, and to ensure the room has good airflow to promote rapid drying after you clean.
How Too Much Water Actually Damages Your Floors (The Hidden Risks)
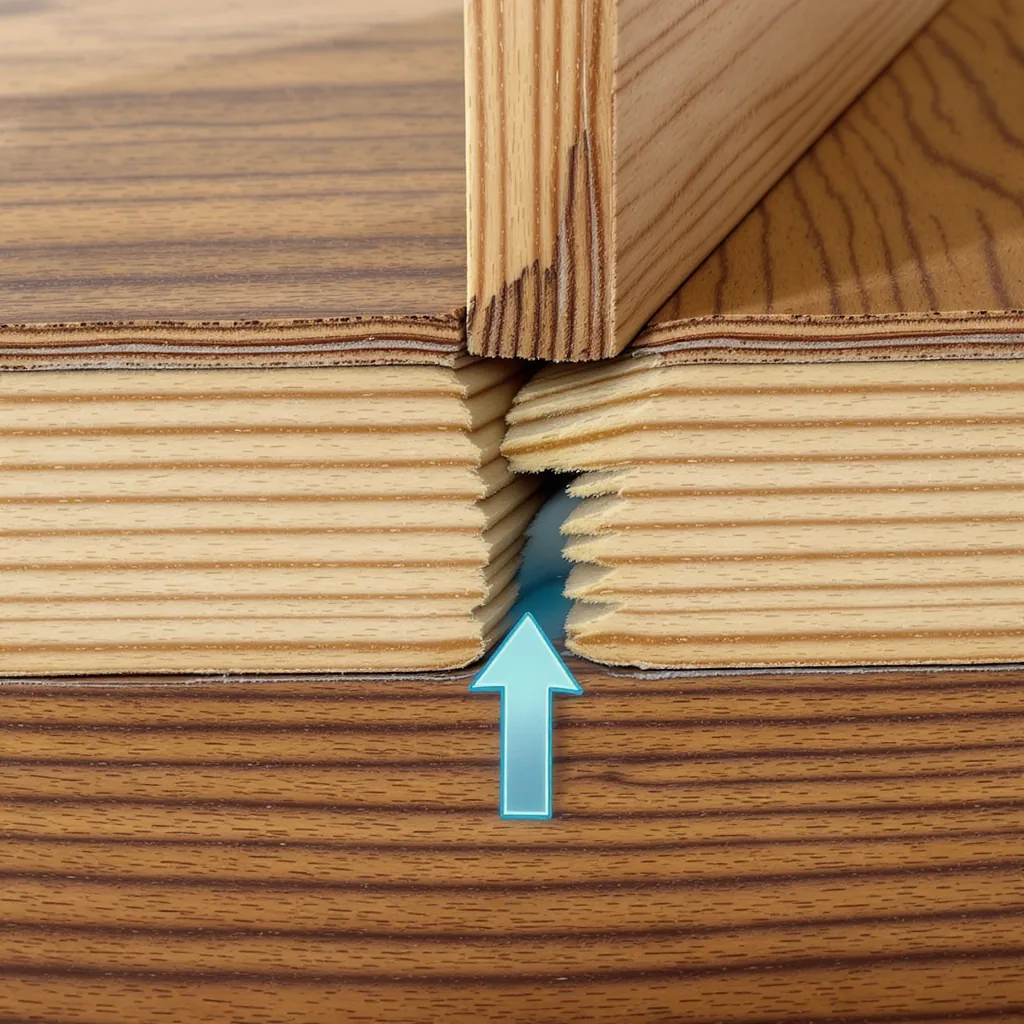
It’s easy to think that a visibly wet floor is just a temporary state on the way to cleanliness. The real problem, however, is what happens to the water you can’t see. When you use too much water when mopping, the excess doesn’t just sit on the surface; it gets pushed into the tiny seams, cracks, and pores of your flooring material. From there, it can travel to the subfloor below, where evaporation is slow or nonexistent. This trapped moisture is the root cause of three major types of damage.
1. Structural Damage: Warping and Cupping
Wood and wood-based materials like laminate are hygroscopic—they absorb moisture from the air and direct contact. When excess water seeps in, the planks swell. If they swell unevenly or can’t expand properly, they warp, cup (edges rise higher than the center), or buckle. This isn’t just a cosmetic issue; it can create trip hazards and weaken the floor’s integrity.
2. Cosmetic & Finish Damage: Stains and Dulling
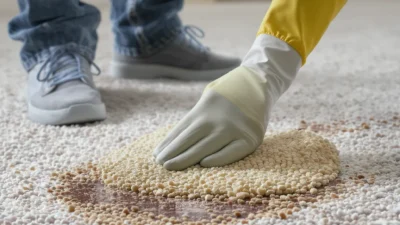
Your floor’s protective finish (polyurethane, wax, etc.) is a barrier, but it’s not impervious to a constant flood. Pooled water can break down the finish over time, leading to white, cloudy stains or a permanently dull appearance. On porous materials like unsealed stone or grout, water can carry dirt deep inside, causing dark, set-in stains.
3. Biological Damage: Mold and Mildew Growth
This is often the most insidious risk. Mold spores are everywhere, and they only need moisture, warmth, and a food source (like dust or organic material in subflooring) to grow. As the EPA notes, controlling moisture is the key to preventing mold. A damp subfloor or saturated underlayment creates a perfect breeding ground, leading to musty odors and potential health concerns.
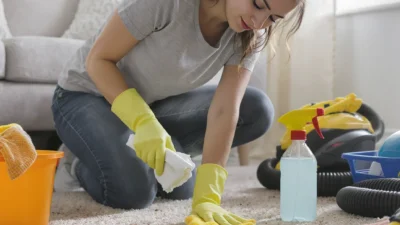
Are You Making These Common Wet Mopping Mistakes?
Photo by Andres Siimon on Unsplash
Many wet mopping mistakes are habits we don’t think twice about. See if any of these scenarios sound familiar—they all contribute to over-wetting and those hidden floor moisture problems.
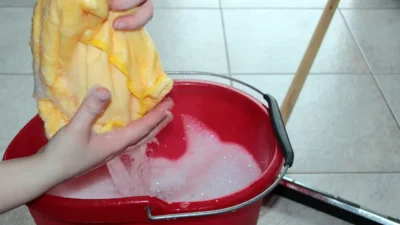
- Not Wringing the Mop Enough: This is the cardinal sin. A mop should be damp, not dripping. If you can squeeze water out of it with your hands over the bucket, it’s too wet for your floor.
- Overusing Spray Mops: That convenient trigger is tempting. Pulling it constantly, especially on a high setting, essentially floods a small area before the mop head can absorb it, leading to localized over-wetting.
- Mopping Without Preparing the Floor: Sweeping or vacuuming first is non-negotiable. Mopping over grit and debris creates a muddy slurry that can be forced into seams, and you’ll likely use more water trying to clean it up.
- Creating Poor Drying Conditions: Mopping at night and closing up the house, or mopping a large room without cross-ventilation, guarantees slow drying. This extends the time moisture has to seep in, turning a simple cleaning into a risk.
- Assuming All Floors Are the Same: Pouring the same amount of water on hardwood as you would on tile is a recipe for disaster. Non-porous tile can handle more moisture, but its grout lines are vulnerable. Knowing your floor type’s limits is crucial.
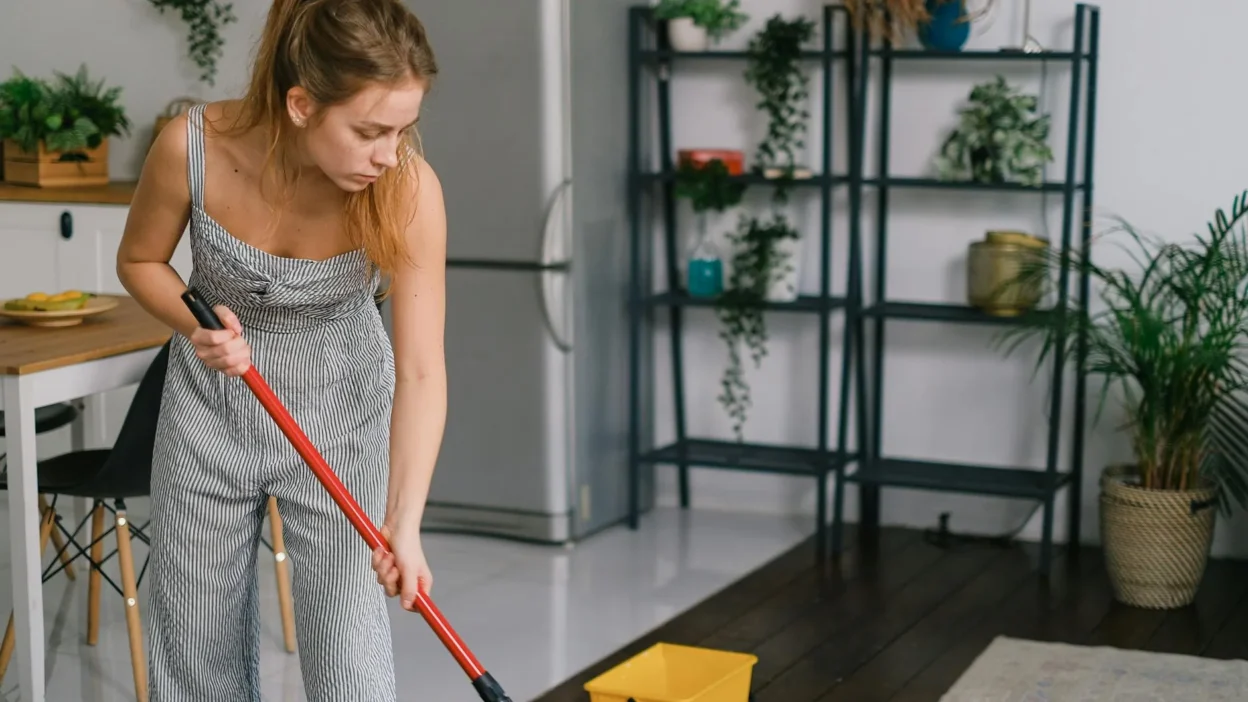
Safer Cleaning Habits: The Right Way to Mop Any Floor
The goal is to clean effectively while minimizing moisture exposure. Adopt these core habits to avoid mopping technique errors and protect your floors.
Do This:
- Wring, Then Wring Again: Your mop should leave only a faint, evaporating dampness on the surface, not a visible wet trail. For spin mops, follow the manufacturer’s instructions for maximum extraction.
- Use Minimal Solution: Mix cleaning product according to directions—more soap doesn’t mean more clean and can leave a residue that traps moisture.
- Work in Manageable Sections: Mop a 3×3 foot area, then immediately dry-buff it with a clean, dry microfiber cloth or mop head. This two-step process lifts dirt and removes excess moisture instantly.
- Engineer Airflow for Drying: Open windows, use fans, or run a dehumidifier, especially in humid climates or with poor ventilation. This directly addresses floor drying issues.
- Know Your Floor: For sealed hardwood and laminate, the “damp” rule is absolute. For vinyl and tile, you can be slightly more liberal, but still avoid standing water and dry grout lines promptly.
Don’t Do This:
- Don’t Let Water Pool or Sit. If you see a puddle, stop and dry it immediately.
- Don’t Use a Soaking Wet Mop Head. If it’s dripping when you lift it, it’s wrong.
- Don’t Assume “It Will Dry Eventually.” Prolonged wetness is the enemy. Speed up the process.
- Don’t Mop Over Area Rugs or Mats. Lift them. Mopping over traps a huge amount of moisture underneath, a major cause of mold.
What to Do If You’ve Already Over-Wet the Floor
Accidents happen. If you realize you’ve used far too much water, quick action can mitigate the damage. This is your emergency protocol for improper floor drying situations.
First, remove all surface water. Use a dry towel, a wet-dry vacuum, or a squegee to pull up every drop you can see. Don’t just spread it around—soak it up.
Next, create maximum airflow. Position fans to blow directly across the wet area, open all windows, and if you have one, place a dehumidifier in the room. Move furniture off the wet section if possible to allow air to circulate underneath.
Watch for warning signs over the next few days. A persistent musty smell, visible warping or cupping of boards, or dark stains appearing at seams are red flags. These indicate moisture has penetrated deeply and may require professional assessment to prevent further structural or biological damage. Remember, this guide is for educational purposes; for significant water intrusion, consult a flooring professional.
Protect Your Floors by Rethinking “Clean”
The most powerful shift you can make is to redefine a successful mopping session. It’s not about how much water you use, but how little moisture you leave behind. By focusing on a truly damp mop, immediate drying, and respecting your floor’s material, you transform a routine chore into a protective measure. This one habit guards against costly repairs, preserves your home’s air quality, and ensures your floors look their best for years to come. Start your next clean with the goal of a spotless, dry floor—it’s the ultimate sign of a job well done.