You might think wiping down the outside of your toaster or coffee maker is the simplest, safest part of kitchen cleaning—a quick spritz and a swipe, and you’re done. Ironically, this is where the most common and costly small appliance exterior cleaning mistakes happen. The core problem isn’t a lack of effort, but a fundamental mismatch: using the wrong cleaning agent on a delicate surface material. That “universal” glass cleaner can permanently cloud plastic, while an abrasive scrub pad will etch microscopic scratches into stainless steel, trapping grime forever. Understanding this material science isn’t just about keeping things shiny; it’s preventative maintenance that protects your investment and extends the life of your countertop essentials.
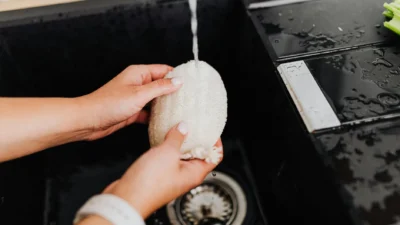
What is the best way to clean small appliance exteriors safely? Start by unplugging the device, then use a soft, damp microfiber cloth with a drop of mild dish soap for greasy spots. Always avoid abrasive scrubs, harsh chemicals like bleach or ammonia, and excessive moisture near seams and controls. The golden rule: when in doubt, check your user manual for material-specific guidance to avoid small appliance exterior cleaning mistakes.
The Material Science of Your Appliance’s Skin
Your toaster, coffee maker, and air fryer might look similar on the counter, but their exteriors are a patchwork of different materials, each with its own cleaning personality. Understanding this is the key to avoiding damage. Stainless steel has a thin, protective oxide layer that can be scratched or etched. Plastics, especially glossy ones, are often coated with a clear finish that solvents can dissolve, leading to permanent clouding. Painted surfaces are just that—a layer of paint that can be worn away. Glass touchscreens have oleophobic coatings to repel fingerprints, which harsh cleaners strip right off.
The main enemies are abrasion (scratching the surface), chemical reaction (dissolving or discoloring the finish), and moisture intrusion (seeping into seams and controls). A one-size-fits-all approach, like using the same spray you use on your windows, is a recipe for those small appliance exterior cleaning mistakes we want to avoid. For specific guidance, always check your manual; for example, manufacturers like KitchenAid provide detailed care pages for their stainless steel finishes.
Photo by ThisisEngineering on Unsplash
The Universal Safe Wipe-Down Protocol
For nearly all appliance exterior wipe-downs, there is a single, safe starting point. This method works for about 90% of surfaces and should be your default before reaching for any specialized product.
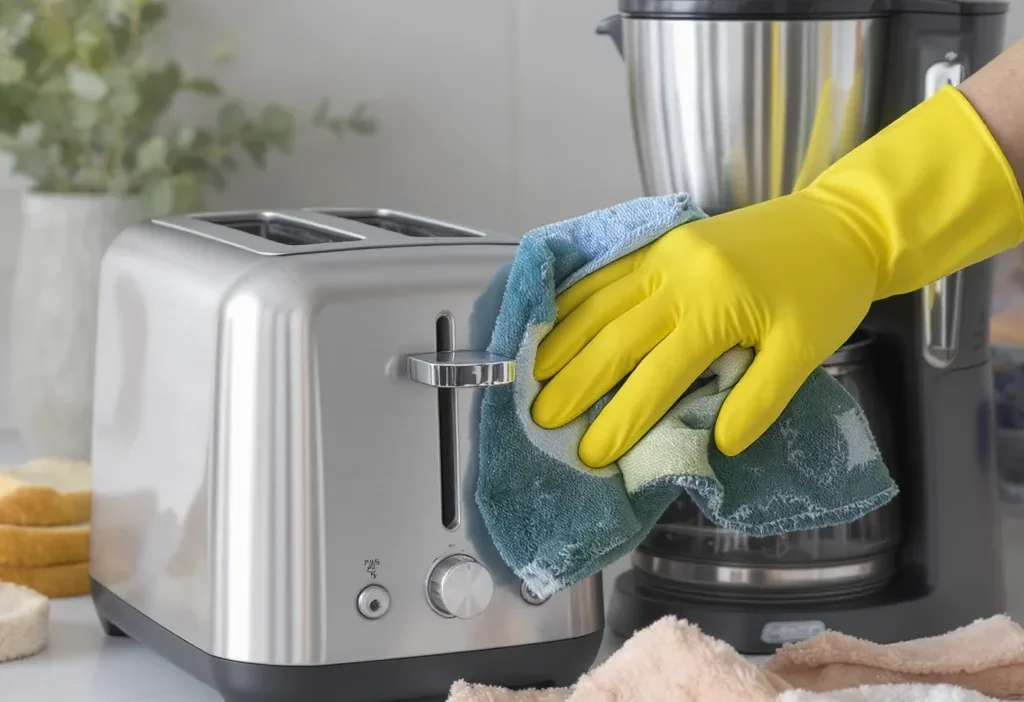
The Tools & Technique: First, always unplug the device. Use a clean, soft microfiber cloth—its fine fibers trap dust without scratching. Dampen the cloth with plain water and wring it out thoroughly. For greasy spots, add a single drop of mild dish soap to the damp cloth. Gently wipe the surface, following the grain on brushed metals if visible. Immediately follow with a second, water-only damp cloth to rinse any soap residue, then dry completely with a fresh, dry microfiber cloth.
Pay special attention to drying around buttons, dials, and seams to prevent moisture from creeping inside. This simple routine is the cornerstone of damage-free appliance cleaning.
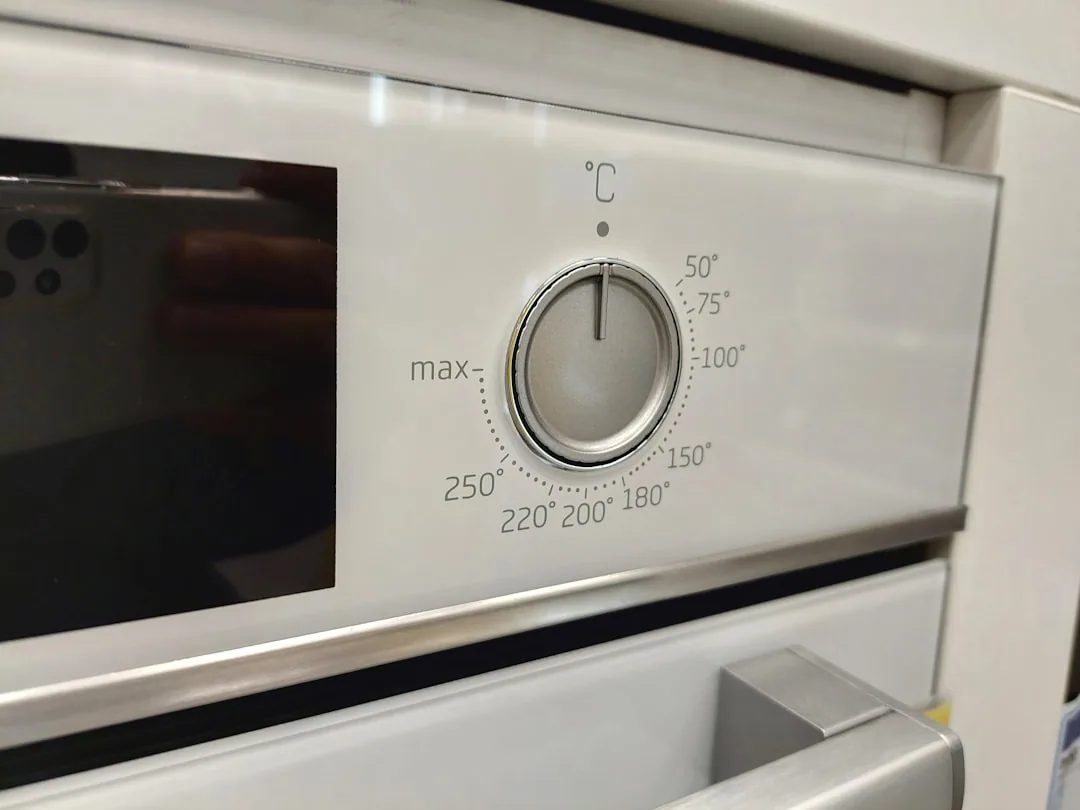
Photo by Rankingo on Unsplash
Common Cleaning Culprits That Cause Lasting Damage
This is where good intentions go wrong. Let’s walk through specific scenarios. You see a fingerprint on your stainless steel air fryer and grab a green Scotch-Brite pad. The result? Fine, permanent scratches that ruin the brushed finish. You notice water spots on your plastic coffee maker carafe and spray it with glass cleaner containing ammonia. The outcome is a hazy, clouded plastic that never clears up.
Other major culprits include using abrasive pastes or powders on painted surfaces, which act like sandpaper. Soaking a toaster’s crumb tray with buttons attached can lead to water seeping into the electronics. Even “all-purpose” sprays with bleach or citrus oils can degrade plastics and discolor labels over time. These aren’t just cosmetic issues; they can shorten the life of your appliance.
Material-Specific Guides: From Stainless to Plastic
Once you know your material, you can refine the universal method. Here’s a quick reference.
Stainless Steel
Always wipe with the grain. For stubborn grease or fingerprints, use a cleaner made specifically for stainless steel appliances. A dedicated microfiber cloth for this purpose prevents cross-contamination with abrasive particles from other cleaning tasks. This is a key tip for proper toaster exterior cleaning if yours has a stainless finish.
Plastics & Painted Finishes
Avoid alcohol, ammonia, and abrasive scrubs. The universal damp cloth method is usually sufficient. For sticky residue, a tiny bit of mild soap on a cloth is safer than a strong solvent. This approach is perfect for coffee maker outside cleaning, where plastic bodies are common.
Glass & Touchscreens
Use a slightly damp microfiber cloth only. If needed, a drop of distilled water. Avoid window cleaners, Windex, and anything claiming to “disinfect” screens, as they will degrade the sensitive coatings.
Keeping Your Kitchen Workhorses Looking New
Cleaning the outside of your small appliances isn’t just about aesthetics; it’s a form of preventative maintenance. By matching your method to the material and avoiding harsh shortcuts, you protect your investment and extend the appliance’s lifespan. The few extra seconds it takes to grab the right cloth and avoid the wrong spray pay off for years in a kitchen that looks well-cared-for. Make the universal safe wipe-down protocol a new habit—your future self will thank you when your coffee maker still looks pristine years from now.