If you think the biggest mistake in microwave cleaning is using the wrong spray, you’re missing the real culprit. The most common error isn’t about the cleaner—it’s about treating every splatter the same. A fresh tomato sauce explosion and last week’s baked-on oatmeal require fundamentally different strategies, and using the wrong approach turns a simple wipe into a frustrating, elbow-grease battle. This guide cuts through the confusion by framing microwave splatter cleaning as a simple two-path decision based on one key factor: time. Understanding the difference between a fresh vs set-in mess is the only diagnostic you need to choose the fastest, most effective cleanup method every single time.
The best way to clean microwave splatter depends entirely on whether the mess is fresh or set-in. For fresh spills (within an hour), a simple wipe with a damp microfiber cloth and mild soap is fastest. For dried, baked-on messes, you must first rehydrate the splatter using steam from a bowl of water heated inside the microwave for 2-5 minutes, then wipe clean. Never use abrasive pads or harsh chemicals on the interior.
The One Question That Decides Your Cleaning Path
Before you grab a sponge, ask yourself this single, crucial question: Is the splatter fresh or set-in? The entire microwave splatter cleaning fresh vs set in strategy hinges on this simple diagnosis. Getting it wrong is the root of most microwave cleaning mistakes and a lot of unnecessary elbow grease.
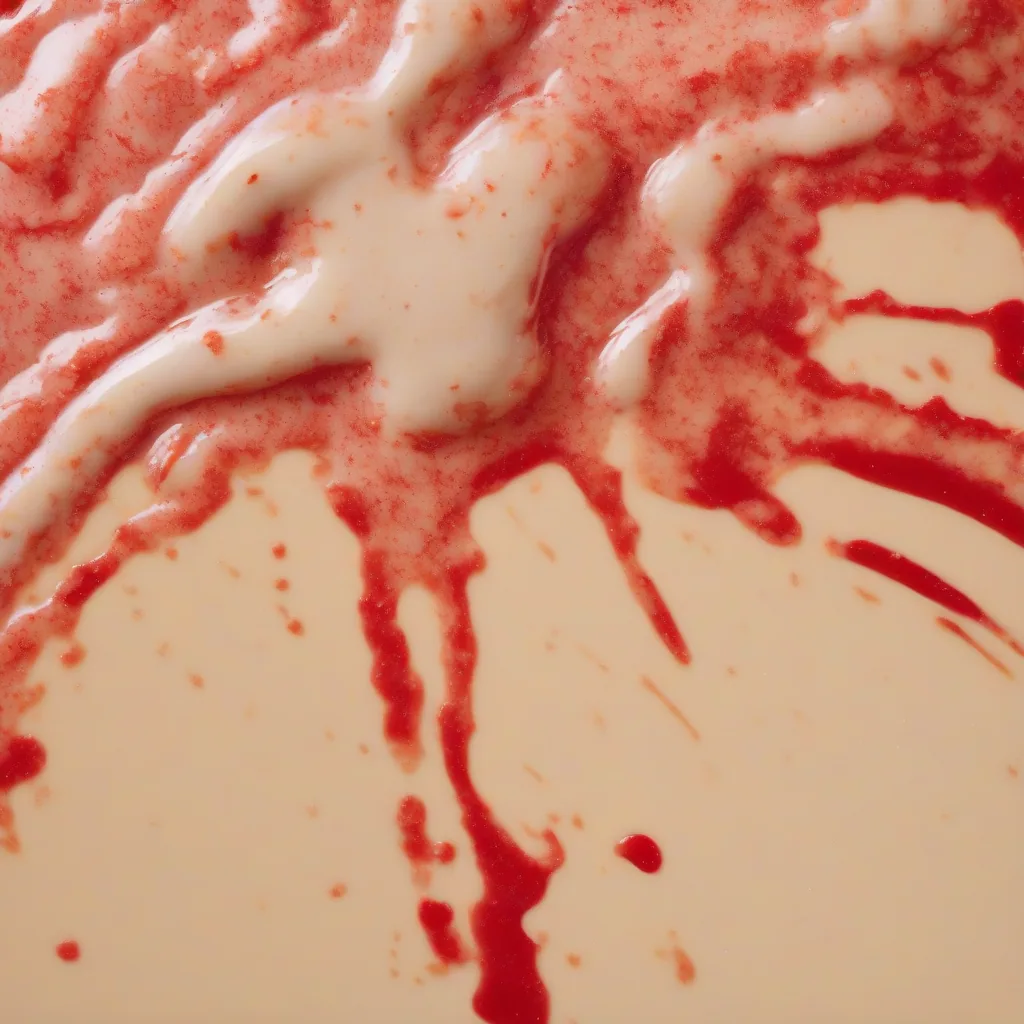
A fresh mess—like a spatter of soup or sauce you notice right after heating—is still wet, easily smeared, and hasn’t bonded to the surface. A set-in mess, however, has had time (even just a few hours) to dry out, bake on, and adhere. This happens because sugars and fats in foods polymerize when repeatedly heated and cooled, creating a stubborn, crusty bond with the microwave’s interior coating. That’s why a strategy for fresh food splatter removal will fail miserably on hardened microwave stains.
Time is the enemy. The longer you wait, the more a simple wipe-down transforms into a project requiring rehydration. Identifying which type of mess you’re facing instantly tells you whether you need a 60-second intervention or a steam-powered deep clean.
Path 1: The 60-Second Fresh Splatter Cleanup
This is the win you want. When you catch a spill immediately or within an hour, you can prevent it from becoming a hardened problem. The goal here is speed and prevention.
The Tools & Steps
You likely have everything you need already: a soft microfiber cloth, warm water, and a drop of dish soap.
- Safety First (Optional but Smart): Unplug the microwave. It’s a good habit that eliminates any remote risk.
- Dampen Your Cloth: Run a microfiber cloth under warm water and wring it out well. It should be damp, not dripping.
- Add Soap for Grease: If the splatter is oily (like cheese or butter), add a tiny drop of mild dish soap directly to the cloth.
- Wipe Everything: Gently wipe the interior walls, the ceiling (where steam condenses and drips food back down), and the turntable. The mess should come off with minimal pressure.
- Dry It Off: Use a clean, dry part of the cloth or a second one to wipe the surfaces dry. This prevents water spots and keeps the interior looking clean.
That’s it. This quick microwave wipe down is the ultimate form of microwave hygiene maintenance. By dealing with spills while they’re fresh, you make the chore virtually disappear and save yourself from ever needing the more intensive method below.
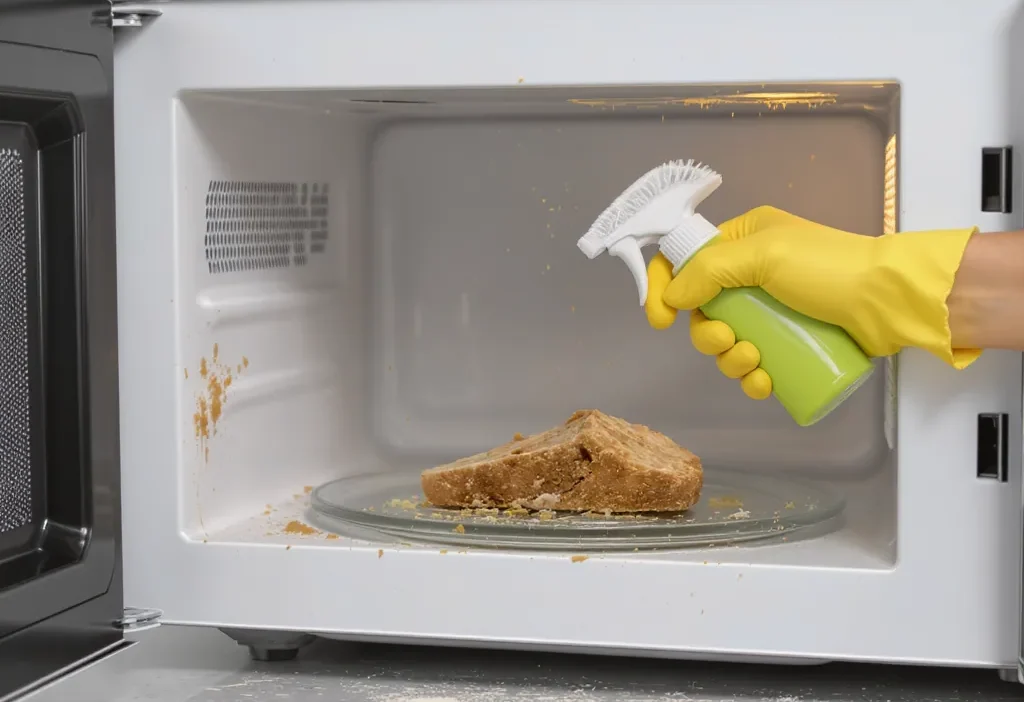
Path 2: The Steam-Powered Set-In Stain Solution
For the crusty, baked-on messes that laugh at a damp cloth, you need a different tactic. The key is not scrubbing harder, but smarter. You must rehydrate the mess before you touch it. This is the definitive method for dried food splatter cleanup.
Photo by RJ Trazona on Unsplash
The Core Steam Method
The science is simple: steam penetrates and loosens the bonds of the dried food, turning a rock-hard stain back into a soft, wipeable paste.
- Create Steam: Fill a microwave-safe bowl or large mug about 2/3 full with water. For extra cutting power against grease or to freshen odors, add a tablespoon of white vinegar or a few lemon slices.
- Heat It Up: Place the bowl in the center of the microwave and heat on high for 2-5 minutes, until the water is boiling vigorously and the interior is full of steam.
- The Critical Wait: Do not open the door immediately. Let the microwave sit, closed, for 5-10 minutes. This allows the steam to work its magic, softening the cleaning dried-on microwave splatter.
- Wipe Clean: Carefully open the door (mind the hot steam!), remove the hot bowl, and use a damp microfiber cloth or sponge to wipe down the interior. The grime should slide off with ease. For any stubborn spots, the softened residue can often be gently nudged off with a fingernail or a plastic spatula.
This steam cleaning microwave technique is a non-negotiable first step for any true deep clean microwave interior. It transforms a frustrating scrub-fest into an efficient, effective clean.
What Not to Do: Common Microwave Cleaning Mistakes
Even with the right path, using the wrong tools or techniques can damage your appliance. Here are the critical mistakes to avoid, turning your microwave cleaning mistakes into lessons learned.
DON’T:
- Use abrasive scrubbers or steel wool. They will scratch the delicate interior coating, creating tiny grooves where future splatter will stick even more fiercely.
- Spray harsh chemicals like oven cleaner or bleach directly inside. These can damage the surface, leave behind toxic fumes that get into your food, and degrade plastic components.
- Try to scrape off dried messes dry. This is a surefire way to scratch the surface and likely won’t work. Always steam first.
- Spray cleaner directly onto the microwave walls. Liquid can drip into the vent openings or electrical components. Spray your cleaner onto a cloth instead.
DO:
- Use soft cloths, sponges, or even a used dryer sheet (which can be surprisingly gentle on softened grime).
- Stick to mild cleaners like dish soap, vinegar, or baking soda paste.
- Remember the golden rule for set-in messes: steam, wait, then wipe.
- Remove the turntable and its support ring to wash separately in the sink for a thorough clean.
Keep It Clean: Prevention Beats the Deep Clean
The smartest microwave splatter cleaning strategy is the one you rarely have to use. By shifting focus from cleaning to preventing major messes, you can make your life easier.
Adopt a simple habit: after heating something prone to splatter, give the interior a quick visual check. If you see fresh spots, take 30 seconds for a quick microwave wipe down while everything is still warm and loose. It’s the single most effective maintenance tip.
For proactive prevention, use a microwave splatter cover (a dedicated lid or even a microwave-safe plate) to contain explosions. Slightly underfilling containers can also prevent boil-overs. By integrating these small habits, you’ll spend far less time on dried food splatter cleanup and more time enjoying your quickly heated meals.