You wipe down your counters, give the stovetop a quick pass, and stand back. It looks clean. But run your finger across that backsplash tile or the front of a cabinet. Feel that? It’s not dust—it’s a thin, stubborn film of grease. That lingering fried-food scent in the air and those streaks that reappear minutes after you’ve cleaned are not just signs of a busy kitchen; they’re the telltale symptoms of widespread kitchen surface cleaning mistakes. The most pervasive myth is that “if it looks clean, it is clean,” leading us to repeat ineffective routines that smear grease rather than remove it, dull surfaces instead of restoring them, and leave us feeling like we’re fighting a losing battle against grime.
The biggest kitchen surface cleaning mistakes stem from using all-purpose cleaners on grease, scrubbing delicate surfaces, and cleaning in the wrong order. Effective cleaning requires matching the product and method to the specific surface and type of grime. For example, a degreaser is needed to break down oily residue, while scrubbing a glass cooktop can cause permanent scratches. The most common grease cleaning mistakes involve poor timing, like wiping a hot stovetop, which bakes on a film that’s harder to remove later.
Myth 1: Any Cleaner Will Cut Through Grease
This is one of the most pervasive grease cleaning mistakes. We grab the all-purpose spray or a damp cloth, give the stovetop or backsplash a wipe, and wonder why a dull, sticky film remains. The problem isn’t the effort; it’s the chemistry. Kitchen grease isn’t just dirt—it’s fat and oil, which are hydrophobic (they repel water). Water-based cleaners, including diluted dish soap, simply bead up and slide over it.
To effectively remove grease, you need a degreaser. These products contain surfactants—molecules that have one end attracted to water and the other to oil. They surround grease droplets, breaking them apart and suspending them in water so they can be wiped away. Using the wrong product is a classic cleaning product misuse that guarantees you’ll leave residue behind. For a deeper dive into how surfactants work, resources like this explainer from the American Chemical Society can be helpful.
Myth 2: More Elbow Grease is the Answer
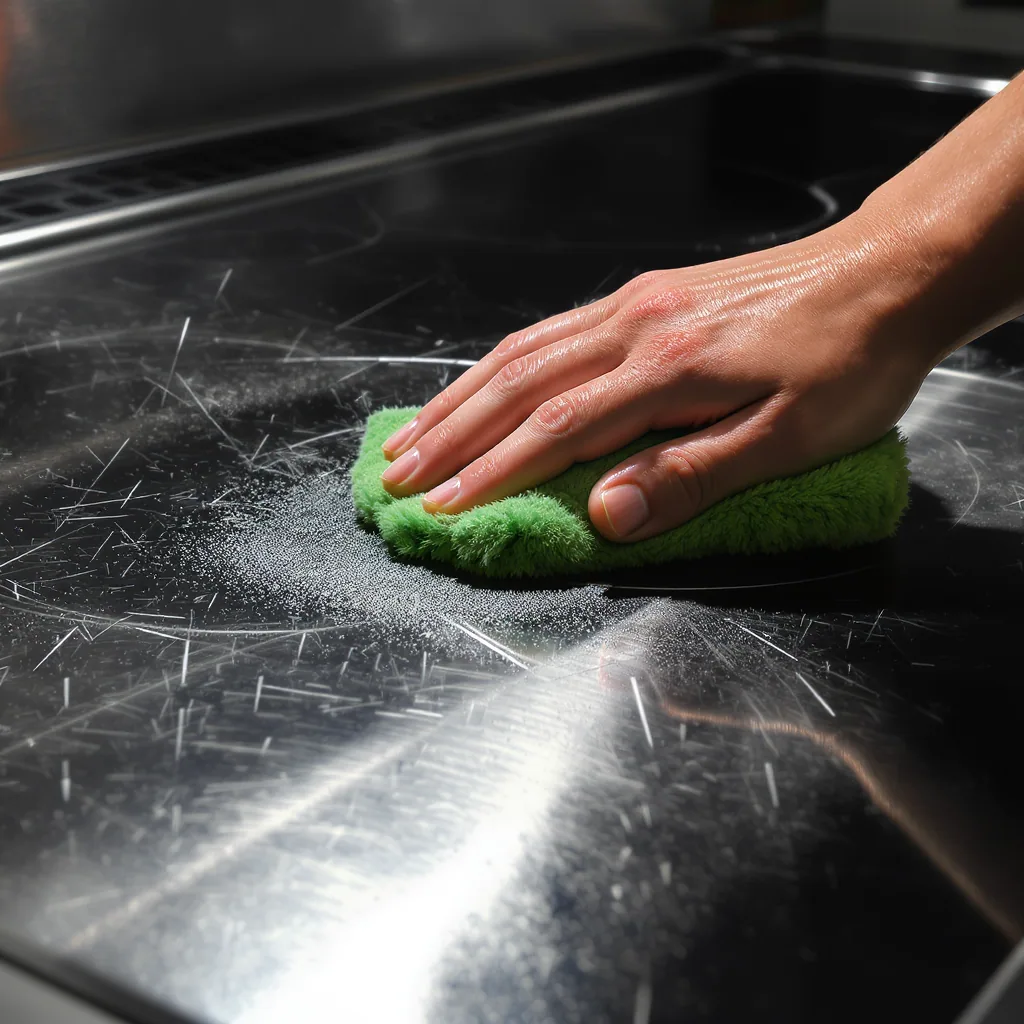
When a greasy stain won’t budge, the instinct is to press harder and scrub faster. Picture this common scenario: someone is attacking a glass cooktop with a rough scrub pad, grinding away at a baked-on spot. This approach is a prime example of ineffective grease cleaning. You might remove the top layer, but you’re often just spreading the grease thinner or, worse, grinding abrasive particles into the surface.
This creates micro-scratches. On stainless steel, these scratches go against the grain, causing visible streaks. On glass or sealed stone, they create a cloudy, dull finish. Most importantly, these tiny grooves become perfect traps for future grease and grime, making your next clean even harder. The real solution isn’t force; it’s patience. Let the correct cleaning product dwell and do its chemical work of emulsifying the grease, so it lifts away with minimal, gentle agitation.
Myth 3: Wipe As You Go is Always Best
“Clean as you cook” is generally excellent advice for avoiding a huge mess later. However, applying it without nuance leads to common kitchen cleaning errors, especially with grease. The rule breaks down when heat is involved. Wiping a hot, greasy stovetop or oven door with a dry or damp cloth is a surefire way to smear that oil into a thin, baked-on layer that bonds to the surface as it cools.
Instead of a universal “wipe immediately,” adopt a more strategic approach.
Do:
- Blot up fresh liquid spills (like oil or sauce) immediately with a paper towel.
- Let the stovetop, oven, or hood cool completely before tackling greasy splatter.
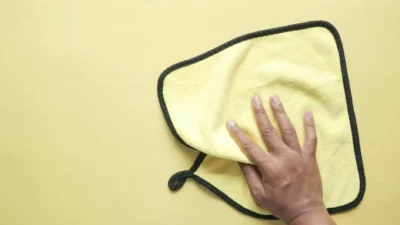
- For daily upkeep, use a damp microfiber cloth on cool surfaces.
Don’t:
- Wipe a hot, oily surface—you’ll just spread and cook on the residue.
- Use a dry cloth on grease; it will smear without lifting.
- Assume a quick post-dinner wipe will handle polymerized (baked-on) grease.
The Hidden Cost of Common Shortcuts
Repeatedly using the wrong methods doesn’t just mean a slightly grimy kitchen; it causes cumulative damage that’s expensive to fix. These surface maintenance errors have long-term consequences. For example, using a furniture polish or “shine” product on vinyl or laminate floors leaves a wax buildup that attracts dirt and becomes dangerously slippery. Using vinegar or other acidic cleaners on natural stone like marble or granite etches the surface, leaving dull, permanent marks.
On tile backsplashes, using an overly abrasive pad can scratch the glaze, and failing to rinse off cleaner can leave a film that discolors grout. For cabinets, using a harsh all-purpose cleaner can degrade the finish over time, leaving them feeling perpetually tacky—the “never-clean” feel. Each of these countertop cleaning pitfalls and stovetop cleaning errors moves you further from a truly clean, well-maintained kitchen and closer to costly repairs or replacements.
Your Grease-Busting Reset: Practical Fixes
Now that we’ve busted the myths, let’s build a better method. This isn’t about a rigid, numbered protocol, but about understanding a logical process that works for a stovetop, range hood, or greasy backsplash. The goal is to let chemistry and technique do the heavy lifting.
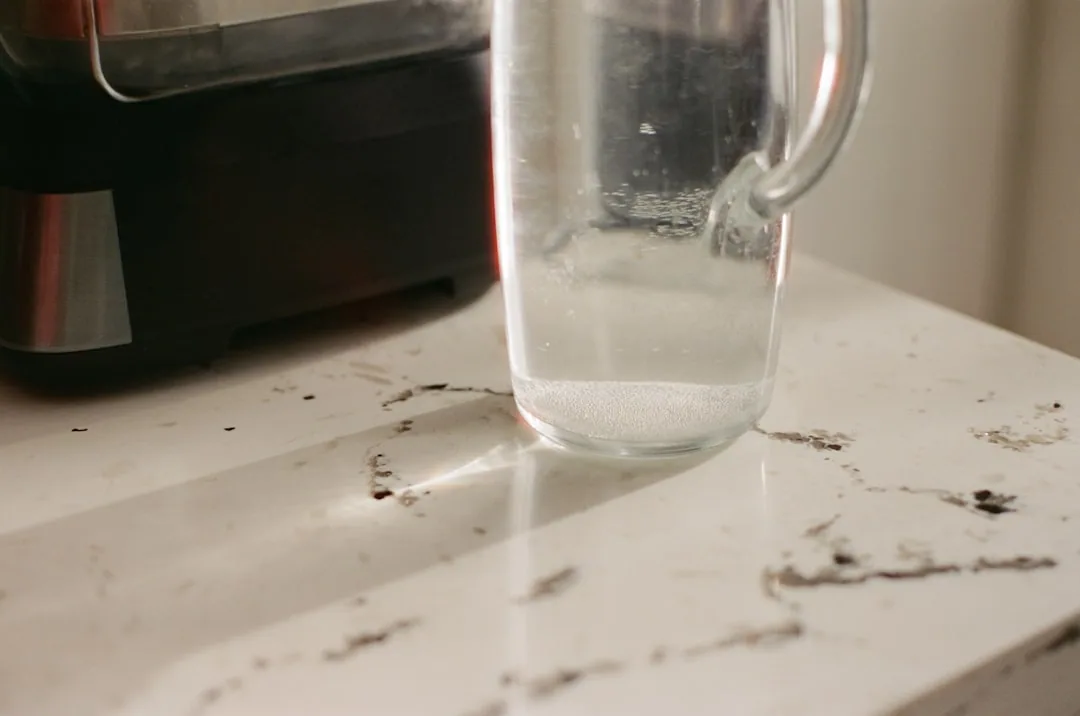
Photo by Jim Luo on Unsplash
The Reset Clean Process
First, identify your surface material. Is it stainless steel, glass, sealed granite, or painted wood? This dictates what products are safe. Next, choose the right degreaser. For most kitchen applications, a dedicated kitchen degreaser or a heavy-duty dish soap (used full-strength, not diluted) is effective. A common and effective option is a citrus-based cleaner, which uses d-limonene to cut through grease.
Apply the product generously to the cool, dry surface and let it dwell. This is the non-negotiable step. Give it 3-5 minutes, or even longer for thick buildup, to break down the grease. Then, agitate appropriately. For smooth surfaces, a non-scratch sponge or microfiber cloth is perfect. For textured grates or filters, a soft brush can help. Finally, rinse thoroughly with water and a clean cloth to remove any cleaning residue, and dry with a separate towel to prevent streaks. This method-focused approach solves most grease removal blunders for good.
Cleaning Smarter, Not Harder
The path to a kitchen that feels genuinely clean isn’t paved with more scrubbing or more product. It’s built on understanding a few key principles: match your cleaner to the grime (grease needs a degreaser), let chemistry work before you do, and tailor your timing to the situation. By stepping away from these common misconceptions, you protect your surfaces, save time and effort, and finally break the cycle of wiping without winning.
Start small. Pick just one habit from this article to change this week—maybe letting your cleaner dwell for five minutes before wiping, or checking that you’re using a degreaser on your stovetop. You’ll likely notice the difference immediately. A kitchen maintained with smart strategy, not just hard labor, is easier to keep clean and more enjoyable to use every day.
To avoid the most frustrating kitchen surface cleaning mistakes, remember these three corrections: First, grease requires a degreaser, not just any cleaner, to break down its oily bonds. Second, scrubbing hard often causes scratches; let the cleaning product sit and emulsify the grease instead. Third, while wiping spills immediately is good, avoid wiping hot, greasy surfaces, as it smears and bakes on residue. Focusing on the right product, proper dwell time, and cool-surface cleaning will transform your results.