If you believe a little soap and water is all you need to handle the daily grease in your kitchen, you’re setting yourself up for a sticky, frustrating battle. That thin, almost invisible film that settles on your stovetop, backsplash, and cabinets after cooking isn’t just dirt—it’s aerosolized fat and steam that, if left unchecked, hardens into a polymerized glaze that requires serious scrubbing to remove. Tackling this daily buildup effectively means understanding that general cleaning and targeted kitchen degreasing are not the same thing. The most common kitchen degreasing mistakes stem from using the wrong tools or techniques for this specific, stealthy enemy, wasting time and effort while the problem gets worse. Let’s cut through the clutter and identify what truly works for daily maintenance and what simply spreads the grease around.
The best way to tackle daily kitchen grease is to use a dedicated degreaser or a hot water and dish soap solution applied with a microfiber cloth, focusing on wiping surfaces while they’re still warm. Avoid the common kitchen degreasing mistakes of using only soap and water on cold, hardened grease, as this just spreads it around. Consistency with the right tools prevents stubborn buildup.
Why Daily Kitchen Grease is a Different Beast
That thin, oily film on your stovetop, backsplash, and cabinets isn’t the same as the black, crusty gunk you might scrub off during a monthly deep clean. Understanding this difference is the key to effective daily kitchen grease cleaning. Daily grease is primarily aerosolized fats and oils that land on surfaces as a warm, sticky mist. Because it’s fresh, it hasn’t undergone a chemical process called polymerization, where heat and time essentially “bake” the grease into a hard, plastic-like coating. key to effective daily kitchen
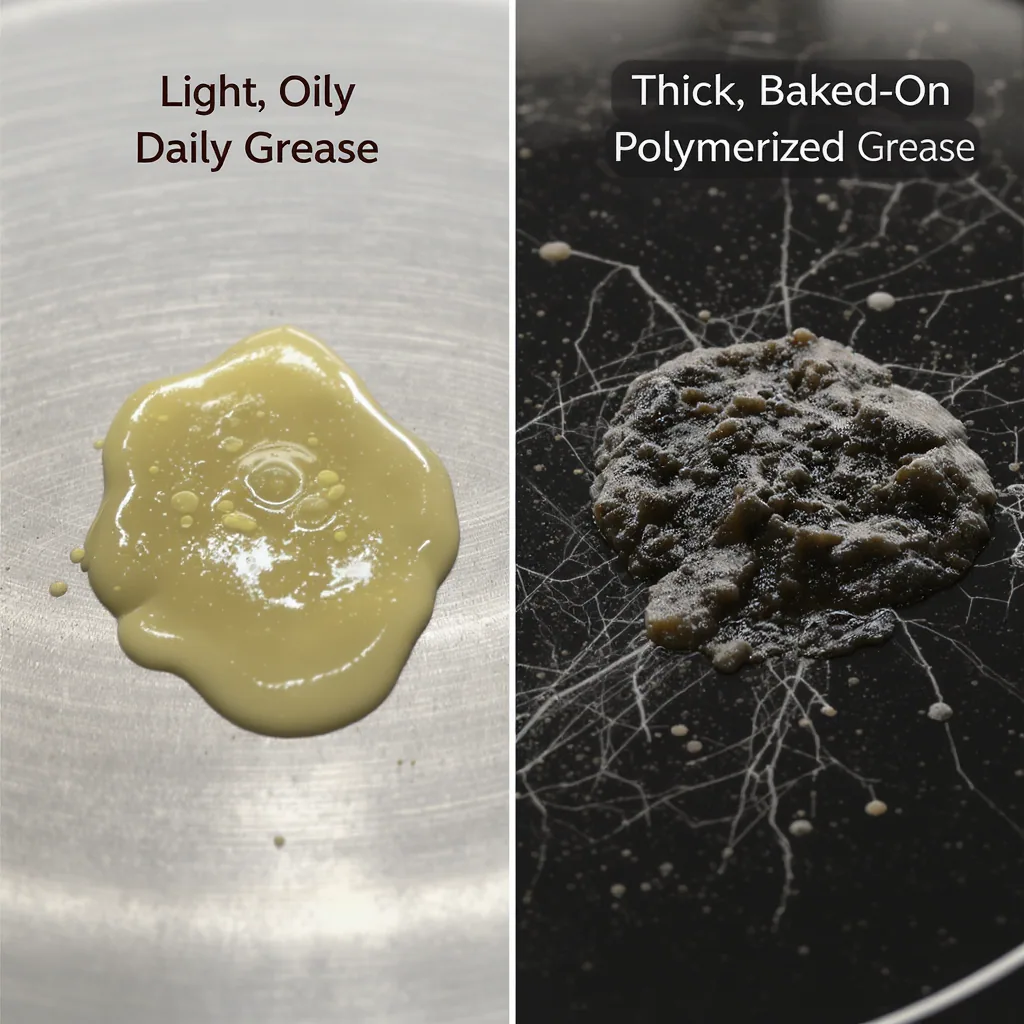
This means your strategy should be removal, not dissolution. Methods designed for polymerized grease (like heavy-duty oven cleaners or intense scrubbing) are overkill and potentially damaging for daily film. Conversely, using only water or a weak cleaner on this fresh grease just smears it around. The goal for daily maintenance is to capture and lift this oily layer before it gets a chance to harden and become a much bigger problem to remove grease buildup later.
Myth vs. Fact: What Actually Works for Daily Buildup
Let’s clear up some common confusion. What you think works for a light grease film might be making your job harder.

Photo by RDNE Stock project on Pexels
Myth: White vinegar is a great all-purpose degreaser.
Fact: For daily kitchen grease, dish soap is more effective. Vinegar is excellent for dissolving mineral deposits and disinfecting, but it’s not a surfactant. Dish soap contains surfactants that break the surface tension of oils, allowing them to emulsify and be rinsed away with water. For daily film, hot soapy water wins.
Myth: A quick wipe with a dry paper towel is sufficient.
Fact: This spreads the grease and leaves behind lint. A dry towel lacks the moisture and chemistry to lift oil. For daily cleaning, use a damp microfiber cloth with your cleaning solution. Microfiber’s tiny fibers grab and hold onto grease particles instead of pushing them around.
Myth: You need a strong, fume-filled chemical spray for every clean.
Fact: For routine daily film, a diluted all-purpose degreaser or even just dish soap and hot water is perfectly effective. Strong chemicals are for weekly or monthly deep cleans on polymerized grease. Overusing them daily is unnecessary, costly, and can damage surfaces over time.
The Daily Degreasing Routine That Works (No Fuss)
The secret to preventing major grease buildup in the kitchen is a simple, consistent routine right after cooking. The goal is to work with the grease’s state, not against it.
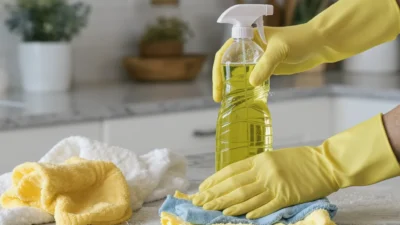
Do This: Keep a spray bottle with a diluted degreaser or a bowl of hot, soapy water and a dedicated microfiber cloth under your sink. After cooking and while the stovetop and hood are still warm (not hot!), give them a quick spray or wipe. The warmth keeps the grease in a liquid state, making it easy to wipe away. Follow by wiping down the surrounding countertops and the front of cabinets, especially near the stove.
Not That: Don’t wait until everything is cold and the grease has hardened. Don’t use a random rag that’s been used for other chores—it will just redistribute dirt. Don’t skip the rinse step; after wiping with your cleaner, go over the surface with a clean, damp cloth to remove any soapy residue, which can itself attract grime.
This entire process should take two minutes. By tackling grease daily, you never give it a chance to become a project, making your weekly clean a breeze.
Common Kitchen Degreasing Mistakes (And How to Fix Them)
Even with good intentions, it’s easy to fall into habits that hinder your progress. Here are specific scenarios to avoid and how to correct them.
The Mistake: Using glass cleaner on your stovetop or range hood. Glass cleaner contains ammonia or alcohol, which streak and shine glass but do little to cut through grease. You’ll end up with a shiny, greasy film.
The Fix: Use a product labeled as a degreaser or make your own solution with dish soap and hot water. These are formulated to break down oils.
The Mistake: Scrubbing stainless steel appliances with abrasive pads or powders to remove grease streaks. This can scratch the delicate grain of the steel, creating tiny grooves that trap more grease and dirt in the future.
The Fix: Always wipe stainless steel in the direction of its grain with a soft cloth. For grease, use a dedicated stainless steel cleaner or a mild dish soap solution. For stubborn streaks, a little rubbing alcohol on a cloth can work wonders without scratching.
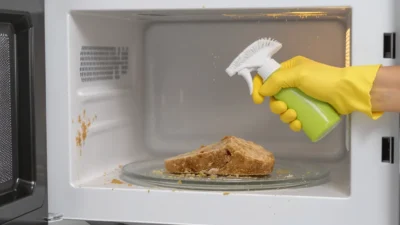
The Mistake: Soaking greasy range hood filters in soapy water alone. Soap and water won’t dissolve the thick, cooked-on grease trapped in the metal mesh.
The Fix: For a thorough clean, soak the filter in a solution of hot water and a heavy-duty degreaser, or use a baking soda paste. For daily maintenance, simply wiping the exterior of the hood after cooking prevents the bulk of the problem.
The Mistake: Ignoring the walls and cabinets next to the stove. Grease aerosols travel farther than you think.
The Fix: Include a quick wipe of these vertical surfaces in your daily routine. A mix of vinegar and water (here, it’s fine for light film) or an all-purpose cleaner works well here and prevents a sticky, hard-to-clean layer from forming.
Win the Grease Battle with Consistency
The most effective strategy for kitchen degreasing isn’t about finding a magic product or spending your weekend scrubbing. It’s about adopting the simple, two-minute habit of wiping down surfaces while they’re still warm from cooking. This proactive approach leverages the right tools—a microfiber cloth and a proper degreasing agent—to lift grease before it becomes a hardened, stubborn enemy.
By shifting your focus from heroic deep-cleaning sessions to consistent daily maintenance, you save time, protect your surfaces from damage, and keep your kitchen genuinely clean. Start your new routine after your next meal, and you’ll quickly see how easy it is to stay ahead of the grease.