You wipe down the counter, but your hand still catches on a patch of sticky residue. You scrub the stovetop until your arm aches, only to find a greasy film reappearing by morning. This cycle of cleaning without ever feeling *clean* is a universal kitchen frustration, and it’s rarely a sign that you need to clean more. More often, it’s a signal that hidden kitchen cleaning mistakes are sabotaging your efforts. This guide moves beyond generic advice to diagnose the specific errors—in how you treat surfaces, tackle grease, and manage daily habits—that keep your kitchen in a state of perpetual grime. Let’s shift from a frustrating, reactive routine to a smarter, more effective system.
The key to a truly clean kitchen isn’t just elbow grease; it’s avoiding common pitfalls like using all-purpose cleaners on granite, letting grease dry before tackling it, and using dirty tools. The most frequent kitchen cleaning errors revolve around mismatching products to surfaces, misunderstanding grease chemistry, and relying on counterproductive daily habits. Correcting these mistakes transforms your routine from frustrating to effective, focusing on technique and knowledge over sheer effort.
The Symptom: Why Your ‘Clean’ Kitchen Never Feels Clean
You wipe down the counters, but your arm sticks to them an hour later. You scrub the stovetop, yet a greasy film reappears by the next meal. The sink smells faintly sour no matter what you pour down it. These aren’t signs you need to clean more; they’re classic symptoms of underlying kitchen cleaning errors. Your effort is being sabotaged by a few fundamental misunderstandings about how to clean effectively. underlying kitchen cleaning errors
These frustrations typically stem from three core areas: using methods that damage or smear rather than sanitize, misunderstanding the nature of kitchen grime (especially grease), and perpetuating daily habits that spread bacteria and grime. Recognizing these symptoms is the first step to diagnosing your specific common kitchen cleaning mistakes. When you address the root cause, the cycle of constant, ineffective cleaning breaks, and your kitchen will actually stay cleaner longer.
Surface Sabotage: Using the Wrong Cleaner on the Wrong Material
One of the most costly kitchen cleaning blunders is treating all surfaces the same. What works on your laminate countertop can etch your quartz or seal grease into your wood cabinets. This mistake isn’t just about ineffectiveness; it’s about causing permanent damage.
Countertops & Cabinets
Do: Use a pH-neutral, non-abrasive cleaner for sealed stone (granite, quartz) and laminate. For butcher block, use a mild soap and water solution and regularly condition with food-grade mineral oil. Don’t: Use vinegar or lemon juice on natural stone or marble—the acid will etch the surface, leaving dull spots. Avoid abrasive pads or harsh cleaners on laminate, as they can scratch and dull the finish.
Sinks & Appliances
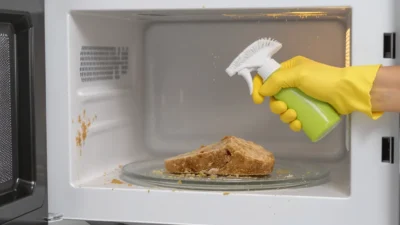
Do: Clean stainless steel sinks and appliances with the grain using a dedicated stainless steel cleaner or a mild dish soap solution. For glass cooktops, use a manufacturer-recommended cleaner and a single-edge razor blade at a 45-degree angle for baked-on spills. Don’t: Use steel wool or abrasive scrubbers on stainless steel—they create tiny scratches that trap dirt and lead to rust. Don’t use all-purpose cleaners on a hot cooktop, as they can leave a hazy residue or damage the surface. Always check your appliance manual for specific care instructions, like those from Whirlpool’s guide to glass cooktop care.

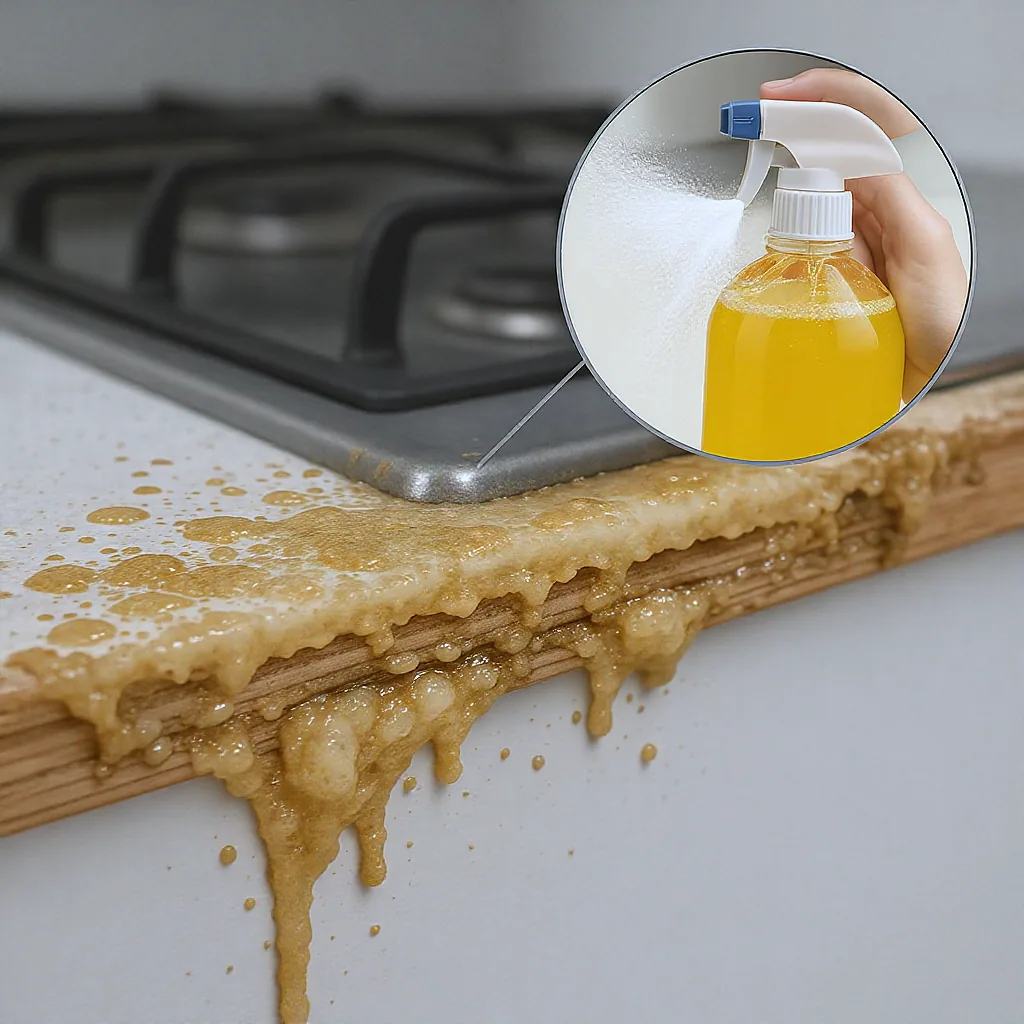
The Grease Trap: Why It Keeps Coming Back
Kitchen grease isn’t just dirt; it’s a sticky, hydrophobic oil that repels water. This is why spraying it with water and wiping just smears it around, creating that frustrating, tacky film on everything near your stove. Correcting this grease cleaning pitfall requires a shift in both product and technique.
The cardinal sin is using water first. Instead, you need a degreaser—a cleaner formulated to break down oils. Spray it on, and let it dwell for the time specified on the label (usually 1-3 minutes). This allows the chemistry to work, emulsifying the grease so it can be wiped away easily. After degreasing, you can then wash with soap and water for sanitation. Don’t forget vertical and overhead surfaces: grease aerosolizes during cooking and settles on cabinet fronts, range hoods, and even the tops of your upper cabinets. A monthly degreasing of these areas prevents a major, sticky buildup.
Daily Habits That Undermine Your Deep Clean
Your big weekly clean can be completely undone by a handful of small, repeated kitchen cleaning errors in your daily routine. These habits create a groundhog day of grime, where you’re constantly fighting the same battles.
- The All-Purpose Sponge: Using the same sponge to wipe counters, clean dishes, and scrub the sink is a top hygiene mistake. It cross-contaminates surfaces. Fix it: Use color-coded sponges or microfiber cloths for different tasks (e.g., blue for counters, green for dishes). Sanitize sponges daily in the dishwasher or by microwaving a wet sponge for one minute.
- The Eternal Soak: Leaving dishes to “soak” for hours or days creates a bacterial soup. Food particles break down, making them harder to clean and fouling the water. Fix it: Soak for 15-20 minutes, then wash. If you can’t wash immediately, scrape and rinse dishes instead of soaking.
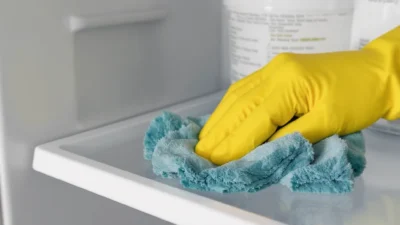
- The Dirty Cloth Wipe-Down: Grabbing a damp cloth that’s been sitting on the sink to quickly wipe a spill spreads more germs than it removes. Fix it: Use fresh, clean cloths or paper towels for quick clean-ups. Launder reusable cloths frequently with bleach or hot water.
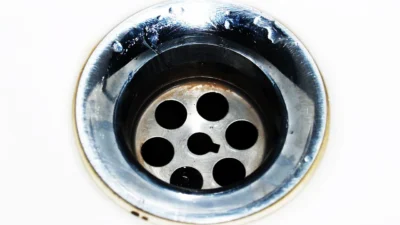
- Ignoring the Sink: Treating the sink as a constantly wet, clean surface is a mistake. Food debris and bacteria linger. Fix it: After doing dishes, scrub the sink with a dedicated brush and cleanser, then dry it with a towel. This prevents odors and stains.
- Neglecting Cleaning Tools: Your vacuum, mop head, and trash can are part of your kitchen ecosystem. Not cleaning them regularly means you’re redistributing dirt. Fix it: Empty and wash your trash can monthly. Clean vacuum filters and wash mop heads according to manufacturer instructions.
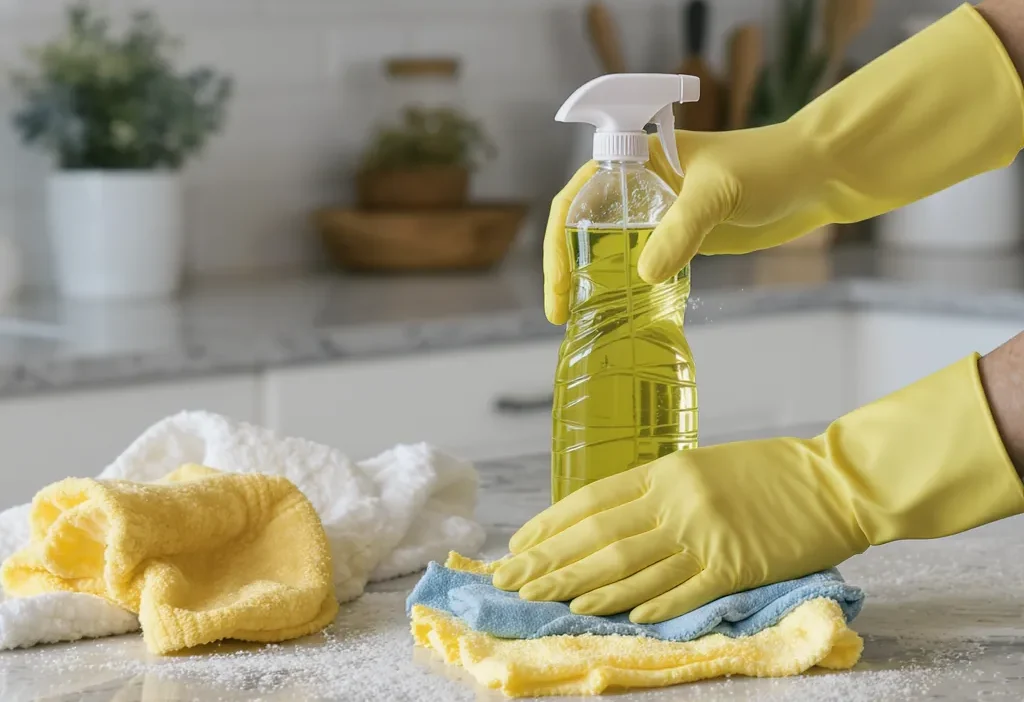
The Toolbox Reset: Fixing Your Cleaning Arsenal
Even with perfect technique, using the wrong or dirty tool guarantees poor results. This final step is about optimizing your gear to support, not sabotage, your efforts.
Microfiber is your multitasker: Its electrostatic charge grabs dust and grease without chemicals. Use dry for dusting, damp for polishing stainless steel and glass. Wash microfiber separately from lint-producing fabrics like towels. Scrub brushes beat sponges for heavy-duty jobs; they don’t hold bacteria the same way and provide better mechanical action. Have a stiff-bristled brush for pots and a softer one for delicate surfaces.
Maintenance is non-negotiable. Sanitize sponges daily. Replace worn-out scrub brushes. Rinse your mop bucket with a bleach solution after each use. And perhaps most importantly, read the tool and product labels. Using a “no-scratch” scrub pad on a non-stick pan can ruin it, just as using a harsh abrasive on an acrylic sink will cloud it forever. The right tool, kept clean, turns a chore into an efficient, effective system.
Building a Smarter, Not Harder, Cleaning Routine
The goal isn’t to discover a magical new product or to simply add more scrubbing time to your week. True kitchen cleanliness comes from a systematic approach that prevents messes from taking root in the first place. By understanding your surfaces, respecting the chemistry of grease, and auditing your daily habits, you shift from reactive cleaning to proactive maintenance.
This mindset change is the real fix. It transforms cleaning from a frustrating, recurring battle into a streamlined process that preserves your kitchen’s appearance and hygiene with less overall effort. Start by correcting just one of the kitchen cleaning mistakes to avoid you’ve recognized here—perhaps your sponge habit or your countertop cleaner—and you’ll immediately feel the difference. A clean kitchen that stays clean isn’t a fantasy; it’s the result of working smarter, not harder.
To break the cycle of ineffective cleaning, focus on correcting these three core categories of error:
- Surface Sabotage: Match your cleaner to your material. Avoid acids on stone, abrasives on stainless steel, and harsh chemicals on wood. When in doubt, use a pH-neutral cleaner and gentle cloth.
- The Grease Trap: Grease repels water. Always use a degreaser first, let it dwell, then wipe. Remember to clean vertical surfaces like cabinets and range hoods where grease settles.
- Undermining Habits: Stop cross-contamination with dedicated tools, avoid endless soaks, clean your sink daily, and maintain your cleaning equipment. A dirty tool spreads more than it cleans.
The key is moving from simply “cleaning” to “cleaning correctly.” By fixing these foundational mistakes, you build a routine that delivers lasting results with less repeated work.