That fresh, clean scent after mopping or the satisfying streak-free shine might feel like a job well done, but what if it’s actually the first sign you’re damaging your floors? The most common hard floor cleaning mistakes aren’t about neglect; they’re about applying the wrong remedy with the best intentions. Using a one-size-fits-all approach—reaching for the same mop, bucket, and bottle of cleaner for your hardwood, tile, and stone—is a recipe for dull finishes, warped planks, and etched surfaces. This guide acts as a diagnostic tool, helping you match symptoms like cloudiness, swelling, or permanent stains to your specific floor type and the underlying error. By understanding the unique vulnerabilities of each material, you can stop cleaning *accidents* and start a true preservation routine.
Here’s how to avoid damaging your hard floors while cleaning: the biggest mistake is using a one-size-fits-all approach. Each floor type—hardwood, laminate, vinyl, tile, and stone—has specific vulnerabilities. For example, excess water warps hardwood and laminate, while acidic cleaners etch stone and grout. Start by identifying your floor material, then use the correct tools and pH-neutral cleaners designed for it.
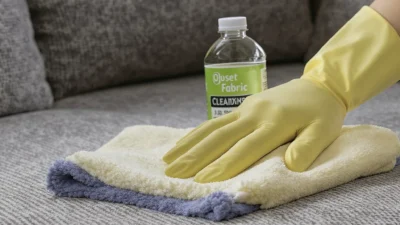
The Universal Culprit: Why One Cleaner Doesn’t Fit All
Most floor cleaner mistakes begin with a simple, logical assumption: a clean floor is a clean floor, so my trusty bottle of all-purpose spray or homemade vinegar solution should work everywhere. This is the foundational error that leads to nearly every other problem. The truth is, every hard floor surface has a specific chemical and physical relationship with cleaning agents, primarily dictated by pH and abrasiveness.
Think of pH as a spectrum from acidic (like lemon juice) to alkaline (like baking soda). Your floor’s finish—whether it’s a polyurethane coat on hardwood, the wear layer on laminate, or the sealant on stone—has a pH sweet spot. Using an acidic cleaner on an alkaline-friendly sealant, or vice versa, doesn’t just clean poorly; it chemically degrades the protective layer over time. This leads to dullness, etching, and makes the floor more susceptible to stains and water damage. Similarly, abrasive cleaners or tools scratch surfaces, creating microscopic grooves where dirt embeds itself, making future cleaning even harder. The first step in avoiding cleaning errors on hard floors is to abandon the one-size-fits-all mentality and understand the material you’re dealing with.
Hardwood & Engineered Wood: Mistakes That Strip and Swell
Wood floors inspire a desire to care for them deeply, but that care often manifests as mopping mistakes that cause irreversible harm. The core vulnerability of any wood floor, solid or engineered, is its reaction to moisture and its specific finish type (typically oil-based or water-based polyurethane).
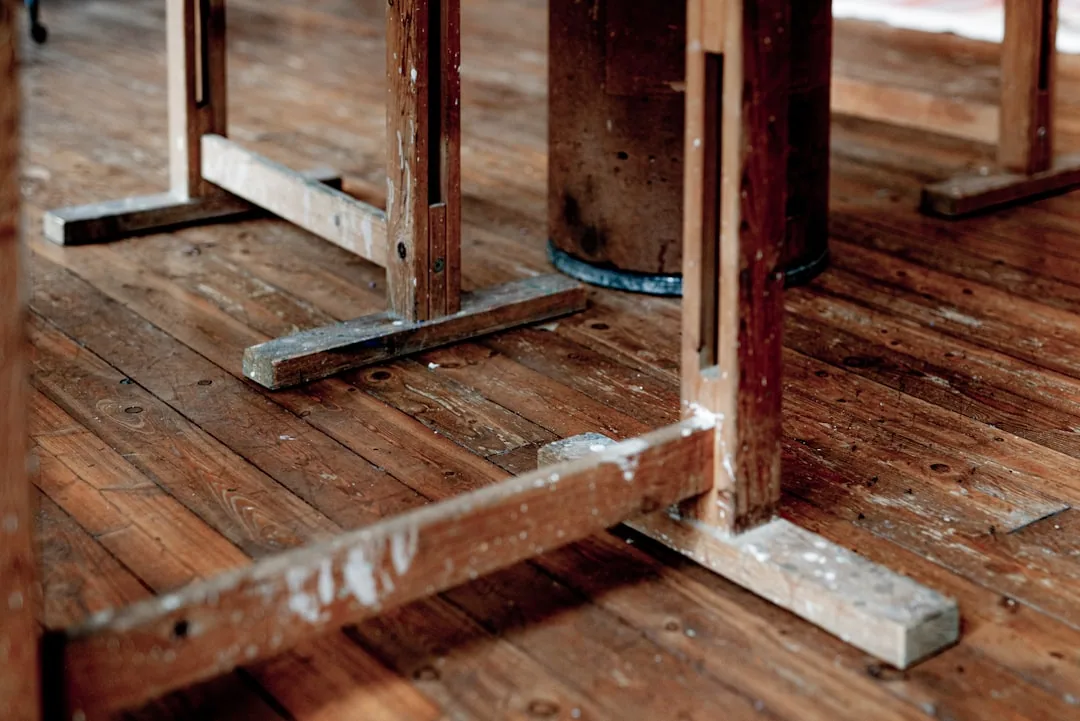
Photo by laura adai on Unsplash
The Wet Mop & Steam Mop Error
The most damaging habit is using a soaking wet mop or, worse, a steam mop. Wood is hygroscopic—it absorbs moisture from the air and direct contact. Excess water seeps into the seams between planks or through micro-fissures in the finish, causing the wood to swell. This leads to cupping (edges raised, center dipped) or crowning. The fix is a damp mop, wrung out until it’s almost dry, used with a cleaner specifically formulated for hardwood.
The “Natural” Cleaner Trap
Vinegar and water is a classic home recipe, but it’s a floor care blunder for sealed wood. Most modern finishes are sensitive to acid. Regular use of vinegar slowly breaks down the polyurethane, leaving it cloudy, sticky, and unprotected. Similarly, applying wax or polish over a urethane finish creates a hazy, slippery film that is difficult to remove and traps dirt.
Laminate & Luxury Vinyl Plank: Water is the Enemy
While laminate and LVP are celebrated for their water resistance, this is a surface-level trait. Their core vulnerability lies at the seams and edges. These floors are essentially pictures of wood or stone printed on a fiberboard core (laminate) or a flexible vinyl core (LVP), topped with a clear wear layer. The biggest floor cleaner mistakes here involve misunderstanding that resistance.
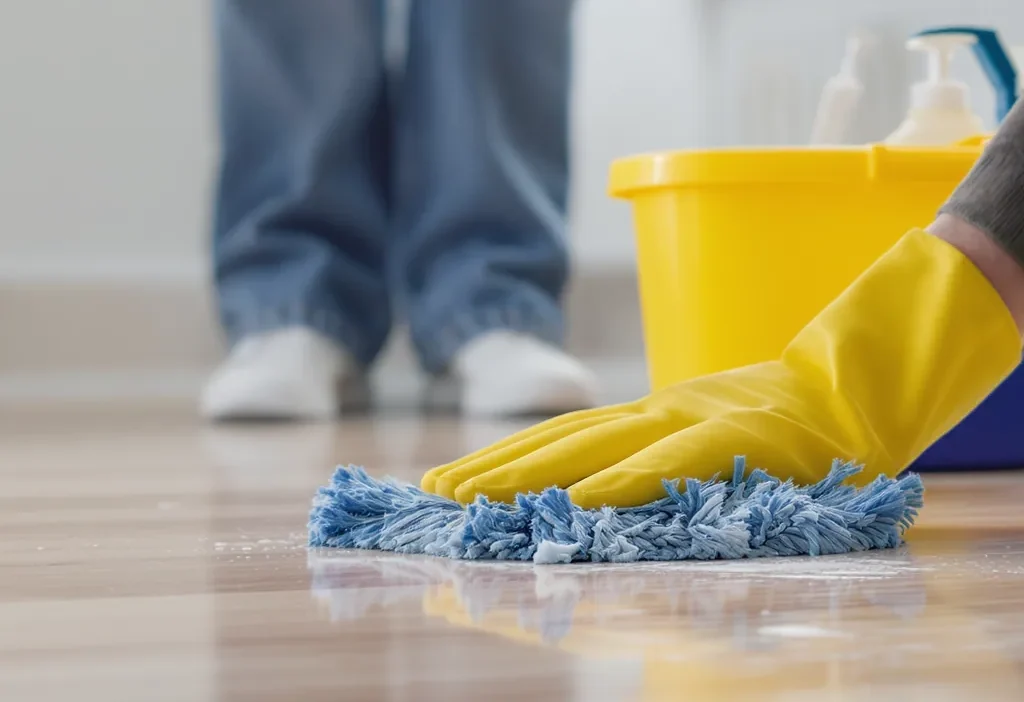
Do’s & Don’ts for Water-Sensitive Floors
DO: Use a microfiber mop dampened with water or a pH-neutral cleaner designed for these floors. Clean spills immediately. Sweep or dry-mop daily to prevent abrasive grit from scratching the wear layer.
DON’T:
- Flood the floor. Never use a sopping wet mop or let water pool. It will seep into the seams, causing the core to swell, which leads to irreversible lifting, buckling, and mold.
- Use steam mops. The intense heat and vapor can penetrate seams and break down the adhesive holding the planks together, even on “steam mop safe” claims. The risk far outweighs the benefit.
- Use abrasive scrubbers, wax, or polish. Scrubbing pads scratch the protective wear layer. Wax creates a dull, sticky residue that attracts dirt and negates the floor’s intended texture.
Tile & Grout: The Abrasion and Residue Trap
Tile feels indestructible, which leads to aggressive cleaning faux pas by floor type. The mistakes here aren’t about warping, but about dulling the glaze and destroying the grout. Porcelain and ceramic tiles have a hard, glazed surface, but that glaze can be scratched. The real victim is the porous grout between them.
Scrubbing with the Wrong Tools
Using steel wool, harsh scrub brushes, or abrasive powders directly on glazed tile creates fine scratches that cloud the shine. For grout, while stiff brushes are sometimes necessary, starting with a dedicated grout cleaner and a soft brush is key. A common error is sealing over dirty grout, which traps stains and dirt under the sealant permanently.
Using Acidic Cleaners Indiscriminately
While acidic cleaners (like those containing vinegar or phosphoric acid) can be great for removing hard water stains or efflorescence (white mineral deposits), they are a major floor maintenance mistake for natural stone tile and can degrade cement-based grout over time. For daily cleaning, a neutral pH cleaner is safest. Always clean the grout first, then the tiles, and only apply a fresh sealant to perfectly clean, dry grout.
Natural Stone (Slate, Marble, Travertine): Etching and Staining
Natural stone brings elegance and unique character, along with unique vulnerabilities. It is porous and often calcium-based (calcareous), making it reactive to acids. The most heartbreaking damaging floor cleaning habits happen here because they cause permanent, physical changes to the stone’s surface.

Etching is the primary danger. This is not a stain but a chemical burn. When an acidic substance—like vinegar, lemon juice, wine, or even some all-purpose cleaners—contacts calcareous stone (marble, limestone, travertine), it literally dissolves a microscopic layer of the surface. The result is a dull, whitish spot where the polish has been eaten away. This damage cannot be cleaned out; it must be professionally polished. The preventive rule is absolute: use only pH-neutral cleaners formulated for stone.
The second critical error is neglecting sealing. Unlike glazed tile, stone is porous. Spills can seep in and cause permanent staining if not sealed properly. A quality penetrating sealer doesn’t make the stone bulletproof, but it gives you crucial time to wipe up spills. Failing to re-seal as recommended by the manufacturer or installer leaves the stone naked against daily threats.
The 5 Most Overlooked Mistakes (Across All Floors)
Beyond the material-specific errors, these universal incorrect floor cleaning methods quietly undermine your efforts on any floor type.
- Using Too Much Product: More cleaner doesn’t mean more clean. Excess soap leaves a filmy residue that attracts dirt and causes streaks. Always follow dilution instructions.
- Not Changing Mop Water/Rinsing: Mopping with dirty water just spreads dissolved grime around. Change water frequently, especially when it looks cloudy. For no-rinse cleaners, use a fresh section of the mop head.
- Ignoring the Manufacturer’s Label: Your floor’s warranty and care guide contain specific, tested advice. Using a prohibited cleaner or method can void warranties.
- Cleaning with Dirty Tools: A vacuum with a full bag, a broom caked with dust, or a mop head laundered with fabric softener (which reduces absorbency) cannot do their job. Maintain your tools.
- Assuming “Elbow Grease” Solves Everything: Scrubbing harder is often the wrong response. If a stain isn’t lifting with the correct chemical, more force may scratch the surface. Stop, reassess the stain type and cleaner compatibility.
Shift Your Mindset from Cleaning to Preserving
The goal of this guide isn’t to make you fear cleaning your floors, but to empower you to do it intelligently. Effective floor care is less about removal and more about preservation. Each swipe of the mop should protect the surface as much as it cleans it.
Turn this knowledge into action today. Walk through your home and diagnose one symptom—a dull patch in the hallway, a persistently dirty grout line, a streaky section after mopping. Match it to your floor type and identify the probable mistake from the sections above. Then, commit to one correction: buy the right pH-neutral cleaner, wring your mop out more thoroughly, or finally seal that grout. By fixing one cleaning error on hard floors, you start a cycle of preservation that will keep your floors looking their best for years, not just until the next cleaning day.
The core principle for avoiding hard floor damage is to match your cleaning method to your floor’s specific material and finish. Universal cleaners and techniques often cause harm. For hardwood, avoid excess water and acidic cleaners to prevent swelling and finish degradation. With laminate and LVP, protect the seams from moisture and never use steam or wax. For tile, use gentle tools to avoid scratching the glaze and clean/seal grout properly. On natural stone, strictly use pH-neutral cleaners to prevent permanent etching and maintain a consistent sealing schedule. Always start by checking your manufacturer’s guidelines.