You’ve just wiped down the last visible shelf in your refrigerator, feeling that satisfying click of a chore completed. But then, as you slide that top glass shelf back into place, your finger brushes against its underside—and you feel it. A sticky, stubborn patch of grime, completely hidden from view, mocking your efforts. It’s a universal moment of fridge-cleaning defeat, proving that a quick wipe of the surfaces we see is never enough. A truly effective fridge shelf cleaning checklist isn’t just about the obvious spots; it’s a strategic map to those hidden crevices where spills congeal and odors breed. This guide is that map. We’ll walk you through a foolproof sequence to get every removable part sparkling, and, more importantly, we’ll spotlight the five most commonly missed spots in fridge cleaning routines—complete with the simple, quick fixes to handle them. Transform this dreaded task from a game of hide-and-seek with grime into a swift, thorough victory.
A complete fridge shelf cleaning checklist requires you to remove all shelves and drawers, target hidden spots like door gaskets and the drip pan with a vinegar or baking soda solution, and ensure everything is bone-dry before you put food back to prevent mold. The core action is a systematic clean: empty and unplug the fridge, take out all removable parts, wash them with warm, soapy water, scrub the interior walls and those often-overlooked areas, then dry everything completely before reassembling. This method ensures you tackle both the visible surfaces and the hidden grime for a truly fresh interior.
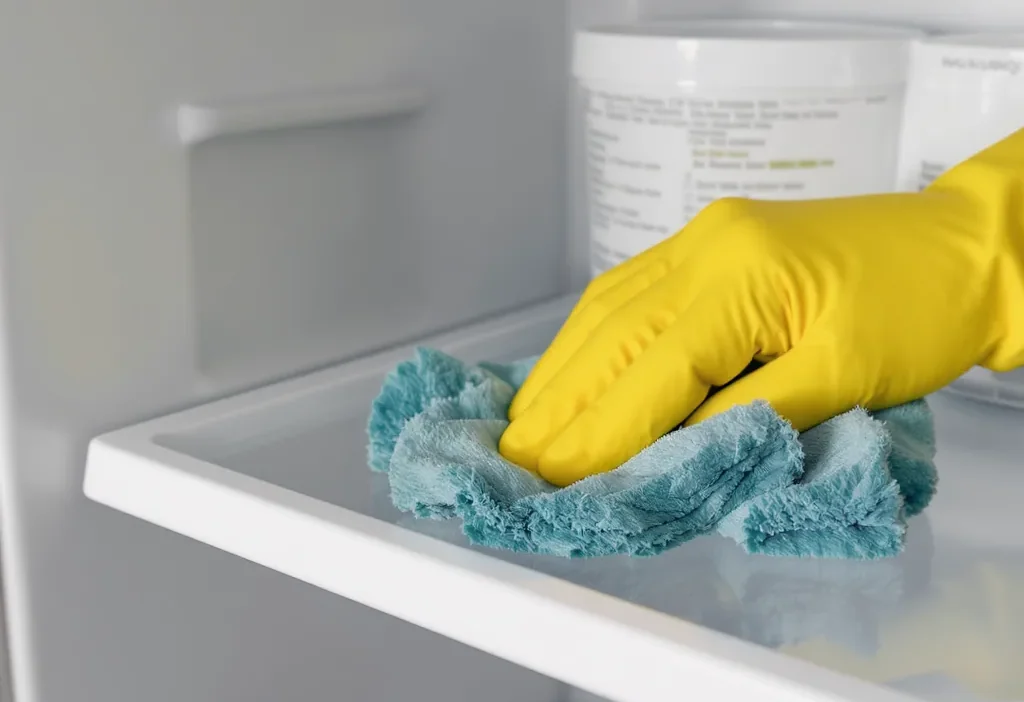
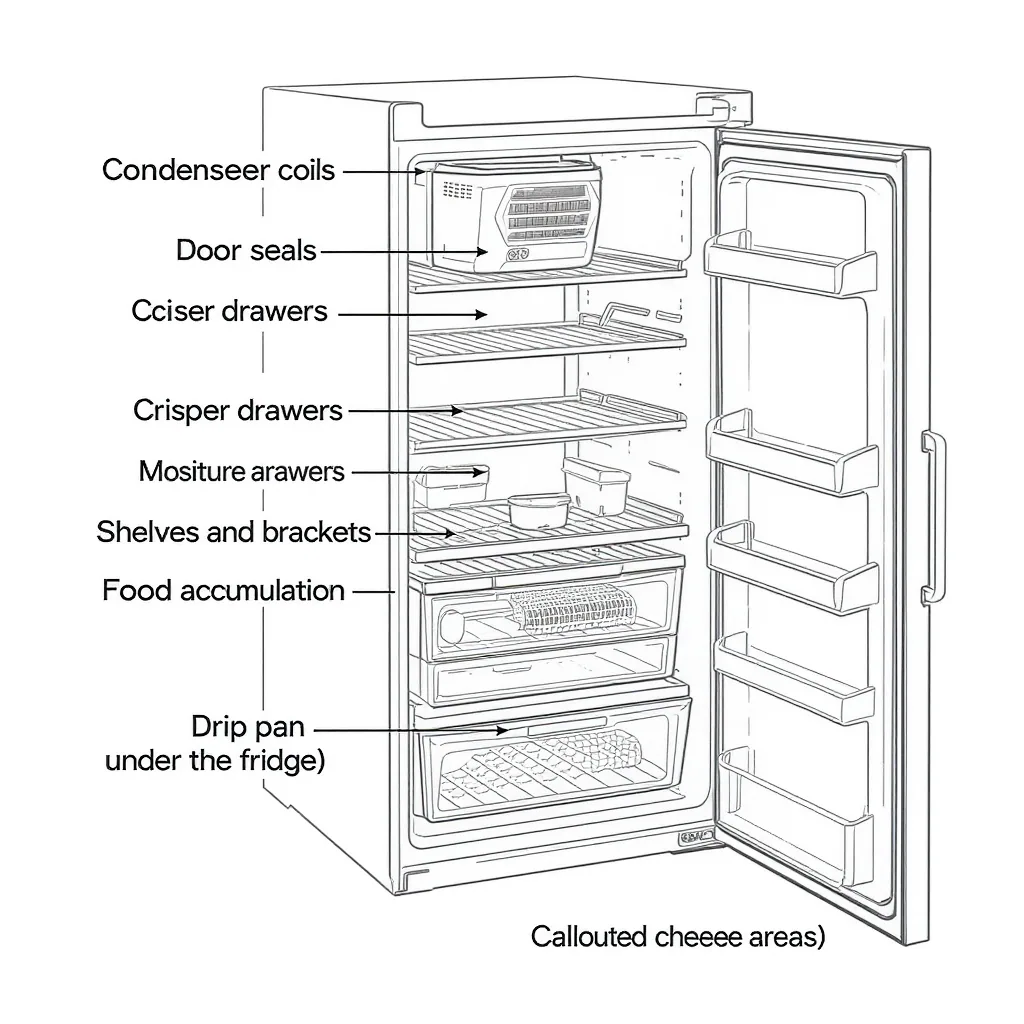
Your Complete Fridge Shelf Cleaning Checklist

Photo by IdaT on Pixabay
Following a logical order is the secret to a thorough clean without the headache. This checklist ensures you tackle every part of your refrigerator’s interior systematically.
- Prep & Gather Supplies: Unplug the fridge for safety. Remove all food, placing perishables in a cooler. Gather your cleaning kit: warm water, mild dish soap or a 1:1 vinegar/water solution, a few microfiber cloths, a soft-bristled brush (an old toothbrush is perfect), and a bowl or basin that fits in your sink.
- Remove Shelves & Drawers: Take out every single removable part—glass shelves, crisper drawers, deli drawer, and any small bins. This is the core of any fridge shelf cleaning guide. Wash them in the sink with warm, soapy water. For stubborn stains, let them soak. Rinse and set them on a towel to dry completely.
- Clean Interior Walls & Ceiling: With the interior empty, wipe down all surfaces. Start from the top (ceiling and light cover) and work down to the walls and floor. Pay special attention to corners and seams where spills can hide. This step is crucial for a complete cleaning fridge interior checklist.
- Clean Door Components: Don’t forget the door! Wipe down the interior of the door, the shelves or bins (often removable for easier cleaning), and the gasket (the rubber seal around the door). A quick pass here prevents odors from taking hold.
The 5 Most Commonly Missed Spots (And How to Fix Them)
Even with a good routine, these sneaky areas often escape notice. Here’s how to find and fix the most common missed spots in fridge cleaning.
1. The Door Gasket Grooves
Why it’s missed: The rubber seal’s folds and grooves are perfect traps for crumbs and sticky residues, but they’re out of plain sight.
The Quick Fix: Dip a cotton swab or a toothbrush into your vinegar solution. Run it along every groove of the gasket, flipping the seal back gently with your finger to expose the hidden side. Wipe clean with a damp cloth.
2. Shelf Brackets and Supports
Why it’s missed: When you remove the glass shelf, the plastic brackets or rails it sits on are left behind, collecting dust and drips.
The Quick Fix: Before you wash the shelf, wipe the brackets it came from. A narrow cloth or a brush helps get into the tracks. This prevents grime from transferring back to your freshly cleaned shelf.
3. The Drip Pan (on some models)
Why it’s missed: It’s often hidden behind a kickplate at the bottom front of the fridge. Many people don’t even know it exists.
The Quick Fix: Consult your manual to see if your model has a removable drip pan. If it does, pull it out carefully and empty any stagnant water. Wash it with soapy water to prevent mold and odors. Regular maintenance of components like this can help with efficiency.
4. The Light Cover and Housing
Why it’s missed: It’s above eye level and we focus on the food zones. Dust and grease can build up, dimming the light.
The Quick Fix: Ensure the fridge is unplugged. Gently twist or snap off the plastic cover. Wash it in the sink and use a dry cloth to dust the bulb and socket before replacing the cover.
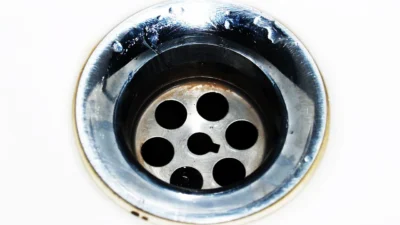
5. Veggie Drawer Tracks and Vents
Why it’s missed: We pull out the drawer but rarely look at the frame it slides into. The tracks get gritty, and the humidity control vents at the back can clog.
The Quick Fix: After removing the drawer, vacuum or wipe out the tracks. Check the small air vents at the back of the drawer compartment and clear any debris with a pipe cleaner for proper airflow.
Dos and Don’ts for a Sparkling, Odor-Free Fridge
These simple rules will protect your fridge and make your cleaning efforts last longer.
DO:
- Dry everything completely. This is the #1 rule. Any moisture left on shelves, drawers, or walls is an invitation for mold. Use a dry towel before reassembling.
- Use mild, food-safe cleaners like diluted vinegar, baking soda paste, or dish soap. They’re effective and won’t leave harmful residues.
- Wipe up spills immediately to prevent them from baking onto surfaces and becoming a much bigger job later.
- Place an open box of baking soda on a shelf to passively absorb odors between deep cleans.
DON’T:
- Use harsh chemicals like bleach or ammonia-based cleaners inside the fridge. Fumes can linger and absorb into food, and they can damage plastic surfaces.
- Put wet containers or produce back inside. Always dry off items before returning them.
- Overload shelves. Good air circulation is key for even cooling and preventing warm spots where bacteria can grow.
- Forget the exterior. Wiping down handles and doors removes fingerprints and germs you touch daily.
Common Refrigerator Cleaning Mistakes to Avoid
Beyond missing spots, people often make broader procedural errors. Steering clear of these refrigerator cleaning mistakes makes the whole process more effective.
Mistake 1: Only Wiping Visible Surfaces. This is the root cause of most missed spots in fridge cleaning. If you don’t remove shelves and bins, you’re just moving grime around. The fix? Always empty and remove components for a true deep clean.
Mistake 2: Not Checking Expiration Dates While It’s Empty. You have everything out—this is the perfect, hassle-free moment to toss that half-used jar of mystery sauce or the yogurt that’s seen better days. It prevents you from putting spoiled food back in your clean fridge.
Mistake 3: Ignoring the Condenser Coils. While not part of interior cleaning, dusty coils on the back or underneath the fridge make it work harder, using more energy and potentially shortening its life. Vacuuming the coils every 6-12 months is a key part of overall refrigerator shelf maintenance.
Mistake 4: Rushing the Reassembly. Putting shelves and drawers back while they’re still damp or before the interior is fully dry traps moisture. Be patient. Let everything air-dry thoroughly to ensure your sparkling clean fridge stays that way.
Turn a Dreaded Chore into a Quick Routine
Armed with this checklist and knowledge of the typical hiding spots, cleaning your fridge transforms from an overwhelming deep-clean project into a manageable, efficient task. The real win isn’t just a sparkling interior today; it’s preventing future messes and odors. By hitting those commonly missed areas and avoiding simple mistakes, you create a cleaner environment for your food, which can help it stay fresh and safe longer. A little focused effort now saves you from a much bigger, smellier problem down the line.