You buy the best sprays, the premium cloths, and the latest gadgets, yet your cleaning results are mediocre, your closet is a chaotic jumble, and you’re constantly re-buying products you swear you just purchased. This frustrating cycle isn’t just about effort—it’s a clear sign you’re making common cleaning supply storage mistakes. Poor organization and clinging to worn-out tools silently sabotage your routine, leading to ineffective cleaning, wasted money, and even creating hidden safety hazards from degraded chemicals or incompatible mixtures. This guide cuts through the clutter, serving as a diagnostic tool to help you spot and correct these everyday errors, transforming your approach from haphazard to highly effective.
The biggest cleaning supply storage mistakes are mixing incompatible chemicals, exposing products to heat or moisture, and ignoring expiration dates. For tools, the key error is using worn-out mops, sponges, and brushes long after they’ve stopped being effective, which can make cleaning harder and spread germs. The fix begins with a simple audit of what you have, where it’s stored, and its current condition to break the cycle of waste and ineffectiveness.
Diagnosing Your Current Cleaning Supply Situation
Before you can fix anything, you need to know what’s broken. The first step is a simple, honest audit of your current cleaning supply storage and the condition of your tools. This isn’t about judgment; it’s about observation. Grab a notepad and head to wherever you keep your supplies—under the sink, in a closet, the garage.
What to Look For: The Red Flags
Start by scanning for obvious signs of poor organization. Is everything crammed in a jumble, making it hard to find the glass cleaner without knocking over three other bottles? Are there dried spills or crusty residue on shelves or bottle sides? This clutter isn’t just annoying; it’s the primary cause of waste and inefficiency, a classic symptom of cleaning supplies organization mistakes.
Next, pick up your products. Check for expiration dates (yes, they have them). Look for changes: Is a once-clear liquid now cloudy or separated? Has a cream thickened into a paste or separated into layers? These are signs of chemical degradation, meaning the product may no longer work as intended and could even be unstable. For a definitive guide on safe chemical storage, the EPA offers clear guidelines that apply to many household chemicals.
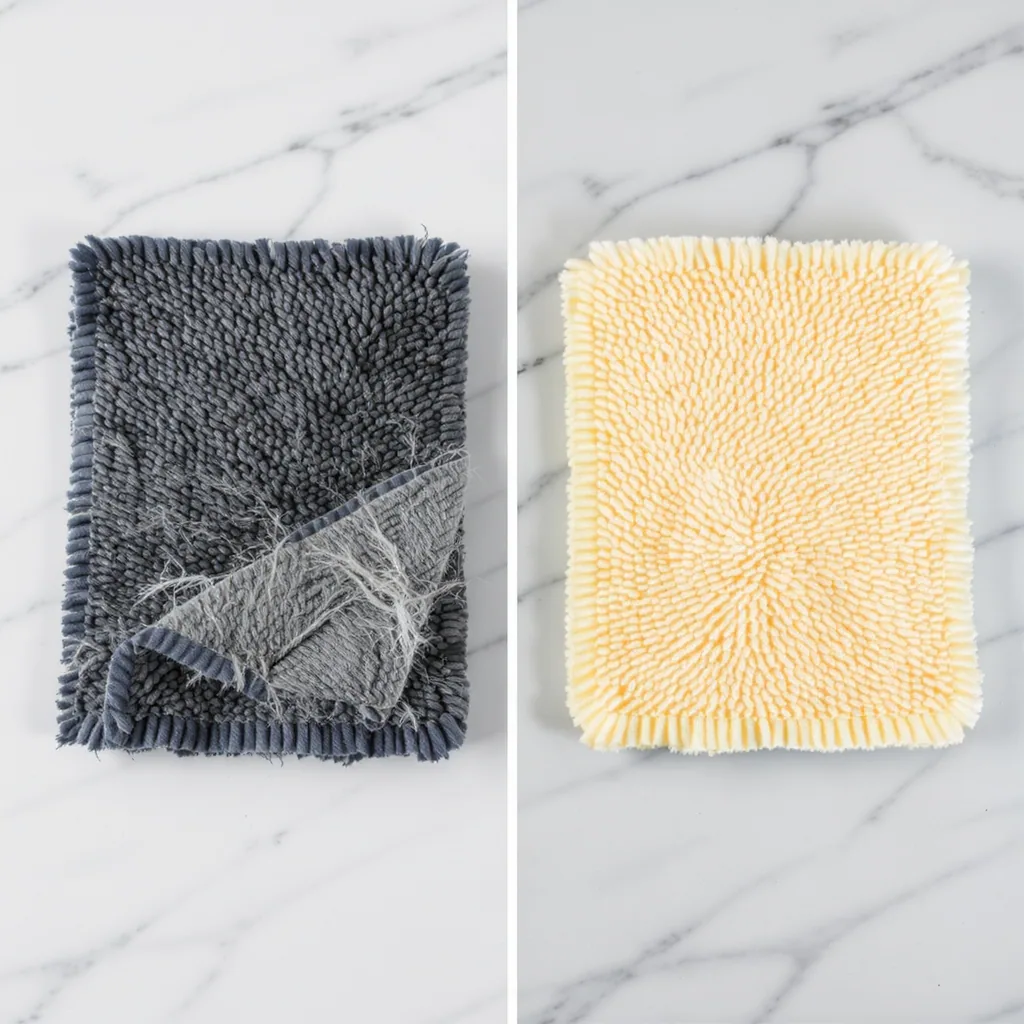
Finally, assess your tools. Are your microfiber cloths thin and crusty? Does your mop head have a permanent gray tint and a faint sour smell? Are your broom bristles splayed out like a bad haircut? Worn-out tools don’t just perform poorly; they actively work against you, pushing dirt around instead of lifting it.
The 5 Most Common (and Costly) Storage Mistakes
Now that you’ve done your audit, let’s put names to the problems. These are the frequent, often dangerous errors that turn a simple cleaning closet into a zone of hazard and waste.
Mistake 1: The Hazardous Chemical Cocktail
The Risk: Storing incompatible chemicals together, especially in cramped spaces where leaks and fumes can mingle. The classic, deadly example is ammonia and bleach, which combine to create toxic chloramine gas. But other combinations, like an acid-based toilet bowl cleaner and a chlorine-based product, can also produce dangerous fumes.
The Fix: Physically separate your chemicals. Create distinct zones: one for acids (toilet bowl cleaners, some rust removers), one for bases (ammonia, oven cleaners), and one for oxidizers (bleach, peroxide-based cleaners). Better yet, simplify your arsenal to reduce the risk entirely.
Mistake 2: The Extreme Environment Storage
The Risk: Storing supplies in places with wide temperature swings or high humidity—like an uninsulated garage, a hot car trunk, or a damp under-sink cabinet. Heat can degrade chemicals, reduce effectiveness, and increase pressure inside containers. Moisture can rust metal parts and cause labels to peel off.
The Fix: Choose a storage spot that is cool, dry, and dark. A hall closet or a dedicated shelf in a laundry room is typically ideal. This simple change is a cornerstone of proper cleaning supply maintenance.
Mistake 3: The Sealed-Tomb Fume Trap
The Risk: Storing volatile chemicals (paints, strong solvents, aerosol sprays) in a completely airtight, unventilated space. Fumes can build up, creating a fire hazard and degrading the seals on other containers.
The Fix: Ensure some passive air circulation in your storage area. If you must store potent chemicals in a tight space, consider a small, vented locker or cabinet designed for such products.
Mistake 4: The Junk-Drawer Approach
The Risk: Tossing everything into a single bin or deep shelf. This disorganization leads to forgotten duplicates, accidental spills when digging for an item, and products expiring unseen at the back. It’s the essence of organizing cleaning supplies incorrectly.
The Fix: Implement zoning. Group products by room (kitchen, bathroom) or task (glass cleaning, disinfecting). Use clear bins or caddies to keep categories together and visible.
Mistake 5: The “Labels Are Suggestions” Mindset
The Risk: Ignoring storage instructions and expiration dates on labels. Directions like “store in a cool place” or “use within 12 months of opening” are there for safety and efficacy. An expired disinfectant may not kill germs, and a degraded drain cleaner could be less effective or more corrosive.
The Fix: Read the label when you buy a product. Use a permanent marker to write the date you opened it directly on the bottle. During your quarterly audit, check these dates and dispose of anything past its prime.
When to Toss It: The Replacement Guide Nobody Tells You
Storage is only half the battle. Using degraded tools is one of the biggest silent saboteurs of a clean home. Knowing when to replace cleaning tools is as crucial as knowing how to use them. Here’s your no-nonsense guide.
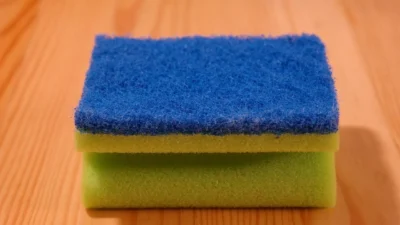
Sponges & Scrubbers
When to Toss: If your kitchen sponge develops a persistent musty or sour smell that doesn’t rinse out, it’s harboring bacteria and spreading it. For scrub brushes or scouring pads, toss them when the bristles become matted and soft or the pad loses its abrasive texture. A good rule is to replace kitchen sponges every 2-4 weeks with regular use.
Microfiber Cloths & Rags
When to Toss: Microfiber loses its effectiveness when its tiny fibers are clogged with residue or broken down. If the cloth no longer feels “grippy” on surfaces, if it leaves lint behind, or if it’s visibly threadbare, it’s time to retire it. With proper washing (no fabric softener!), good cloths can last for dozens of washes.
Mop Heads & Brooms
When to Toss: A mop head that is permanently discolored, stiff, or frayed is redistributing dirt. For sponge mops, replace the head when it stops absorbing water effectively. For brooms, replace when the bristles are splayed outward and no longer sweep into a neat pile.
Vacuum Filters & Bags
When to Toss: This is non-negotiable for performance and motor health. Check your manufacturer’s guide, but generally, replace disposable bags when ¾ full, and wash or replace HEPA/filters every 3-6 months. A clogged filter drastically reduces suction and can overheat the motor.
Liquid Cleaners & Solutions
When to Toss: Beyond expiration dates, trust your senses. If a product has separated and won’t re-mix with shaking, has changed color, or has developed an “off” chemical smell, dispose of it safely. Its active ingredients have likely broken down.
Building a Smarter, Safer Storage System
With the mistakes diagnosed and a replacement rhythm established, you can now build a system that prevents problems. This is about creating a logical, accessible, and safe home for your cleaning arsenal.
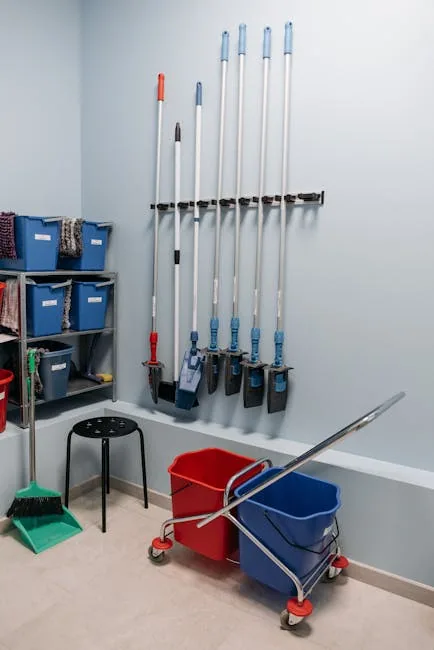
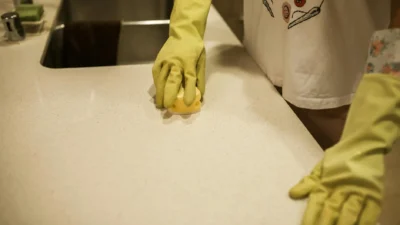
Photo by Pavel Danilyuk on Pexels
Do This: Implement the Zone Defense
Don’t just organize—categorize. Create specific zones: a caddy for daily surface cleaners, a bin for bathroom-specific products, a section for floor care (mop, broom, vacuum bags), and a locked or high cabinet for hazardous chemicals. This zoning turns cleaning from a scavenger hunt into a streamlined process.
Do This: Choose the Right Containers
Use clear, lidded bins to contain categories and protect from dust and spills. Label the bins or the shelves themselves. For small items like replacement scrubber heads or gloves, use smaller organizing bins within the larger one. This tackles cleaning closet organization blunders head-on.
Do This: Optimize Your Storage Location
Remember the golden rule: cool, dry, and dark. Ensure your chosen spot is away from heat sources (water heaters, furnaces) and moisture (under sink leaks, basement dampness). If the only option is a utility closet with a water heater, install a shelf away from the direct heat.
Do This: Prioritize Safety Above All
All chemicals should be kept in their original containers with legible labels. If you have children or pets, use safety latches on cabinets or store hazardous items in a locked box high up. Never store chemicals near food, pet food, or medicine.
Maintaining Your System and Avoiding Future Pitfalls
A perfect system today can be a disaster in six months without a simple maintenance habit. The goal is to make your new, efficient storage self-sustaining.
Schedule a Quarterly Audit
Put a recurring reminder in your calendar every three months. This is your 10-minute check to wipe down shelves, check for leaks, review expiration dates, and assess tool wear. This proactive habit is the antidote to common cleaning tool storage pitfalls.
Create a Running Shopping List
Keep a notepad or a note in your phone dedicated to cleaning supplies. During your audit, when you see a product is ¼ full or a mop head is looking tired, add it to the list immediately. This prevents emergency runs for a sponge and helps you buy only what you need.
Establish a “One In, One Out” Rule
To prevent clutter from creeping back, adopt a simple policy: when you buy a new bottle of cleaner, the old, empty one must be recycled. When a new scrub brush comes in, the old one goes out. This habit maintains the physical space you’ve so carefully organized.
By treating your cleaning supply storage as a dynamic system that needs occasional review, you lock in the benefits of safety, efficiency, and cost savings for the long term.
Your Path to a Cleaner, Safer Home
Transforming how you store and maintain your cleaning supplies isn’t just a minor household tweak—it’s a direct investment in a more effective, economical, and safer cleaning routine. By moving away from haphazard storage and clinging to worn-out tools, you eliminate hidden frustrations and potential hazards. The process is straightforward: diagnose your current state, correct the critical errors, establish clear replacement guidelines, and build a maintainable system.
The real victory comes from making this knowledge habitual. Start small. Today, pick just one action from this guide: maybe check under your sink for incompatible chemicals, date your newly opened bottles, or finally retire that sad-looking sponge. That single step will immediately make your cleaning efforts more productive and your home a healthier place. Consistent, small actions build the foundation for a home that’s not just clean, but efficiently and safely maintained.
Smart cleaning is a two-part habit: proper storage and timely replacement. Avoid the major pitfalls by never mixing incompatible chemicals, storing products in cool/dry places, and reading labels. Remember that your tools are consumables; replace sponges, cloths, and mop heads at the first signs of wear, odor, or decreased performance. An organized system, maintained with quarterly check-ins, saves you time, money, and ensures every cleaning product works as effectively and safely as intended.