You might think a bucket of hot water and a splash of all-purpose cleaner is a safe bet for any floor, but that common assumption is the fastest route to dull, scratched, or permanently warped surfaces. The best way to clean floors by material type isn’t about finding a single miracle product; it’s about matching your method to the specific needs of your tile, vinyl, or wood-look planks. Using the wrong cleaner or tool—like making classic tile floor cleaning mistakes with acidic solutions on natural stone or ignoring gentle vinyl floor cleaning tips—can quietly degrade your flooring investment. This guide cuts through the confusion with a practical, material-specific toolkit and routine to keep your floors looking new without causing expensive damage.
The best way to clean floors by material type is to first identify your surface, then use the right tools and cleaners. For tile, use a pH-neutral cleaner and avoid vinegar on natural stone. For vinyl, a mild soap and water solution works best, avoiding wax and abrasive pads. For wood-look floors, use a dedicated wood floor cleaner and damp-mop only, never soaking the planks.
Your Cleaning Toolkit: What You Actually Need
Before you touch a single floor, you need the right gear. Using the wrong tools is the fastest way to cause damage, so think of this as your non-negotiable starter kit for safe floor cleaning.
Your essentials are: a microfiber flat-head mop (the kind with a removable, washable pad), a soft-bristle brush for grout, a spray bottle for your cleaning solution, and a dry dust mop or vacuum with a hard-floor setting. For cleaners, you really only need two: a pH-neutral all-purpose cleaner and a dedicated wood floor cleaner. White vinegar and isopropyl alcohol can be useful in specific, diluted situations, but they are not universal solutions.
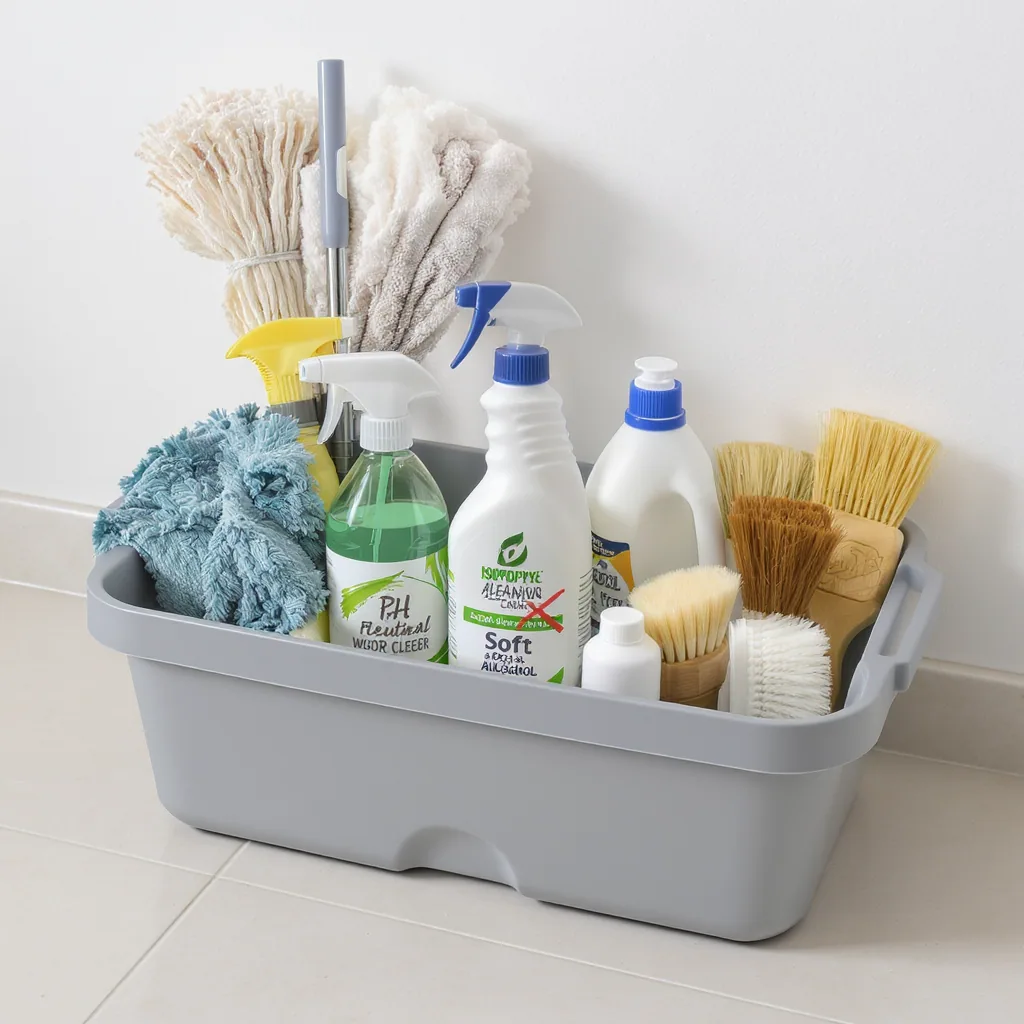
What to leave in the closet? String mops hold too much water and spread dirt. Steam mops, despite their popularity, can force moisture into seams and damage many surfaces. Abrasive scrub pads and wax-based polishes are also common culprits for dulling finishes. Starting with the correct, gentle tools is half the battle in proper floor maintenance.
Ceramic & Porcelain Tile: Focus on Grout, Not Glaze
The glazed surface of ceramic or porcelain tile is incredibly durable and easy to clean. The real challenge—and where most tile floor cleaning mistakes happen—is the grout. This porous material traps dirt and moisture, leading to discoloration and mildew.
Do: Start by dry mopping or vacuuming to remove grit. Use your pH-neutral cleaner diluted in warm water. Mop in sections, paying extra attention to grout lines. For a deeper clean, use your soft-bristle brush on the grout with the same solution. Rinse with clean water if your cleaner requires it, and always dry the floor with a clean towel to prevent water spots.
Don’t: Use vinegar or acidic cleaners on natural stone tiles like marble, travertine, or limestone, as they will etch and dull the surface. Avoid abrasive scouring pads on any tile, as they can scratch the glaze. Never let dirty, soapy water or excessive moisture sit on grout. A quick, five-step routine is all you need: 1) Sweep/vacuum, 2) Mix your pH-neutral cleaner, 3) Mop in sections, 4) Rinse if needed, 5) Dry thoroughly.
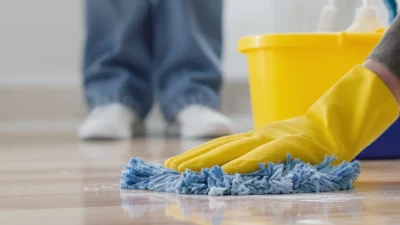
Photo by Pexels on Pixabay
Vinyl & LVT: Gentle is the Rule
Vinyl plank (LVP) and luxury vinyl tile (LVT) are popular for their durability, but their wear layer is sensitive to harsh chemicals and abrasion. The core vinyl floor cleaning tips all revolve around being gentle. Many products can leave a dulling residue or even cause discoloration over time.
The safest protocol is simple: warm water with a single drop of clear dish soap or a cleaner specifically made for vinyl floors. Your mop should be damp, not wet—wring it out until it’s almost dry. Go over the floor, and immediately follow up by drying any remaining moisture with a clean, dry microfiber cloth. This prevents water from seeping into the seams, which can cause edges to curl.
Never use wax, polish, or abrasive pads, as they will cloud the protective wear layer. Also, avoid detergents that are labeled as “shine-enhancing” or “polishing,” as they often contain oils or waxes that build up. For sticky spots, a bit of isopropyl alcohol on a cloth can work, but test in an inconspicuous area first.
Wood-Look Floors (Laminate, Engineered): The Damp-Mop Dance
Laminate and engineered wood floors have a photographic layer sealed with a tough wear layer. They are not solid wood, and treating them as such is a recipe for swelling and warping. The golden rule for cleaning wood-look flooring is moisture control.
Do: Use a cleaner recommended by the flooring manufacturer or a dedicated laminate/engineered wood cleaner. Dampen your microfiber mop pad with the solution, then wring it out thoroughly—it should feel barely damp to the touch. Mop in the direction of the planks to avoid pushing liquid into the seams. Dry any streaks immediately.
Don’t: Use a steam mop; the intense heat and vapor can break down the adhesive and cause planks to separate. Never pour liquid directly onto the floor. Avoid vinegar-and-water mixes, wax, polish, or any “mop-and-shine” products, as they will leave a hazy, sticky film. The goal is to clean the surface without letting any moisture penetrate, preserving your floor’s integrity for the long term.
Protect Your Investment with the Right Routine
The best way to maintain your floors isn’t about finding a miracle cleaner; it’s about committing to a gentle, material-specific routine. By using the right tools from your toolkit and following the simple protocols for your surface, you prevent the slow, expensive damage caused by common mistakes.
This preventive approach saves you time and money on repairs or premature replacements. Your floors are a significant investment in your home—a quick, correct clean protects that investment and keeps them looking new for years. Start with the right tool from your toolkit tonight.