Here’s a counterintuitive truth: cleaning your bathroom incorrectly can be worse than not cleaning it at all. While your intentions are good, common bathroom cleaning mistakes often spread grime instead of removing it, trap moisture that breeds mold, and slowly degrade the very surfaces you’re trying to protect. This isn’t about working harder; it’s about working smarter by avoiding the pitfalls that sabotage your efforts. This guide focuses on what not to do, breaking down the three core areas where errors are most costly: the mismanagement of grime, the neglect of moisture, and the misuse of products on delicate surfaces. By understanding these bathroom cleaning errors, you can transform your routine from a chore that potentially causes damage into a process that ensures a genuinely clean, healthy, and long-lasting space.
The biggest bathroom cleaning mistakes to avoid are using abrasive cleaners on delicate surfaces, ignoring ventilation after cleaning, and wiping surfaces in a haphazard order that redistributes grime. To clean effectively, you must use the right product for each material (like avoiding acidic cleaners on natural stone), always run the fan or open a window to dry the room completely, and follow a top-down sequence so dirt and disinfectant runoff don’t contaminate already-cleaned areas. Avoiding these errors protects your bathroom and makes cleaning more effective.
The Grime Game: How Your Cleaning Order Creates More Work
One of the most common bathroom cleaning errors is diving in without a plan. Cleaning surfaces in a haphazard order isn’t just inefficient; it actively re-spreads dirt, germs, and cleaning product residue, forcing you to re-clean areas you’ve already tackled. This mistake turns a 30-minute refresh into an hour-long battle against grime you created yourself.
The golden rule is top-down and dry-to-wet. Gravity and your cleaning tools are the main vectors for spreading mess. If you scrub the toilet bowl and then wipe the counter, you’re likely transferring bacteria upward. If you mop the floor first and then dust the light fixtures or clean the shower walls, all that dislodged dust and splatter lands on your freshly cleaned floor.

The Right Sequence to Follow
Do:
- Start Dry: Dust light fixtures, vents, and high shelves.
- Clean Highest Surfaces: Wipe mirrors, glass, and any wall tiles.
- Move to Counters & Sinks: Spray, scrub, and rinse.
- Tackle the Shower/Tub: Apply cleaner, let it sit, then scrub from the top down.
- Address the Toilet: Clean from the tank and seat down to the base and finally the bowl interior.
- Finish with Floors: Sweep or vacuum, then mop from the farthest corner toward the door.
Don’t:
- Clean floors before any other surface.
- Use the same cloth on the toilet and then the sink without sanitizing it.
- Skip pre-treatment on soap scum or hard water stains, leading to ineffective scrubbing that just moves grime around.
This methodology is supported by basic principles of cleaning and disinfection science, which emphasize reducing cross-contamination. By following a logical order, you contain the mess and actually remove it from the space for good.
Moisture Mayhem: The Silent Enemy You’re Probably Ignoring
In the quest to eliminate visible dirt, many people commit a critical bathroom maintenance mistake: they ignore moisture. A bathroom left damp after cleaning is a perfect incubator for mold, mildew, and lingering odors. This turns your cleaning effort into a setup for future problems.
Consider this typical scenario: You’ve just given the shower a thorough scrub. The room is steamy, the surfaces are wet, and you close the door behind you, satisfied. Hours later, moisture is still clinging to the shower walls, condensing on the toilet tank, and trapped in the bunched-up shower curtain. Within days, those telltale black specks of mold begin to appear in the grout lines—a direct result of this cleaning pitfall.
Key Moisture Management Errors
- Not Ventilating: Failing to run the exhaust fan during and for at least 20-30 minutes after cleaning is a top error. If you don’t have a fan, open a window.
- Leaving Tools & Textiles Wet: A sopping-wet sponge or mop left in a dark bucket or closet becomes a bacteria farm. Always wring out tools and hang them to dry completely.
- Neglecting Condensation Hotspots: After a hot shower or cleaning, wipe down the toilet tank, window sills, and metal fixtures where water beads form.
- Using a Soaked Cloth on Porous Surfaces: Oversaturating wood vanity tops or certain natural stones drives water deep into the material, potentially causing warping or staining.
The fix is simple but non-negotiable. Make drying part of the clean-up. Use a squeegee on shower walls and doors immediately after cleaning. Hang up shower curtains and liners straight. Place absorbent mats outside the shower and replace them regularly. This proactive approach stops moisture-related damage before it starts.
Surface Sabotage: Choosing (and Using) Cleaners All Wrong
Perhaps the most damaging category of bathroom cleaning blunders involves using the wrong product or tool on a sensitive surface. The “one-cleaner-fits-all” mentality leads to etched glass, dulled finishes, and eroded grout. Effective cleaning requires knowing your surfaces and matching your chemistry.
Here’s a troubleshooting guide for common surface damages caused by these cleaning errors:
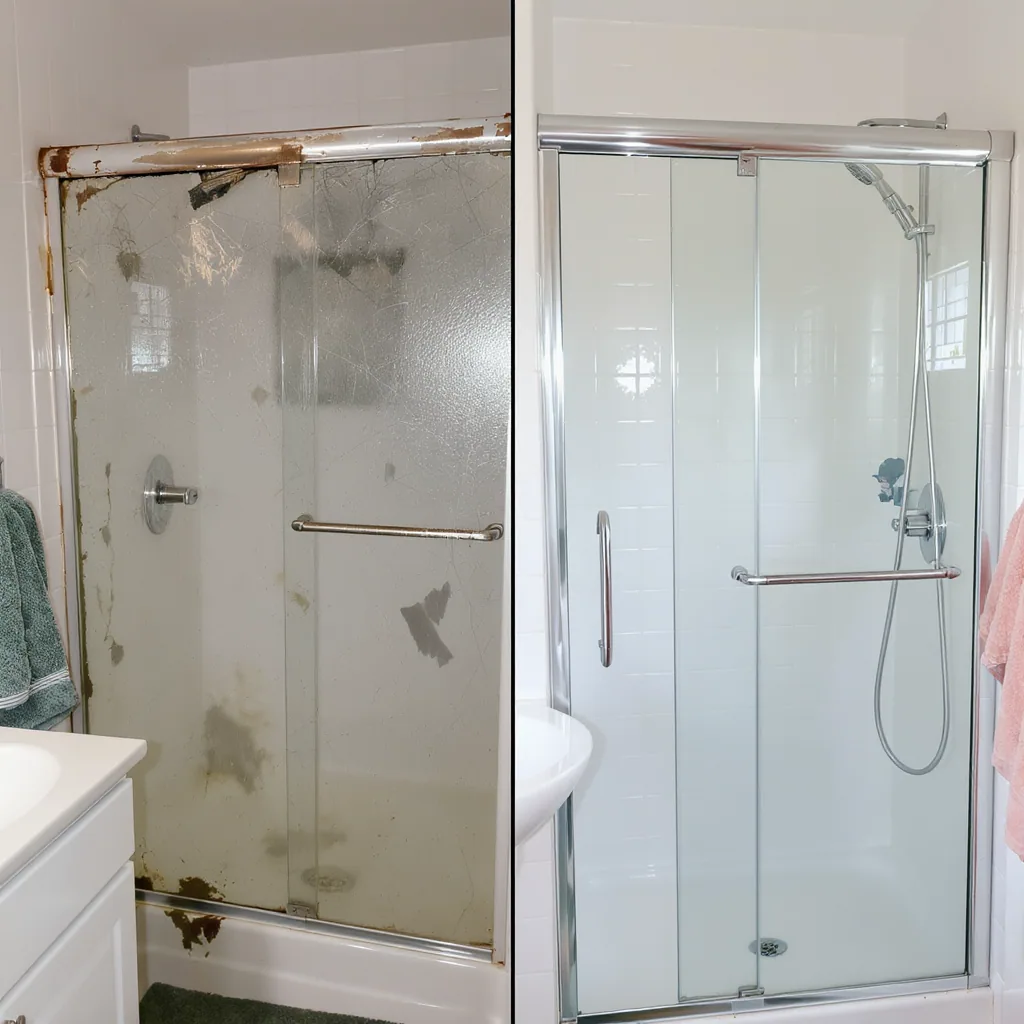
Problem: Hazy, Cloudy Shower Doors or Mirrors
Likely Mistake: Using abrasive powdered cleansers or harsh scrub pads on glass. These microscratches scatter light, creating a permanent fog.
Solution: For hard water stains, use a mild acid like distilled white vinegar or a citric acid solution. Apply with a soft cloth or sponge, never steel wool. For general cleaning, a dedicated glass cleaner and a microfiber cloth are safest.
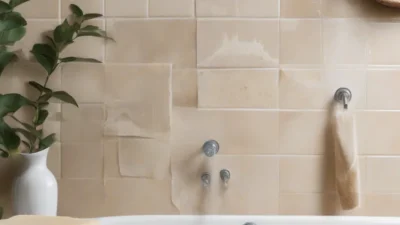
Problem: Discolored or Crumbling Grout
Likely Mistake: Overusing undiluted bleach or acidic cleaners. While bleach can kill surface mold, it can degrade the grout binder over time, and acid can dissolve the sand and cement.
Solution: For moldy grout, use a oxygen-based cleaner (like hydrogen peroxide formulas) or a diluted bleach solution applied carefully, then rinsed thoroughly. For cleaning, a pH-neutral cleaner is best. Always seal grout after it’s clean and dry to protect it.
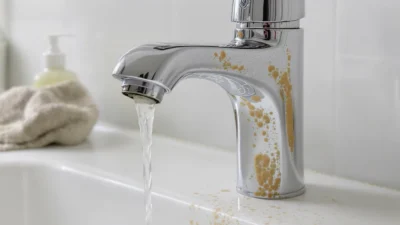
Problem: Dull Spots on Chrome or Nickel Fixtures
Likely Mistake: Using abrasive cleaners or acidic formulas (like some toilet bowl cleaners) on polished metal.
Solution: Clean fixtures with a mild dish soap and water solution, then dry immediately with a soft cloth to prevent water spots. For shine, a dedicated metal polish can be used sparingly.
The Universal Rules
- Read Labels: The bottle will tell you what surfaces a cleaner is safe for. Heed warnings like “Do not use on natural stone” or “Avoid on brass.”
- Test First: Always test a new cleaner in a small, inconspicuous area.
- When in Doubt, Go Gentle: A pH-neutral cleaner and a soft microfiber cloth are safe for most common surfaces (tile, porcelain, acrylic, finished metals).
Note: This guide is for educational purposes to correct common mistakes. For severe damage or valuable surfaces, consulting a professional restorer is recommended.
Tool Time Troubles: Your Equipment is Working Against You
Your arsenal of sponges, brushes, and cloths should be allies, not adversaries. Yet, mismanaging these tools is a frequent source of bathroom cleaning errors that undermine your entire process. A dirty tool doesn’t clean; it redistributes filth.
The classic mistake is using a single, generic sponge for everything. That sponge you just used to wipe down the toilet seat? If you then use it to scrub the sink, you’ve just performed a masterclass in cross-contamination. Similarly, a stiff-bristled brush is great for textured tile but will scratch the gloss finish off an acrylic tub. And that trusty mop? If you don’t clean the mop head itself, you’re essentially painting your floor with last month’s grime.
Upgrade your tool hygiene. Designate color-coded microfiber cloths for specific zones (e.g., blue for glass/mirrors, green for counters/sinks, red for toilet exterior). Microfiber is superior to paper towels for most tasks because its tiny fibers trap dust and bacteria more effectively without leaving lint, as explained in resources on microfiber cleaning technology. Wash these cloths separately in hot water after use. For brushes and sponges, sanitize them regularly in a bleach solution or run them through the dishwasher. A clean tool is the foundation of a truly clean bathroom.
The Preventative Mindset: Stopping Mistakes Before You Start
The most effective way to avoid all these bathroom cleaning mistakes is to shift from a reactive “deep-clean crisis” mode to a proactive, preventative routine. This mindset addresses grime, moisture, and surface care before they become major issues, making your dedicated cleaning sessions faster, easier, and less prone to error.
Prevention is less about daily scrubbing and more about smart habits that interrupt the cycle of buildup. It’s the difference between chiseling away at rock-hard soap scum and quickly wiping away a fresh film.
Building Your Preventative Routine
- The Daily/Post-Shower Minute: Keep a squeegee in the shower. A 30-second pass over walls and doors after each use prevents hard water and soap scum buildup. Hang up wet towels and mats to dry.
- The Weekly Wipe-Down: Once a week, quickly wipe down counters, the exterior of the toilet, and the sink basin with a disinfecting wipe or a damp microfiber cloth. This takes five minutes and stops grime from cementing.
- Product Literacy: Take two minutes to read the labels on your cleaning products. Knowing what you’re using and where it’s safe to use is the single biggest step in preventing surface damage.
- Tool Maintenance: Schedule a monthly “tool clean-out.” Wash cloths, disinfect brushes, and replace worn-out sponges. This ensures every cleaning session starts with effective equipment.
By integrating these small actions, you dismantle the conditions that lead to frantic, mistake-prone deep cleans. You protect your surfaces, control moisture daily, and keep grime at a manageable level, which is the ultimate victory in bathroom care.
Cleaning Smarter, Not Harder
Avoiding these common bathroom cleaning mistakes transforms a chore into a strategic maintenance task. It’s not about wielding more elbow grease; it’s about applying smarter principles: working in the right order, respecting moisture, choosing products wisely, and maintaining your tools. When you stop working against yourself, you stop creating more work.
The reward is a space that isn’t just superficially clean, but is genuinely healthier and more durable. You’ll spend less time fighting losing battles against mold and grime, and more time enjoying a bathroom that feels fresh and well-cared-for, week after week. Start by fixing just one of these errors in your next routine, and you’ll immediately feel the difference.
To achieve a truly clean and healthy bathroom, avoid these key error categories:
- Wrong Order: Clean from top to bottom and dry to wet to prevent re-spreading dirt and germs. Always finish with the floors.
- Ignoring Moisture: Always ventilate during and after cleaning. Use a squeegee and dry surfaces to prevent mold and mildew growth.
- Incorrect Products: Match cleaners to surfaces. Avoid abrasives on glass/acrylic and acids on natural stone. Read labels and test first.
- Poor Tool Hygiene: Use designated cloths for different zones (toilet vs. sink) and clean your tools regularly to avoid cross-contamination.
Adopting a preventative routine with quick daily wipe-downs and weekly touch-ups is the most effective way to avoid these pitfalls altogether.
Q: Can I use vinegar to clean everything in my bathroom?
A: No. While vinegar is excellent for dissolving hard water stains on glass and chrome, it’s a mild acid and can damage natural stone (like marble or limestone), etch certain sealants, and degrade grout over time. Always check surface compatibility first.
Q: How often should I deep clean my bathroom to avoid these mistakes?
A: A full deep clean following the correct order and methods is typically needed every 1-2 weeks, depending on usage. However, the key is daily preventative habits (squeegeeing, ventilation) and a quick weekly wipe-down of surfaces to prevent grime buildup that makes deep cleans harder.
Q: Is it bad to use the same cloth for the toilet and the sink?
A: Yes, this is a major hygiene error that spreads bacteria. Always use separate, color-coded cloths or microfiber towels for the toilet area and the sink/counter areas. Wash them in hot water after use.
Q: What’s the one cleaning product I should never use in a bathroom?
A: There’s no single universal “never,” but a product to use with extreme caution is undiluted bleach. It can damage colored grout, harm many natural stones, corrode metal fittings if left on, and create dangerous fumes if mixed with ammonia or acids (like vinegar). Always dilute and rinse thoroughly.
Q: How can I tell if I’ve already damaged a surface with the wrong cleaner?
A: Look for permanent cloudiness or scratches on glass/acrylic, a dull or rough feel on once-smooth surfaces, discoloration or pitting on metal fixtures, or grout that feels powdery or is crumbling. These are signs of chemical or abrasive damage. For severe cases, professional restoration may be needed.