You’re mid-clean, reach for a clear spray bottle, and freeze. Is this the gentle glass cleaner or the potent bathroom disinfectant? That moment of hesitation—and the potential for a ruined countertop or a dangerous chemical mix-up—is the direct consequence of unlabeled cleaning bottles. This common household oversight is more than a minor annoyance; it’s a recipe for wasted time, damaged surfaces, and genuine safety risks. The good news? Transforming this chaotic collection into a streamlined, mistake-proof system is a quick and fixable organization project. Let’s tackle it.
The fastest way to prevent unlabeled cleaning bottles mistakes is to immediately label every bottle with its contents and purpose. Use a permanent marker on the cap, durable tape, or printable labels to clearly mark each product. This simple act eliminates guesswork, prevents dangerous mix-ups and surface damage, and creates a safe, efficient cleaning routine in minutes.
Why a Missing Label is More Than Just an Annoyance
That clear bottle of mystery liquid isn’t just a minor inconvenience; it’s a genuine household hazard. The core problem with unmarked cleaning supplies is that you’re forced to guess, and guesses can lead to expensive or dangerous outcomes. The most immediate risk is safety. Accidentally mixing certain chemicals, like bleach and ammonia, can create toxic gases. Even using a harsh disinfectant without proper ventilation because you thought it was a mild all-purpose cleaner is a health risk.
Beyond safety, surface damage is a common and costly result. Using a degreaser on a delicate wood finish or a bathroom cleaner with bleach on colored grout can cause permanent stains or etching. You also waste precious time every cleaning session playing a frustrating game of “sniff and guess,” diluting the effectiveness of your routine. For homemade solutions, an unlabeled bottle means you forget the dilution ratio, rendering your mix useless. This cycle of uncertainty undermines the entire point of having organized cleaning supplies.
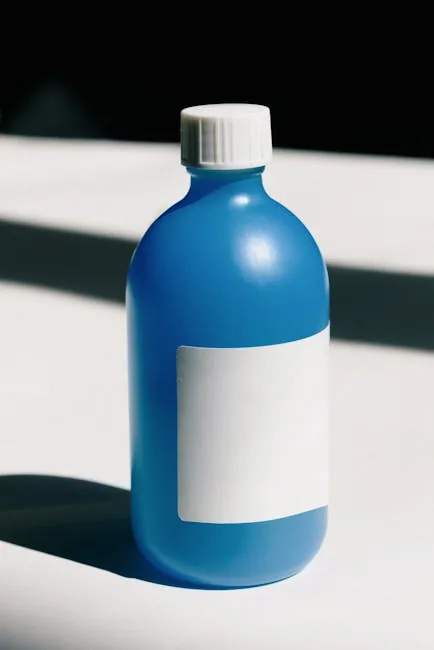
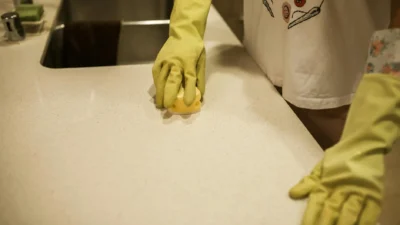
Photo by Ksenia Chernaya on Pexels
Your Quick-Start Labeling Protocol (The 15-Minute Fix)
Stop the guesswork right now with this straightforward, immediate action plan. You don’t need fancy supplies—just a commitment to 15 minutes of focus.
- Gather & Corral: Pull every unlabeled or poorly labeled spray bottle from under sinks, closets, and shelves. Line them up on a counter.
- Identify the Unknowns: For true mysteries, use a process of elimination. Sniff carefully (don’t inhale deeply), check for residue color or consistency, and think about where you found it. Is it likely a kitchen degreaser or a glass cleaner? Sometimes, you may need to safely dispose of a completely unidentifiable liquid.
- Choose Your Weapon: Select a labeling method you have on hand. The best option is whatever you’ll actually use. A permanent marker directly on the bottle cap or side works instantly. Masking tape or painter’s tape with a permanent marker is classic and removable. For a neater look, use waterproof printable labels.
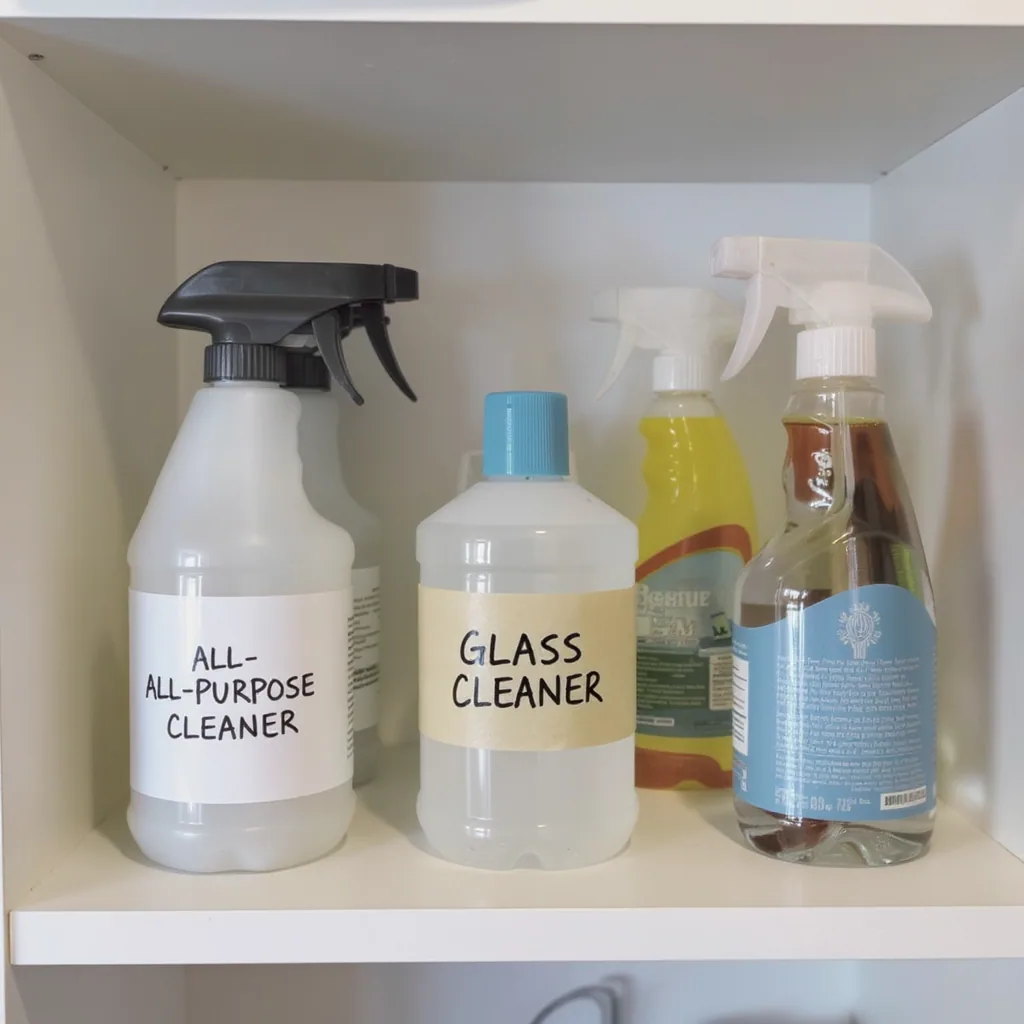
- Label with Key Intel: Don’t just write “cleaner.” Every label should have: Product Name (e.g., “Bathroom Disinfectant”), Dilution Ratio (e.g., “1:10 with water”), and for homemade mixes, the Date it was made. For harsh chemicals, adding a brief warning like “Avoid on wood” can be a smart safety step.
This simple act of label cleaning spray bottles transforms them from hazards into tools. The goal here isn’t perfection; it’s immediate clarity.
Common Labeling Mistakes to Avoid
Now that you’re motivated to label, let’s ensure your labels last and remain useful. Avoiding these common pitfalls will save you from future cleaning mix-ups and rework.
Don’t:
- Use pencil or washable markers. Moisture and handling will make them disappear, putting you right back where you started.
- Be vague. Labels like “stuff” or “cleaner” are functionally useless. Specificity is key.
- Place labels where spray will directly hit them. The constant moisture from the spray trigger will degrade even waterproof labels over time. Place them on the side or back of the bottle.
- Forget about homemade solutions. If you don’t note the recipe and date, you’ll have no idea if it’s still effective in a month.
Do:
- Use waterproof, smudge-proof materials. Permanent ink on plastic, vinyl labels, or laminated tags are your best friends.
- Include safety notes for harsh chemicals. A simple “Wear Gloves” or “No Mixing With Bleach” can prevent accidents.
- Standardize your label placement. Putting the label in the same spot on every bottle (e.g., on the front, just below the trigger) makes for quick, at-a-glance identification.
- Refresh faded labels. As part of your routine cleaning bottle organization, check labels every few months and rewrite any that are becoming hard to read.
Beyond the Label: Simple Systems for Long-Term Order
Labeling is the critical first step, but pairing it with a basic organizational system prevents clutter from creeping back in. Think of it as giving your newly identified bottles a proper home.
Start by grouping bottles by their zone of use. Keep all kitchen cleaning products—degreasers, counter sprays, stainless steel polish—together under the kitchen sink. Do the same for bathroom cleaners, glass cleaners, and floor cleaners in their respective areas. This “zone cleaning” approach means you grab the caddy for that room and have everything you need, eliminating cross-house trips.
Contain the chaos with a simple tool: a carry-all caddy or a dedicated shelf. A caddy is ideal for transporting supplies from room to room, while a designated shelf in a utility closet or garage keeps everything visible and accessible. To maintain your system, adopt a “one in, one out” rule. When a new bottle comes in, an old, empty, or duplicate one goes out. Finally, schedule a quick, quarterly “label check” when you change your smoke detector batteries. It takes two minutes to ensure labels are still legible and bottles are in their correct groups.
This level of cleaning bottle organization isn’t about being fussy; it’s about creating a self-sustaining system that makes cleaning faster, safer, and utterly mindless.
Reclaim Your Cleaning Confidence
The frustration and risk posed by a cabinet full of mystery bottles is completely solvable. You don’t need a major overhaul—you just need to start. By taking 15 minutes today to implement the quick labeling protocol, you transform anxiety into assurance. You’ll save time, protect your home and your health, and finally put an end to the pre-cleaning guesswork. Start with one bottle, label it clearly, and feel the immediate relief of knowing exactly what you’re holding. Your future, more efficient self will thank you.