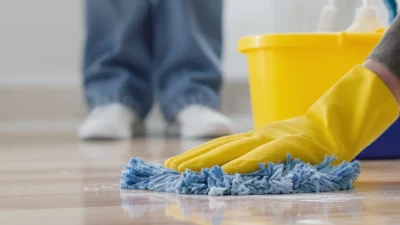
That frantic dash for the paper towels and the first cleaner you see? It’s a natural reaction to a fresh spill, but it’s also the most common origin story for a permanent stain. In the world of carpet and upholstery spot cleaning, your immediate instinct to attack the problem is often the first critical mistake, setting off a chain reaction that locks in discoloration and damages delicate fibers. This happens because we treat all spills and fabrics as the same enemy, applying blanket solutions that can bleach, shrink, or drive a stain deeper into the backing. This article isn’t another list of cleaning recipes; it’s a diagnostic guide. We’ll help you turn a failed cleaning attempt into a success by identifying the specific error—whether it’s using the wrong solution, scrubbing too hard, or simply misidentifying what you’re dealing with—so you can stop the damage and start the actual repair.
The most common carpet and upholstery spot cleaning mistake is using the wrong cleaning solution for the type of stain or fabric, followed closely by over-wetting and aggressive scrubbing. These actions spread the stain and can damage the material’s backing and fibers. The core error is often a mismatch: using a water-based method on an oily stain or a harsh chemical on a delicate fiber, highlighting that correct identification of both the spill and the fabric is the essential first step everyone misses.
The Instant Reaction: Why Your First Move Is Usually Wrong
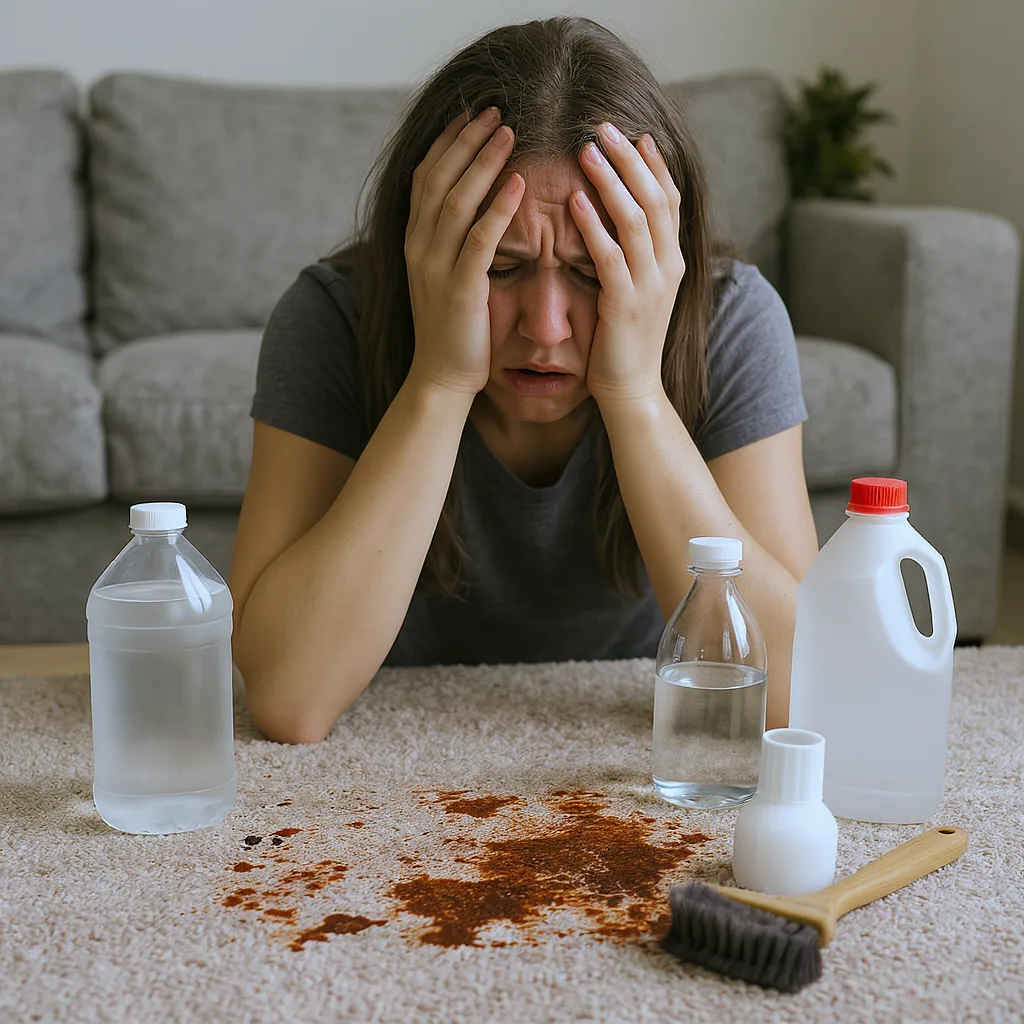
That jolt of panic when red wine hits the sofa or coffee splashes on the carpet is universal. Your instinct screams, “Fix it now!” This immediate, frantic reaction is the origin point for most spot cleaning blunders. You grab the nearest cloth and scrub, or you douse the area with the first cleaner you see. Unfortunately, this panic-driven approach almost guarantees you’ll set the stain and potentially damage the fibers.
The science is simple but counterintuitive. Aggressive rubbing grinds the spill particles deeper into the carpet pile or fabric weave. For liquids, it uses capillary action to pull the stain down and outward, creating a larger, more diffuse blotch. Using hot water on a protein-based stain like blood or egg will cook the proteins, bonding them permanently to the fibers. Dumping an unknown cleaner can cause dyes to bleed or create a chemical reaction that discolors the material. According to general cleaning principles from organizations like The American Cleaning Institute, the first step should always be to remove excess solid or liquid without spreading it—not to attack it with chemicals or friction.
Consider a typical Saturday morning: a bowl of cereal tips over, spilling milk and berries onto a light-colored rug. In the rush to clean up before the kids track it everywhere, you pour a multipurpose spray directly on and start scrubbing with a paper towel. By the time you’re done, the original small spill has become a large, pinkish, damp patch with frayed fibers. The initial common stain removal errors of over-wetting and scrubbing turned a simple clean-up into a lasting problem.
Diagnosing Your Stain: The Critical Identification Step Everyone Skips
Before you reach for any product, you must play detective. The root cause of ineffective stain treatment is almost always a mismatch: using a water-based method on an oily stain, or a solvent on a water-based one. Successful correction starts with two identifications: the spill type and the fabric type.
Step 1: Identify the Spill
Stains generally fall into categories that respond to different cleaners:
- Protein-based: Blood, milk, egg, vomit. Use cool water; heat sets them.
- Tannin-based: Coffee, tea, wine, fruit juice. Often require a specific tannin remover.
- Oil/Grease-based: Cooking oil, butter, makeup, lotion. Need a solvent or detergent to break down the grease.
- Dye-based: Ink, Kool-Aid, food coloring. Can be very challenging and may require specialized products.
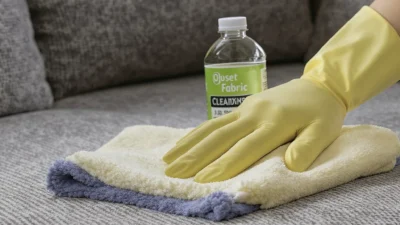
Step 2: Identify the Fabric
Your couch isn’t just “fabric.” Is it a delicate natural fiber like silk or wool, which can shrink or distort with water and harsh chemicals? Is it a durable synthetic like polyester or olefin, which is more stain-resistant but can be damaged by solvents? Check the manufacturer’s tag for cleaning codes (W, S, WS, or X) – this is your most authoritative guide. This is a general guide; always check manufacturer tags first. For example, treating a red wine spill on a polyester blend (a common scenario) would follow a different, milder protocol than treating the same spill on a treated, solution-dyed acrylic meant for high traffic.
The Toolbox of Errors: Common Solutions That Cause More Harm
Our homes are filled with products we believe are cleaning miracles, but using them incorrectly is a classic category of DIY cleaning mistakes. Here’s a breakdown of common agents that backfire, turning simple upholstery spot cleaning errors into permanent damage.
Using Vinegar or Lemon Juice on Natural Stone or Unsealed Surfaces
The Mistake: Applying acidic cleaners like vinegar to marble, limestone, or travertine tiles or counters.
The Why It’s Bad: The acid etches the stone, creating dull, permanent marks that cannot be polished out.
The Safer Alternative: For stone, use a pH-neutral cleaner specifically formulated for stone surfaces.
Applying Bleach or Hydrogen Peroxide on Wool, Silk, or Dark Colors
The Mistake: Using a bleaching agent to try and lift a stain from a delicate or colored fabric.
The Why It’s Bad: Bleach destroys protein fibers like wool and silk, causing them to dissolve or become brittle. It also removes dye, leaving a bleached-out spot that’s worse than the original stain.
The Safer Alternative: For color-safe bleaching on sturdy fabrics, opt for an oxygen-based bleach (like those containing sodium percarbonate) and always test first.
Your Go-To Stain Removal Kit
Instead of a cabinet full of wrong solutions, assemble these basics for safer, more effective troubleshooting:
- White cloths or paper towels: For blotting, not scrubbing.
- Dish soap (clear): A mild detergent for many oil-based stains.
- Isopropyl alcohol (70%): For ink or some dye stains on sturdy synthetics.
- Enzyme cleaner: For protein-based organic stains and odors.
- Commercial tannin stain remover: For coffee, tea, and wine.
- A small, soft-bristled brush or toothbrush: For gentle agitation only after applying solution.
From Bad to Worse: The Mechanical Mistakes of Scrubbing and Soaking
Even with the right cleaner, poor technique can cause accidental damage from cleaning. The physical actions you take are as important as the chemicals you use.
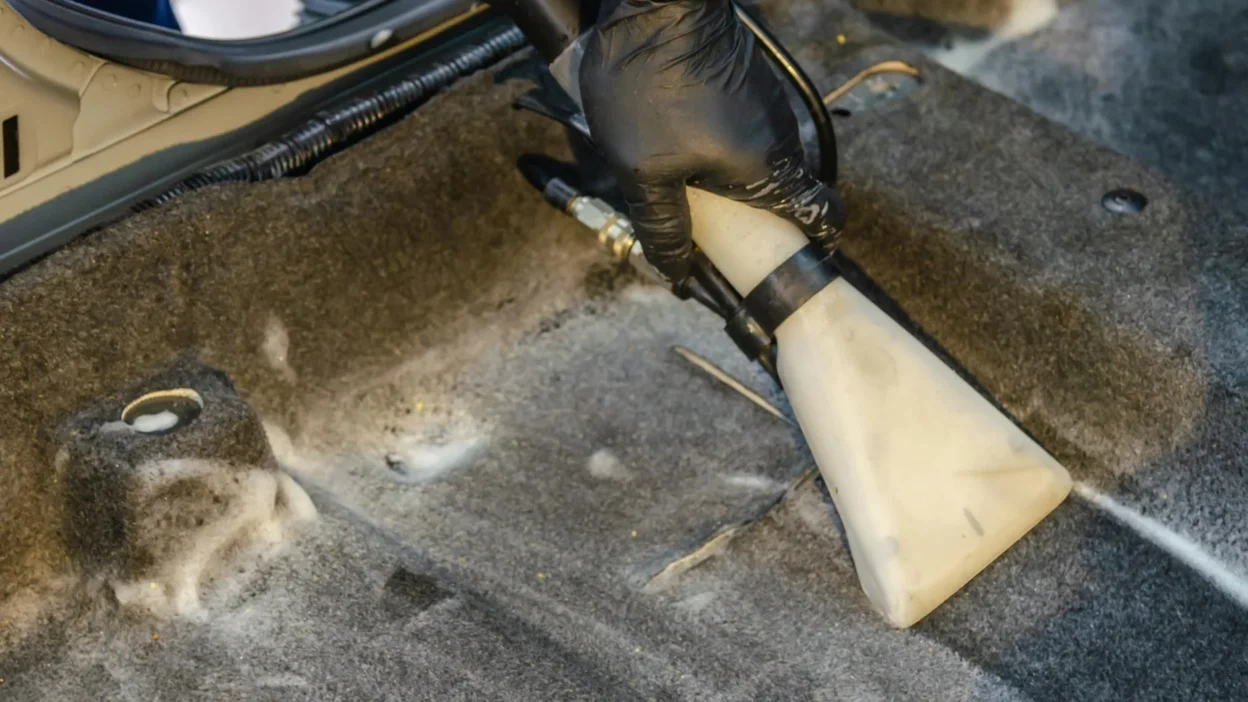
Scrubbing vs. Blotting: This is the most critical distinction. Scrubbing generates heat and friction, which sets stains and frays fibers. It also pushes the stain deeper into the backing. The correct method is to blot—press straight down with a clean, absorbent cloth to lift moisture and stain upward. Work from the outside of the stain inward to prevent spreading. For a clear visual guide on this technique, resources from professional restoration and cleaning standards organizations can be helpful.
Over-wetting: Soaking the area floods the stain past the surface fibers into the carpet pad or furniture cushion. This leads to several problems: prolonged drying time encourages mold and mildew (causing brown discoloration and smell), it can cause shrinkage or distortion of the fabric, and it allows dissolved stains to “wick” back to the surface as it dries, leaving a dark ring.
Using Excessive Heat: Applying a hair dryer, steam cleaner, or placing furniture in direct sunlight to dry a spot can be disastrous. High heat can set protein and tannin stains permanently. On synthetics, it can melt fibers, causing them to harden and mat. Always allow the area to dry naturally with good air circulation.
Your Action Plan: Correcting Common Cleaning Failures
So you’ve already made one of these fabric cleaning pitfalls. Don’t despair. Here is a scenario-based guide to diagnosing the bad outcome and taking corrective steps.

Scenario 1: “I scrubbed, and now the stain is bigger.”
Likely Cause: Over-wetting and abrasive scrubbing spread the stain.
Corrective Action: Stop. Place a thick stack of dry paper towels or a clean towel over the area and stand on it to absorb as much moisture as possible from the backing. Then, using a barely-damp cloth with a mild detergent solution, gently blot from the outer edge of the stain toward the center to redeposit some of the migrated stain. Rinse by blotting with a water-dampened cloth, then extract moisture with dry towels.
Scenario 2: “The area is now brown and smells musty.”
Likely Cause: Tannins have set from overwetting, or soil/old spills have wicked up from the pad. The smell indicates microbial growth.
Corrective Action: For the brown stain, apply a commercial tannin stain remover according to label directions. For the odor, an enzyme-based cleaner designed to break down organic matter is needed. Critically, you must ensure the area dries completely within 12-24 hours. Use fans and dehumidifiers. If the odor persists, the padding may be affected, requiring professional attention.
Scenario 3: “The fabric feels stiff, crunchy, or matted.”
Likely Cause: Residue from soap or cleaner was not rinsed out, or fibers were damaged by heat or harsh chemicals.
Corrective Action: For residue, mix a tablespoon of clear white vinegar in a cup of warm water. Dampen a cloth with this solution and blot the area thoroughly to neutralize soap, then follow by blotting repeatedly with a cloth dampened with clean water to rinse. Extract all moisture. For matting from heat damage on synthetics, gently brush the fibers with your fingers or a soft brush as they dry to help them separate.
Building a Smarter Cleaning Mindset
The most powerful tool for maintaining your carpets and furniture isn’t a miracle spray—it’s a shift in mindset. Moving from reactive panic to proactive strategy prevents the majority of carpet and upholstery spot cleaning mistakes. Commit this simple mantra to memory for the next spill: Pause, Identify, Blot, Test. Pause to suppress the instinct to scrub. Identify the spill and fabric. Blot, never rub. And always test your cleaning solution in an inconspicuous area first.
This knowledge transforms you from someone who hopes a product will work into someone who applies the right method with confidence. Remember, causing damage is often more expensive than living with a small stain temporarily or calling a professional. By understanding why common methods fail, you empower yourself to clean effectively and preserve your home’s furnishings for the long term.
To avoid turning a small spill into a permanent flaw, remember these three core lessons from common fabric stain cleaning mistakes:
- Misidentification is the root cause. Using a water-based method on grease or a harsh chemical on silk guarantees failure. Always identify the stain type and check the fabric’s cleaning code first.
- The wrong “solution” creates new problems. Household staples like vinegar, bleach, and even hot water can etch, discolor, or set stains on certain materials. Choose your cleaner based on the stain and fabric chemistry.
- Mechanics matter as much as chemicals. Scrubbing spreads stains, over-wetting causes wicking and mildew, and heat can permanently set stains or melt fibers. The correct technique is gentle blotting and thorough, air-based drying.
By focusing on these diagnostic principles rather than searching for a one-size-fits-all product, you’ll achieve better outcomes and avoid the frustration of a cleaning attempt that makes things worse.