You just mopped your floor. It looks clean, it smells clean, but the moment you walk across it in socks, you’re met with that unmistakable, annoying tug of a sticky floor. It’s a frustrating paradox: the cleaner it looks, the tackier it feels. This common experience isn’t a sign of a bad cleaning job; it’s a classic symptom of a simple, solvable problem. That sticky film isn’t leftover dirt—it’s almost always a residue from the cleaning process itself. Whether it’s using too much product, skipping a rinse, or a mismatch between your cleaner and floor type, the culprit is usually hiding in plain sight. Let’s diagnose why your floors feel sticky after mopping and walk through the straightforward fixes to get them truly clean and residue-free.
Sticky floors after mopping are almost always caused by cleaner or soap residue, not leftover dirt. The quickest fix is to re-mop the area with clean, hot water to rinse away the buildup, or use a diluted vinegar solution for a deeper clean. This simple rinse removes the film causing the tackiness, restoring a smooth finish without the need for harsh chemicals or starting over from scratch.
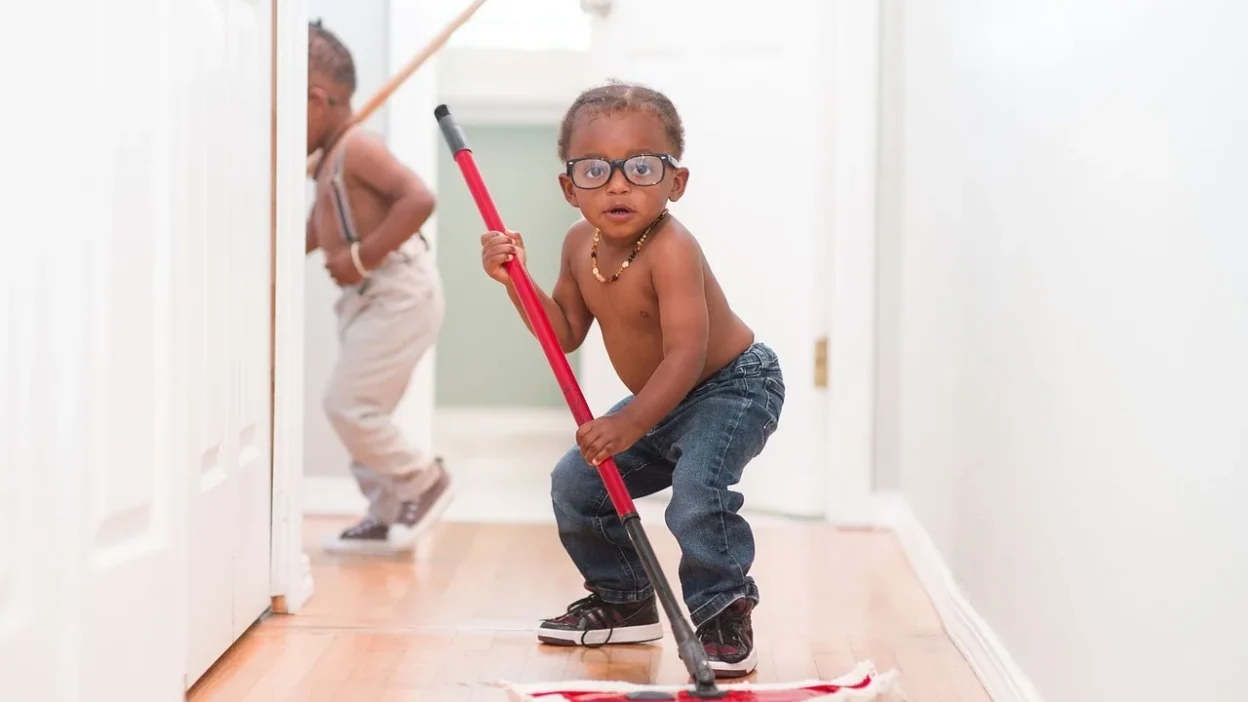
Why Your ‘Clean’ Floor Feels Sticky: The 4 Main Culprits

Photo by Bradley Gossett on Unsplash
That frustrating tacky feeling isn’t dirt. It’s a sign that something in your cleaning process is leaving behind a film. To fix it for good, you first need to play detective. Here are the four most common reasons your floor feels sticky after washing.
1. Too Much Cleaner (The #1 Offender)
More soap does not mean more clean. Using more floor cleaner than recommended is the single biggest cause of sticky residue. Concentrated formulas are designed to be diluted; when you use too much, the excess can’t be picked up by your mop and simply dries on the surface. This floor cleaner buildup is what you’re feeling underfoot.
2. The Missing “Rinse Cycle”
Think about washing dishes: you wouldn’t let soapy water dry on your plates. Floors need a rinse, too. Mopping with a soapy solution and letting it air-dry leaves a thin soap film. Without a final pass with clean water to remove the cleaning solution, that film hardens into a tacky layer.
3. Dirty Mop Water
If you’re mopping your entire home with the same bucket of water, you’re essentially redistributing grime. As the water gets dirty, you’re no longer cleaning—you’re just spreading a thin layer of dissolved dirt and old soap, which then dries into a sticky mess. This is a classic way to create mop residue on floors.
4. Product Incompatibility or Buildup
Using the wrong product for your floor type, or layering different products over time, can create a chemical cocktail of stickiness. For example, using a wax-based cleaner on a no-wax vinyl floor, or using an all-purpose cleaner not meant for sealed floors, can leave a gummy residue. Over months, these layers build up and become noticeable.
Your Quick-Fix Action Plan: From Diagnosis to Solution

Now that you’ve identified the likely cause, here’s your direct path to a smooth, residue-free floor. Match the solution to your diagnosis from above.
For Too Much Cleaner or No Rinse: The Hot Water Rinse
This is your universal first step. Empty your bucket, fill it with clean, hot water (no cleaner added), and re-mop the sticky area. The goal is to dissolve and lift the leftover soap film. For a stronger clean, add 1/2 cup of white vinegar to a gallon of hot water—the mild acidity helps cut through the sticky floor residue without leaving its own film. Always do a final pass with plain water if you use vinegar.
For Dirty Mop Water: Adopt the Two-Bucket System
Prevent the problem by using two buckets: one for your cleaning solution and one for clean rinse water. Dip and wring your mop in the cleaning bucket, mop a section, then rinse the mop head in the clean water bucket and wring it out before going back for more cleaner. This keeps grime from being redeposited. Change both buckets’ water as soon as they look cloudy.
For Product Buildup: The Strip Clean
If you suspect years of wax or cleaner buildup, you need a reset. For durable surfaces like tile or vinyl, a solution of 1 cup ammonia (ensure good ventilation) or 1 cup baking soda in a gallon of very hot water can help strip the layers. Mop it on, let it sit for 5-10 minutes, then scrub gently and rinse thoroughly with clean water. Always test any strong solution in an inconspicuous area first and check your floor manufacturer’s care guide, like those from the National Wood Flooring Association for hardwood.
Emergency Fix: For immediate relief on a small area, wipe the sticky spot with a cloth dampened with rubbing alcohol or vodka (both evaporate completely) to temporarily cut the tackiness until you can do a proper clean.
Common Mopping Mistakes That Create Sticky Residue
Sometimes, fixing the problem is about stopping the habits that cause it. Avoid these common errors to keep your floors truly clean.
Don’t:
- Eyeball the cleaner. Guessing leads to over-pouring. Always use the measuring cap or follow dilution instructions.
- Use a dirty mop head or pad. A mop caked with old dirt and soap is your enemy. Wash microfiber pads after each use and replace sponge mop heads regularly.
- Forget to wring well. A sopping wet mop floods the floor with too much solution, which then dries into a sticky film. Your mop should be damp, not dripping.
- Use all-purpose sprays or furniture polish on floors. These often contain oils or silicones that leave a slick, sticky coating unsuitable for foot traffic.
Do:
- Measure your cleaner. “Less is more” is the golden rule to prevent mop residue on floors.
- Start with clean tools and water. Begin every mopping session with a fresh mop head and clean buckets.
- Rinse thoroughly. Make a clean-water rinse the non-negotiable final step of your mopping routine.
- Choose floor-specific cleaners. Use products designed for your floor type (tile, hardwood, laminate) as they are formulated to avoid residue.
Preventing Sticky Floors for Good: Better Habits
The goal is to make a residue-free clean your new normal. It’s about simple, sustainable shifts in your routine.
Commit to the two-bucket system mentioned earlier—it’s the single most effective habit change. Get into the rhythm of wringing your mop until it’s just damp before it touches the floor. Choose a quality, pH-neutral cleaner specifically for your floor material; when in doubt, a drop of plain dish soap in a bucket of hot water is often safer and more effective than heavy-duty products for daily cleaning.
Finally, clean your floors before they are visibly filthy. A quick, regular clean with proper technique requires less cleaner and effort than a periodic deep scrub, which often leads to overuse of products. By adopting these better habits, you’ll break the cycle of sticky floors and enjoy the satisfaction of a truly clean surface that feels as good as it looks.
Enjoy Floors That Feel as Clean as They Look
Dealing with sticky floors after mopping is a common frustration, but it’s one you can solve and prevent. Remember, the shine shouldn’t come with a tacky texture. The core principle is simple: cleaner residue, not dirt, is usually the villain, and rinsing is your hero. By using less product, rinsing thoroughly, and keeping your tools clean, you transform your mopping from a chore that creates problems into one that delivers genuine, satisfying results. Start with that simple hot water rinse on your current sticky spots—you’ll likely feel the difference immediately and be on your way to smoother cleaning days ahead.