You’ve just scrubbed your bathroom from top to bottom. The mirror sparkles, the sink gleams, and the toilet bowl is spotless. It *feels* clean. But what if the very order you cleaned in has left an invisible trail of germs across those freshly wiped surfaces? This is the hidden risk of common toilet cleaning order mistakes. The sequence isn’t just about efficiency; it’s a fundamental rule of hygiene. Starting with the dirtiest task—like scrubbing the toilet first—can mean you’re inadvertently spreading bacteria to cleaner areas with your cloth, spray, or even your hands. It turns a well-intentioned chore into a cross-contamination event, undermining all your hard work. The good news? This is a simple, fixable oversight. By understanding a basic principle and adjusting your routine, you can ensure your cleaning efforts result in a truly sanitary space, not just a superficially tidy one.
The safest way to clean a bathroom is to work from the cleanest areas to the dirtiest, saving the toilet and its brush for last. This simple order prevents you from spreading germs from the toilet to other surfaces like counters and mirrors. Always begin with dry dusting and mirrors, move to sinks and showers, tackle the floors, and finish with the toilet exterior and, finally, the bowl. Proper toilet brush hygiene—cleaning and disinfecting it after use—is the crucial final step to seal the deal.
The Invisible Problem: How Germs Travel in Your Bathroom
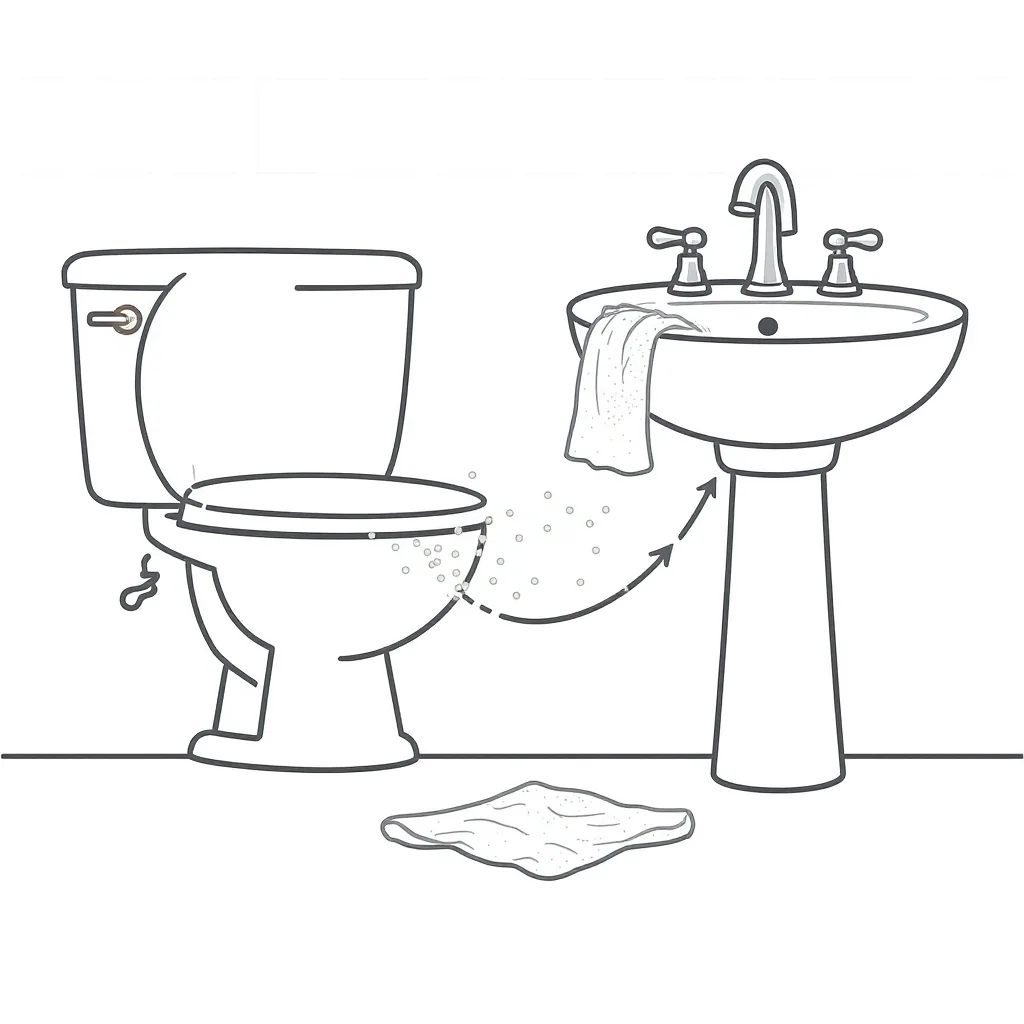
You wipe down the counter, scrub the sink, and finish with a sparkling toilet. The room looks clean, but an unseen process might have just spread germs from the dirtiest spot to every other surface. This is bathroom cross contamination cleaning in action, and it happens because of a simple oversight: the order of your tasks.
Germs from the toilet bowl, handle, and brush don’t just stay put. When you clean the toilet first, those microbes transfer to your gloves, your cleaning cloth, and the spray bottle you’re holding. As you move on to wipe the mirror or countertop, you’re depositing those germs onto surfaces you consider clean. The cleaning cloth itself becomes a vehicle, or a “fomite,” transporting pathogens from one area to another. It’s a counterproductive cycle that undermines your entire effort.
The goal isn’t to instill fear, but to provide a clear understanding. By recognizing how germs move, you can adjust your routine to block their travel, making your cleaning truly effective and sanitary.
The Safe Cleaning Protocol: A Step-by-Step Order
The golden rule for a hygienic clean is simple: work from the cleanest areas to the dirtiest, saving the toilet for absolute last. This correct toilet cleaning sequence creates a one-way street for germs, trapping them in the area they started. Follow this phased approach for a safe toilet cleaning steps routine.
Phase 1: Prep & Dry Dusting
Start with dry work. Remove all items from countertops, the shower ledge, and the back of the toilet. Take out the trash, shake out the bath mat, and open a window for ventilation if possible. Use a dry microfiber cloth or duster to remove hair and dust from shelves, light fixtures, and baseboards. This prevents turning dust into muddy streaks later.
Phase 2: High & Dry Surfaces
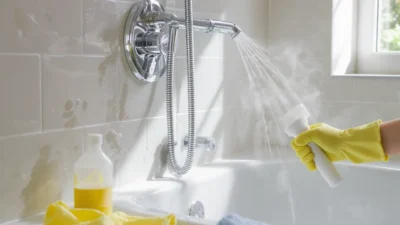
Now, move to wet cleaning, but start high and away from the toilet. Spray and wipe mirrors, then glass shower doors. Next, clean all countertops, windowsills, and any other dry surfaces. The logic is that any drips or spray will fall downward onto areas you haven’t cleaned yet, which is fine—you’ll get to them next.
Phase 3: Sink & Tub/Shower
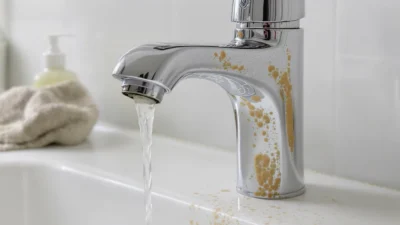
Descend to the next level of “dirtiness.” Scrub the sink, faucet, and soap dispensers. Then, move to the bathtub or shower walls and floor. By now, your cloth is picking up soap scum and toothpaste, but not toilet germs.
Phase 4: Floors
Sweep or vacuum the floor thoroughly, then mop from the farthest corner toward the door. This captures any debris or drips that fell from the surfaces above.
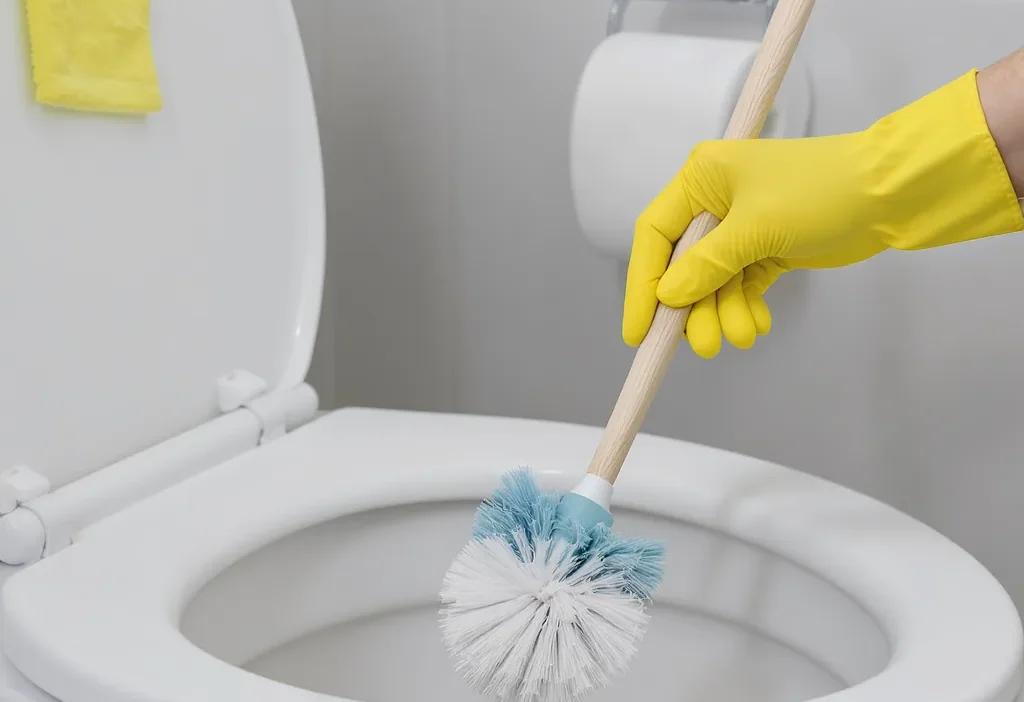
Phase 5: The Toilet (Last!)
Finally, tackle the toilet. First, spray and wipe the exterior—tank, lid, seat, and base—with a disinfectant and a fresh, dedicated cloth. Then, address the interior bowl with your toilet brush. This is the final step for a reason: your brush is the single biggest source of potential toilet brush contamination. After use, clean and disinfect the brush thoroughly (more on that next) and store it away from other cleaning tools.
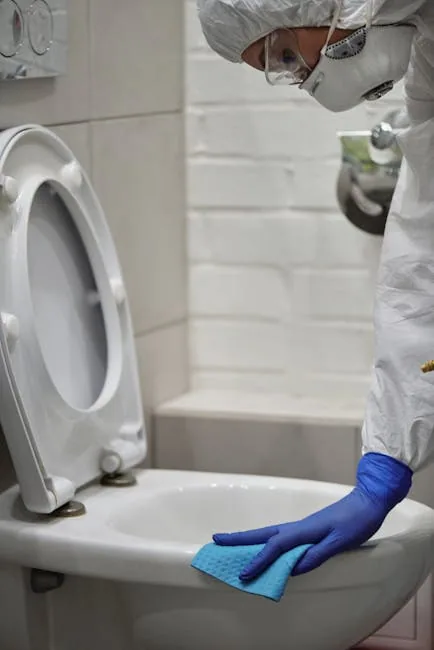
Photo by Matilda Wormwood on Pexels
Common Toilet Cleaning Order Mistakes (And Why They Matter)
Many of us have habits that seem efficient but actually work against our goal of a germ-free bathroom. Let’s break down the most frequent errors so you can spot and stop them.
Starting with the toilet. This is the cardinal error. Cleaning the toilet first means your gloves, cloth, and tools are immediately contaminated. When you then touch the sink tap or spray cleaner on the mirror, you’re spreading those germs. The consequence is that you may be creating a “clean-looking” bathroom that has higher germ counts on frequently touched surfaces.
Using the same cloth everywhere. That all-purpose rag might be convenient, but it’s also an all-purpose germ taxi. Without realizing it, you’re wiping toilet bowl splash onto your vanity. The fix is simple: use color-coded cloths (e.g., blue for mirrors/counters, red for toilet exterior) or disposable wipes for the toilet.
Neglecting the brush. After swishing it in the bowl, simply placing a dirty brush back in its holder allows bacteria to multiply in the dark, damp caddy. This turns your cleaning tool into a permanent germ reservoir, which you then reintroduce to the bowl next time. Proper toilet brush hygiene is non-negotiable for a sanitary bathroom cleaning routine.
Not letting disinfectants sit. Spraying and immediately wiping a surface with a disinfectant cleaner doesn’t give it time to kill germs. Most products need to remain wet on the surface for several minutes (check the label) to be effective. Rushing this step means you’re just moving germs around instead of eliminating them.
Easy Fixes for a Truly Clean Bathroom
Implementing the correct order is the biggest fix, but these supporting habits will lock in the benefits and make your routine foolproof.
Master your tool hygiene. For your toilet brush, the easy fix is to clean it after every use. Rinse it in the flushed toilet water, then spray it thoroughly with a disinfectant or bleach solution (following product safety guidelines). Let it sit for a few minutes before rinsing again and allowing it to air-dry completely before storage. Consider a brush with a sealed holder or a disposable head system for even simpler management.
Adopt a color-coded system. Assign specific colored microfiber cloths to specific zones: one for mirrors/glass, one for counters/sinks, and one solely for the toilet exterior. This visual cue prevents accidental cross-contamination and makes grabbing the right tool instinctive. Wash them separately in hot water after use.
Read labels and wait. Turn cleaning time into efficient time. When you spray a disinfectant on the sink or toilet exterior, move on to another small task while it sits for the required “dwell time.” You can wipe down the shower caddy or organize products under the sink. This ensures the chemicals have time to work properly.
Work top-to-bottom, clean-to-dirty. Make this mantra the backbone of your routine. By consciously moving from high, clean surfaces down to the floor and finishing with the toilet, you build a habit that automatically prevents germ spread. It transforms your clean from just visual to genuinely hygienic.
Your Quick Win for a Healthier Home
Reorganizing your bathroom cleaning order isn’t about adding more work; it’s about working smarter. By simply saving the toilet for last and being mindful of your tools, you turn a routine chore into a powerful, simple health habit. The peace of mind that comes from knowing your clean is truly clean is the real reward. Start with your next cleaning session—this small shift in sequence makes all the difference.