If it looks clean, it is clean. This is perhaps the most pervasive and quietly damaging myth in kitchen maintenance. That gleaming stainless steel sink, the fridge interior wiped free of last night’s spill, the oven that appears spotless—they can all harbor hidden grime, lingering odors, and even unseen damage because of common kitchen appliance cleaning mistakes. The belief that a quick wipe-down equals true cleanliness leads us to repeat ineffective, and sometimes harmful, habits that shorten the life of our investments and compromise our home’s hygiene. This guide isn’t about scolding you for trying; it’s about debunking those quiet misconceptions around sink cleaning mistakes and fridge cleaning errors. We’ll replace them with simple, effective fixes that actually save you time and protect the appliances you rely on every day.
The best way to avoid kitchen appliance cleaning mistakes is to first identify the common myths—like using bleach on stainless steel or ignoring fridge coils—that cause more harm than good. Start by using the right cleaner for each surface, cleaning components in the correct order, and focusing on hidden areas where bacteria and grime accumulate. This approach prevents damage, eliminates odors, and ensures a truly hygienic kitchen.
The Sink: Where ‘Clean’ Hides a Multitude of Sins

Photo by Vitaly Gariev on Unsplash
Your sink might gleam under the lights, but common sink cleaning mistakes can leave behind hidden grime, damage surfaces, and even harm your plumbing. Let’s bust the myths that keep your sink from being truly clean and sanitary. common sink cleaning mistakes
Myth: Abrasive scrubbers are fine for stainless steel.
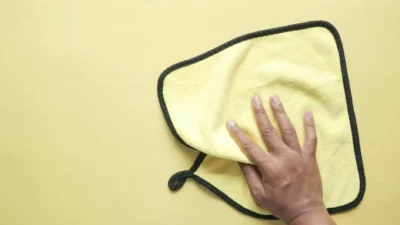
Fact: Steel wool pads and harsh green scrubbers create tiny scratches on stainless steel. These micro-grooves trap food particles and bacteria, making the sink harder to clean over time and leading to a dull, streaky appearance. Instead, use a soft cloth or a dedicated non-abrasive sponge with a paste of baking soda and dish soap for tough spots, always wiping with the grain of the steel.
Myth: Bleach is the best drain cleaner.
Fact: Regularly pouring bleach or chemical drain cleaners down your drain is a damaging cleaning habit. It corrodes pipes over time and kills the beneficial bacteria that help break down organic matter. For maintenance, simply flush drains weekly with hot water and a tablespoon of baking soda followed by vinegar (used separately, not mixed), then more hot water. For clogs, a mechanical plunger or drain snake is safer and more effective.
Myth: The faucet and drain basket don’t need special attention.
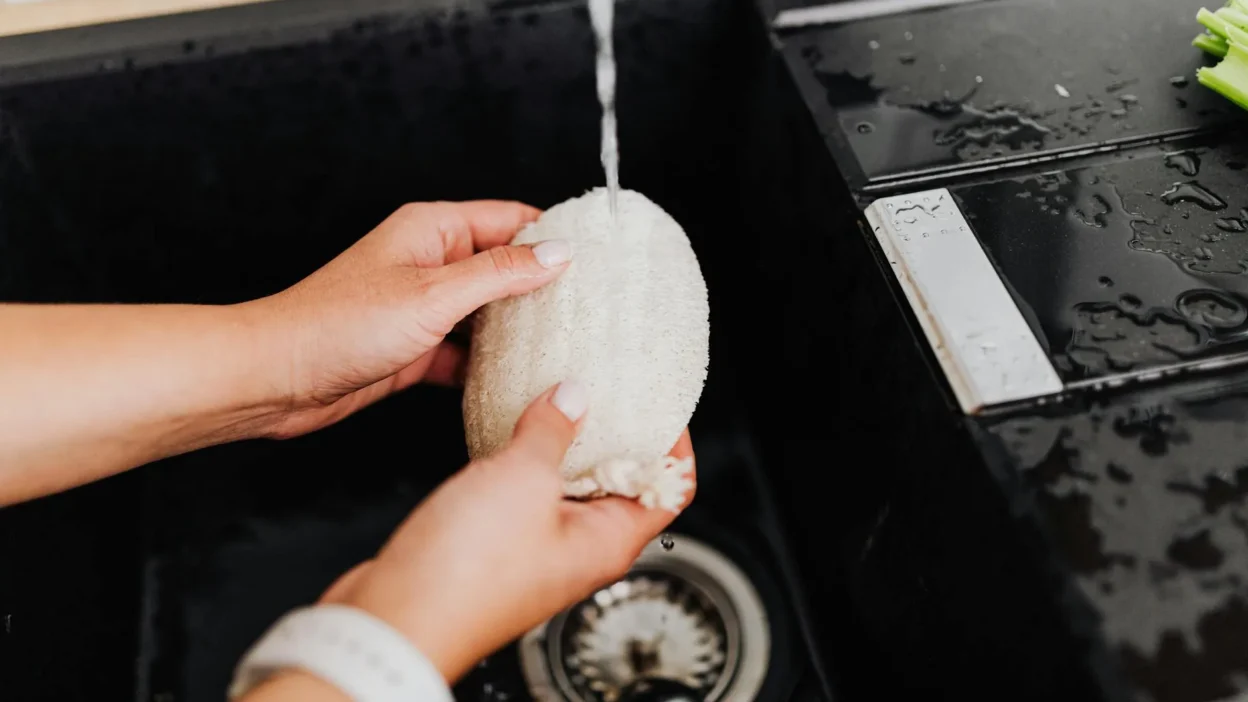
Fact: The faucet aerator and the drain basket/strainer are hotspots for mineral buildup and gunk. An aerator clogged with sediment reduces water flow and can harbor bacteria. Unscrew it monthly and soak it in vinegar. Similarly, remove and wash the drain basket with soap and a brush to prevent odors from accumulating food debris.
Fridge Faux Pas: Beyond the Spill Wipe-Down
We’ve all done it: a jar of spaghetti sauce tips over, and a quick swipe with a paper towel seems sufficient. This “crisis clean” approach is the root of many fridge cleaning errors. It addresses the visible problem but ignores the hidden culprits of odors, inefficiency, and cross-contamination.
Ignoring the Condenser Coils
These coils, usually located on the back or bottom of the fridge, release heat. When they’re coated in dust and pet hair, your fridge’s compressor works overtime, raising energy bills and risking premature failure. This is a classic and costly appliance cleaning error. Unplug the fridge and vacuum the coils with a brush attachment every six months.
The Baking Soda & Vinegar Odor Myth
While both are great cleaners individually, mixing them for fridge odor control is an ineffective cleaning technique. They neutralize each other’s cleaning power, leaving you with salty water. For odors, use an open box of baking soda alone to absorb smells, or place a small bowl of fresh coffee grounds or activated charcoal on a shelf.
Damaging the Door Seals
Door seals (gaskets) are made of flexible rubber or plastic. Cleaning them with bleach or abrasive cleaners can cause them to dry out, crack, and lose their seal, letting cold air escape. Wipe seals regularly with a mild soapy solution, then dry thoroughly. Check their seal by closing the door on a dollar bill; if you can pull it out easily, the seal may be compromised.
Appliance Ambushes: Oven, Dishwasher, and Microwave Missteps
Other major kitchen appliances have their own pitfalls. Here’s a rapid-fire guide to the most common wrong way to clean appliances and the simple corrections that will save you time and protect your investment.
Don’t use commercial oven cleaner in a self-cleaning oven. The high-heat self-clean cycle can react with chemical residues, damaging the interior coating.
Do use the manufacturer’s self-clean function exclusively. For everyday spills, wipe with a damp cloth once the oven is cool.
Don’t ignore your dishwasher’s filter and spray arms. Food particles trapped here recirculate onto your “clean” dishes.
Do consult your manual, remove and rinse the filter weekly, and check the spray arm holes for clogs monthly. Run an empty cycle with a dishwasher cleaner or a cup of vinegar to dissolve mineral deposits.
Don’t just scrub a microwave’s crusty interior. You’ll fight hardened splatter and possibly scratch the surface.
Do steam-clean it first. Heat a microwave-safe bowl of water with lemon slices or vinegar for 3-5 minutes. The steam will loosen grime, allowing you to wipe everything away easily.
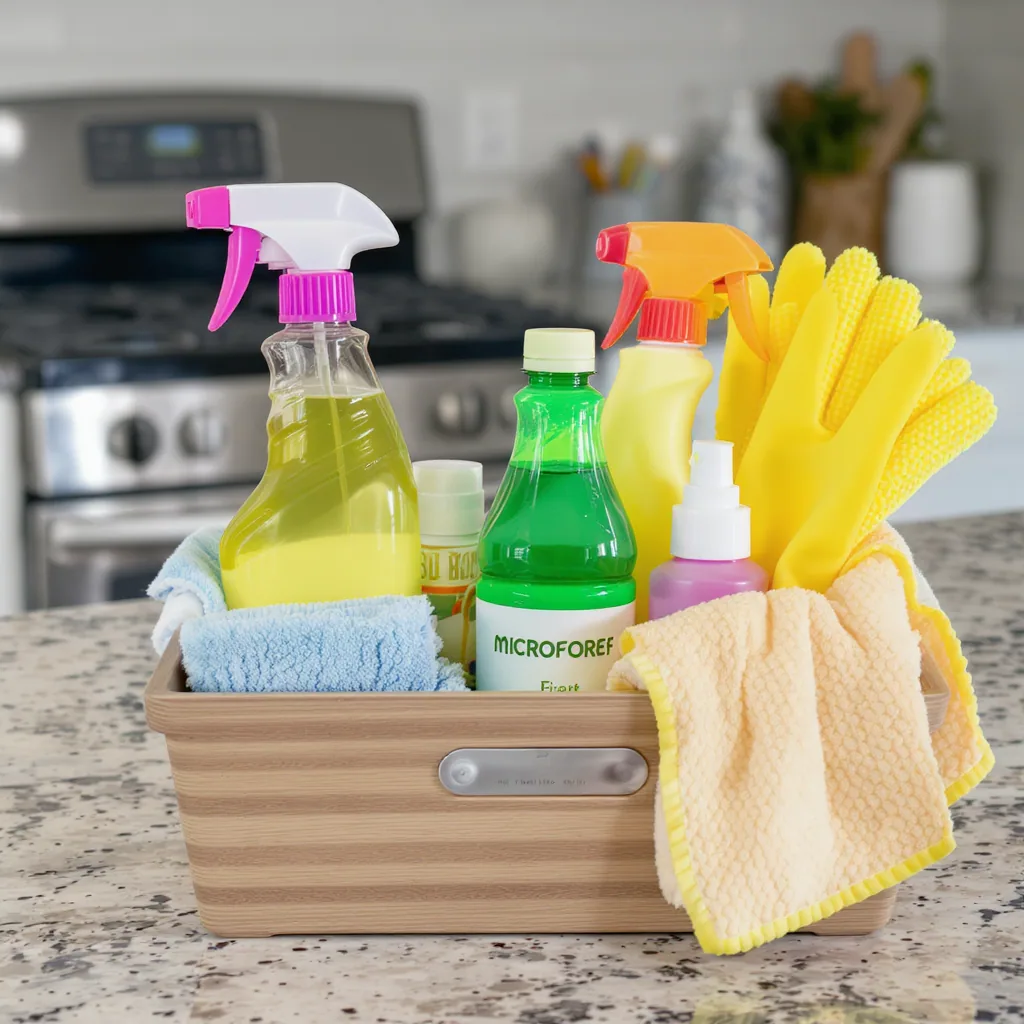
The Cleaner Itself: Your Biggest Mistake Might Be in the Bottle
One of the most universal kitchen cleaning pitfalls is reaching for the strongest cleaner, assuming it’s the best for every job. Cleaning chemistry matters, and using the wrong product can damage surfaces and be less effective.
Understanding pH: Acid vs. Base
Cleaners work on a pH scale. Acidic cleaners (like vinegar or lemon juice) are great for dissolving mineral deposits (limescale, hard water spots) on glass and chrome. However, they can etch natural stone countertops and grout. Alkaline or basic cleaners (like bleach, ammonia, or all-purpose sprays) are effective on greasy, organic soils. But bleach can permanently dull and corrode stainless steel and degrade rubber seals.
The takeaway? “Stronger” isn’t smarter. A targeted approach is. For a deep dive on cleaner safety and chemistry, the EPA’s Safer Choice program provides excellent resources. Always read the manufacturer’s label on both your appliance and your cleaner.
The Multi-Surface Spray Trap
While convenient, a single multi-surface spray isn’t ideal for everything. It’s fine for countertops and cabinet exteriors, but use a dedicated stainless steel cleaner for your fridge and oven front, a gentle glass cleaner for appliance windows, and a stone-specific cleaner if you have granite or marble.
Building a Mistake-Proof Cleaning Routine
Now that we’ve debunked the major myths, let’s build a positive, proactive routine that prevents these common cleaning blunders from happening in the first place. This isn’t about cleaning more, but cleaning smarter.
The Weekly Touch-Up
This is your defense against crisis cleaning. Wipe down appliance exteriors (fridge, oven, dishwasher) with appropriate cleaners. Clean the sink basin and faucet. Quickly check for and address spills inside the fridge. This 15-minute habit prevents grime from building up to a daunting level.
The Monthly Deep Dive
Once a month, tackle the hidden areas. Empty and wipe down the fridge interior, checking expiration dates. Clean the microwave interior and turntable. Run a cleaning cycle or clean the dishwasher filter and spray arms. Wipe down small appliances like your toaster and coffee maker.
The Seasonal Reset
Every three to six months, handle the big tasks. Pull out the fridge and vacuum the condenser coils. Deep-clean the oven (using its self-clean function or a safe manual method). Descale your coffee maker and kettle. Check and clean sink drains and aerators.
Remember the golden rules: always unplug an appliance before cleaning internal parts, work from top to bottom so debris falls downward, disassemble what you safely can (shelves, filters), and always dry surfaces thoroughly to prevent water spots and mildew.
Clean Smarter, Not Harder
Making these kitchen appliance cleaning mistakes is incredibly common—almost a rite of passage. The goal isn’t to achieve a sterile, showroom-perfect kitchen every day. It’s to swap out those quiet, damaging habits for smarter, more effective ones that protect your appliances and your time.
By understanding why certain methods fail and adopting a simple, proactive routine, you transform cleaning from a reactive chore into a manageable part of your home’s upkeep. You’ll spend less time scrubbing, reduce long-term wear and tear, and enjoy the genuine satisfaction of a kitchen that’s not just superficially clean, but hygienically maintained. That’s a win worth celebrating.
To avoid common kitchen appliance cleaning mistakes, focus on these key takeaways:
- Use the right tool for the job: Avoid abrasive pads on stainless steel and harsh chemicals on rubber seals. Match your cleaner’s pH to the soil and surface.
- Maintain the hidden components: Regularly clean fridge condenser coils, dishwasher filters, sink aerators, and drain baskets to ensure efficiency and prevent odors.
- Adopt a proactive routine: Move beyond “crisis cleaning” with a simple weekly wipe-down, monthly deep clean, and seasonal reset for major tasks.
- Read and follow instructions: Always check appliance manuals for specific cleaning guidelines, especially for self-cleaning ovens and other special features.