You wipe down your stovetop, step back to admire your work, and there they are: those frustrating grease smears on the stovetop after cleaning. The surface looks streaky, smudged, and somehow greasier than when you started. It’s a maddening cycle that makes you question your cleaning skills, your products, and your sanity. If this sounds familiar, you’re not alone—and you’re not doing anything “wrong.” This common headache isn’t about effort; it’s almost always about a simple mismatch between the problem (grease) and your cleaning method. The good news? Understanding the “why” behind those persistent stovetop grease streaks is the first step to a truly clean, streak-free finish that lasts.
Grease smears on your stovetop after cleaning happen because you’re not fully removing the grease—you’re just spreading and thinning it. When you use a water-based cleaner or a cloth already saturated with oil, you dissolve a thin layer of grease and move it around, which then dries into visible streaks. The fix is to break the grease down completely with a proper degreasing agent (like dish soap or a dedicated cleaner), use a clean microfiber cloth to lift it away, and finish by buffing the surface dry with a separate, clean towel to prevent any residual film.
The Science of the Smear: Why Grease Won’t Just Wipe Away
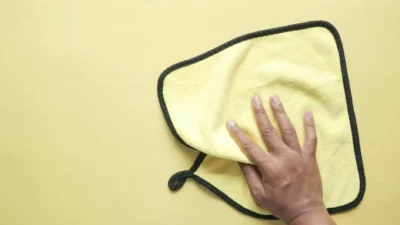
That frustrating film of grease residue after wiping isn’t a sign of a dirty stovetop or your failure as a cleaner. It’s simple chemistry. Cooking grease is an oil, and oil repels water. When you use a water-based cleaner or even just a damp cloth, you’re not dissolving the grease—you’re just pushing it around and thinning it into an invisible layer that becomes visible as stovetop grease streaks when it dries.
Think of it like trying to clean peanut butter off a plate with just water. The water beads up and slides over the oil. Your cloth acts like a squeegee, spreading a microscopic film of dissolved grease across the entire surface. This is why you often see that telltale haze or grease film on cooktop surfaces under certain lights, even after you’ve “cleaned” it. The problem isn’t the grease itself; it’s that your method is displacing it, not removing it.
Photo by Rodrigo Araya on Unsplash
Your Safer Cleaning Toolkit: What Actually Works
To break the cycle of grease smears after cleaning, you need tools that cut through oil, not spread it. Harsh chemicals aren’t necessary; effective, safer options are readily available.
The Essential Degreaser
This is your most important weapon. You need a product designed to break the surface tension of oils. Safer options include:
- A DIY mix: Combine equal parts white vinegar and water with a generous squirt of dish soap in a spray bottle. The vinegar helps cut grease, and the soap is a surfactant that encapsulates oil molecules so they can be rinsed away.
- A commercial plant-based degreaser: Look for formulas with citrus (d-limonene) or other plant-derived solvents. They are powerful on cleaning greasy surfaces but are typically less caustic.
The Right Cloths
Microfiber is non-negotiable. Its tiny fibers are fantastic at trapping grease and debris instead of just pushing them. The key word is clean. Have several on hand so you can switch to a fresh one for the final buff. Using a dirty cloth is the top reason for cleaning streaks on glass top and other surfaces.
Supporting Tools
- A plastic scraper or old credit card: For safely lifting baked-on spills without scratching.
- A dry, lint-free towel (like a flour sack cloth): For the crucial final buff to eliminate any lingering moisture or residue.
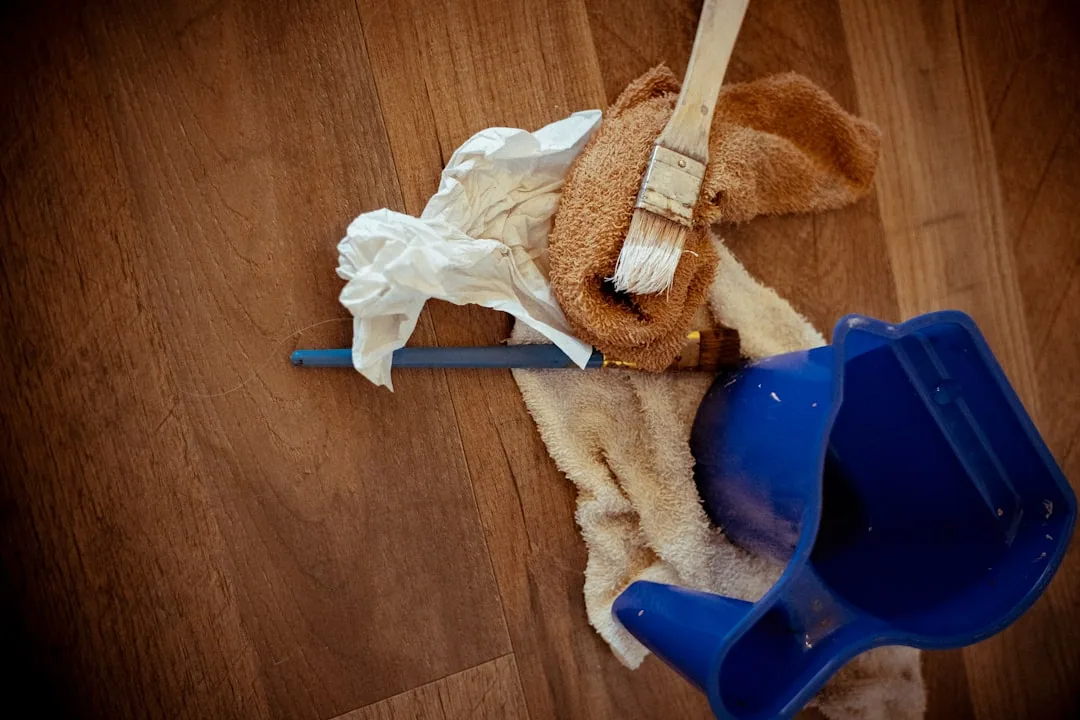
Photo by Bernie Almanzar on Unsplash
The Streak-Free Protocol: Step-by-Step
This method shifts your goal from “wiping” to “dissolving and removing.” Follow these steps to finally understand how to remove grease smudges for good.
1. Prep the Area
Do: Ensure the stovetop is completely cool. Remove grates, burner caps, and knobs if possible. Wipe away any loose crumbs or debris with a dry paper towel.
Don’t: Spray cleaner on a hot surface, as it can evaporate too quickly or cause thermal shock on glass tops.
2. Apply and Dwell
Do: Generously apply your degreaser over the entire surface, focusing on visibly greasy areas. Let it sit for 3-5 minutes. This dwell time is critical—it allows the cleaner to break down the grease bonds.
Don’t: Immediately start scrubbing. You’re just working against the chemistry.
3. Wipe and Rinse
Do: Using a clean, damp microfiber cloth, wipe the surface. You should see the grease lifting off. Rinse your cloth frequently in clean water. For a truly residue-free finish, wipe the entire area once more with a cloth dampened with just water to remove any cleaning solution film.
Don’t: Use the same section of the cloth for the entire job. You’ll just re-deposit grease.
4. The Final Dry Buff
Do: This is the secret step. Take a completely dry, clean microfiber or lint-free towel and vigorously buff the entire stovetop dry. This removes the final microscopic layer of moisture and any potential residue, leaving a true, streak-free shine.
Don’t: Let the stovetop air dry. This is how stovetop cleaning streaks re-form.
Troubleshooting Persistent Grease & Different Stovetop Types
What if you follow the protocol and still see smears? Let’s troubleshoot and adapt for your specific stove.
If Smears Persist
- Your cloth is the culprit. Are you using the same cloth for the final buff that you used for cleaning? Switch to a fresh, dry one.
- You need more degreaser or dwell time. For heavy, built-up grease, you may need to apply a second round and let it sit longer.
- Rinse step is needed. Some cleaners leave a slight film. A quick pass with a water-dampened cloth followed by a dry buff often solves this.
Glass/Ceramic Cooktops
These show every grease smear on stovetop after cleaning. Use the protocol above, but for stubborn, baked-on spots, you can safely use a single-edge razor blade holder at a 45-degree angle after applying degreaser. What looks like a streak might sometimes be a fine micro-scratch, not grease.
Coil/Electric & Gas Stovetops
For coils and grates, soak them in hot, soapy water separately. For the drip bowls and body of a gas stove, the degreaser-and-dwell method is perfect. Always ensure all parts are completely dry before reassembling to prevent rust.
Break the Cycle for Good
Achieving a truly clean, smear-free stovetop isn’t about scrubbing harder; it’s about cleaning smarter. The frustration of seeing grease reappear is simply a signal that your method needs a tweak—shifting from spreading grease to fully removing it. By understanding the “why” and using the right degreasing tools and the crucial dry-buff step, you can end the cycle of disappointment. Your stovetop can look genuinely clean, and keeping it that way becomes a much simpler, quicker task.