You’ve just spent twenty minutes meticulously mopping the kitchen floor. It’s gleaming. You step back to admire your work, only to notice a fine layer of dust and crumbs now scattered across its damp surface, dislodged from the countertops and upper cabinets you forgot to clean first. This specific, all-too-common frustration is the direct result of a flawed cleaning order. It’s not that you’re cleaning wrong; you’re just cleaning in the wrong sequence, which turns a simple task into a cycle of wasted effort and rework. The good news is that cleaning efficiency isn’t about working harder—it’s about working smarter with a logical, systematic process. This guide will dissect the most frequent cleaning workflow mistakes that sabotage your routine and provide a field-tested, step-by-step protocol to transform your approach from chaotic to clinical, saving you time and ensuring nothing is ever missed or re-soiled.
The most frequent cleaning order mistake is disrupting the ‘top-down, dry-to-wet’ sequence, which causes you to re-clean surfaces. A correct workflow follows a logical path through each room to prevent backtracking and ensure nothing is missed. By adopting a systematic process, you eliminate the inefficiency of jumping from task to task and create a repeatable routine that delivers consistently better results with less effort.
Why Your Cleaning Order Matters More Than You Think
Think of cleaning as a gravity-powered system. Dust, crumbs, and debris naturally fall downward. A smart cleaning order works with this force, not against it. When you get the sequence right, every action builds on the last, and nothing you’ve already cleaned gets dirty again. This isn’t about being fussy; it’s about leveraging basic physics to save your energy and time.
The consequence of an inefficient cleaning routine is more than just annoyance. It’s quantifiable waste: you spend extra minutes re-wiping a counter after crumbs fall from a shelf you forgot to dust. You use more product because you’re spot-cleaning the floor after walking across it with dirty shoes. Most frustratingly, you can finish a two-hour session and still feel like the space isn’t truly clean because a fine layer of dust settled on your gleaming surfaces. Fixing these cleaning efficiency mistakes transforms cleaning from a chore into a streamlined, satisfying process where you see clear, cumulative progress.
The 3 Most Common Cleaning Sequence Blunders
Most cleaning order mistakes stem from a few logical missteps. By identifying and reversing these, you immediately upgrade your entire process.
1. Mopping or Wet-Cleaning Floors First
This is the classic error. The urge to tackle the biggest, dirtiest job first is strong, but it’s a trap. When you mop before addressing surfaces above, all the dust, cobwebs, and debris you dislodge from ceiling fans, light fixtures, and shelves will land on your freshly cleaned, damp floor.
The Result: A floor that needs to be re-cleaned or, at best, shows water-spotted dirt once it dries. You’ve doubled your work.
2. Cleaning Surfaces Before Floors (But After Dusting)
You remembered to dust first—good! But then you wiped all your tables, counters, and appliances, and then you swept or vacuumed. The problem? Sweeping kicks up a cloud of fine dust and pet hair that settles right back onto all those pristine surfaces.
The Result: Your tabletops have a faint, fresh layer of dust, forcing you to give them a quick second pass or live with a less-than-perfect finish.
3. The “Room Hopping” Method
Starting in the bedroom, then running to the kitchen for a sponge, then cleaning the bathroom mirror, then back to the bedroom to vacuum. This chaotic approach lacks a systematic cleaning process. It wastes tremendous time and mental energy in transit, makes it easy to forget tasks, and often leads to using the wrong tools for the job.
The Result: You feel busy and exhausted, but after an hour, no single room is completely finished. The lack of closure is draining and inefficient.
The Golden Rules of a Smarter Cleaning Workflow
To correct those common cleaning workflow mistakes, adopt these four non-negotiable principles. They form the backbone of any effective correct cleaning order.
1. Top-Down
Always start as high as you can go in a room (ceiling corners, fan blades, high shelves) and work your way down to the floor. Gravity is your assistant, carrying debris to an area you haven’t cleaned yet.
2. Dry-to-Wet
Perform all dry cleaning methods (dusting, sweeping, vacuuming) before any wet cleaning (wiping with damp cloths, mopping). This prevents dry debris from turning into muddy streaks on wet surfaces.
3. Systematic Room Progression
Complete one entire room using the top-down, dry-to-wet sequence before moving to the next. This provides psychological wins, contains your tools, and prevents cross-contamination of dirt between spaces.
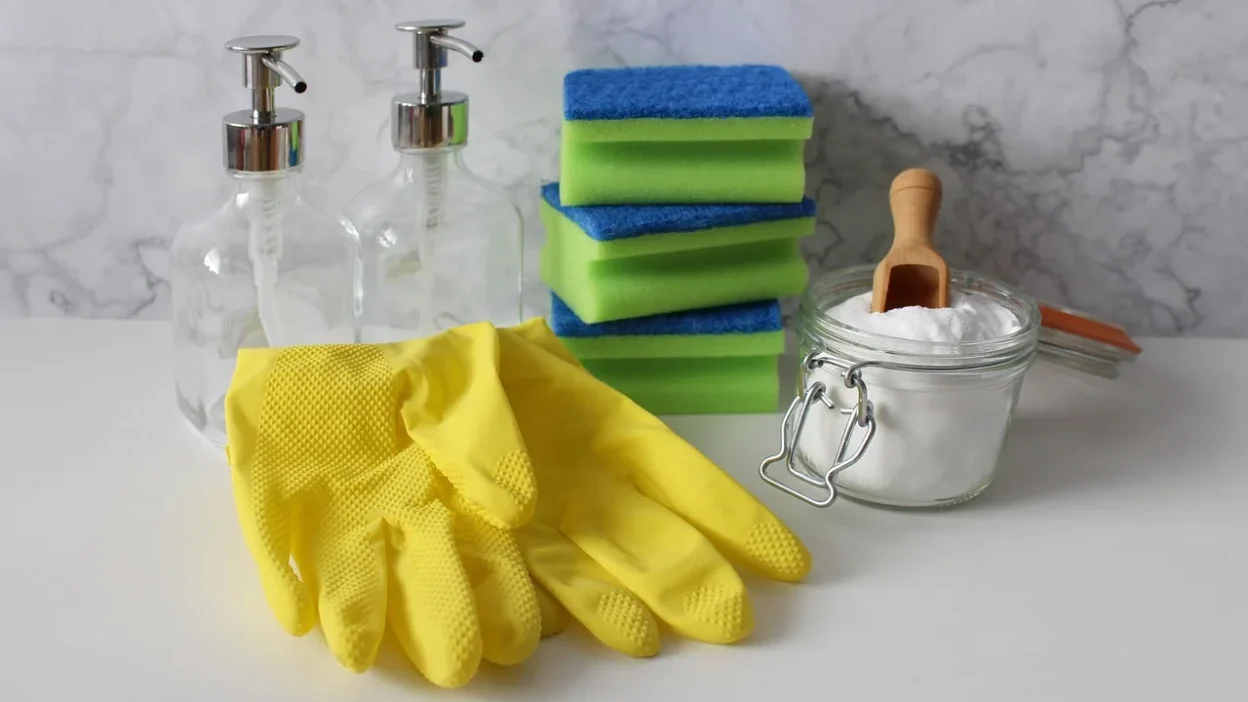
4. Tool Optimization
Gather all tools and supplies before you start. Work with a caddy or bucket so you’re not searching for a spray bottle mid-task. This minimizes breaks and maintains momentum.
Pro-Tip: The “One Pass” Mindset
The goal of these rules is to allow you to touch each surface just once. To make that happen:
- Dust with a microfiber cloth that traps particles instead of redistributing them.
- When vacuuming, use attachments for edges and upholstery before doing the main floor area.
- Carry a small bag for trash as you declutter each room.
- Spray cleaning solutions and let them sit (to break down grime) while you do another quick task nearby.
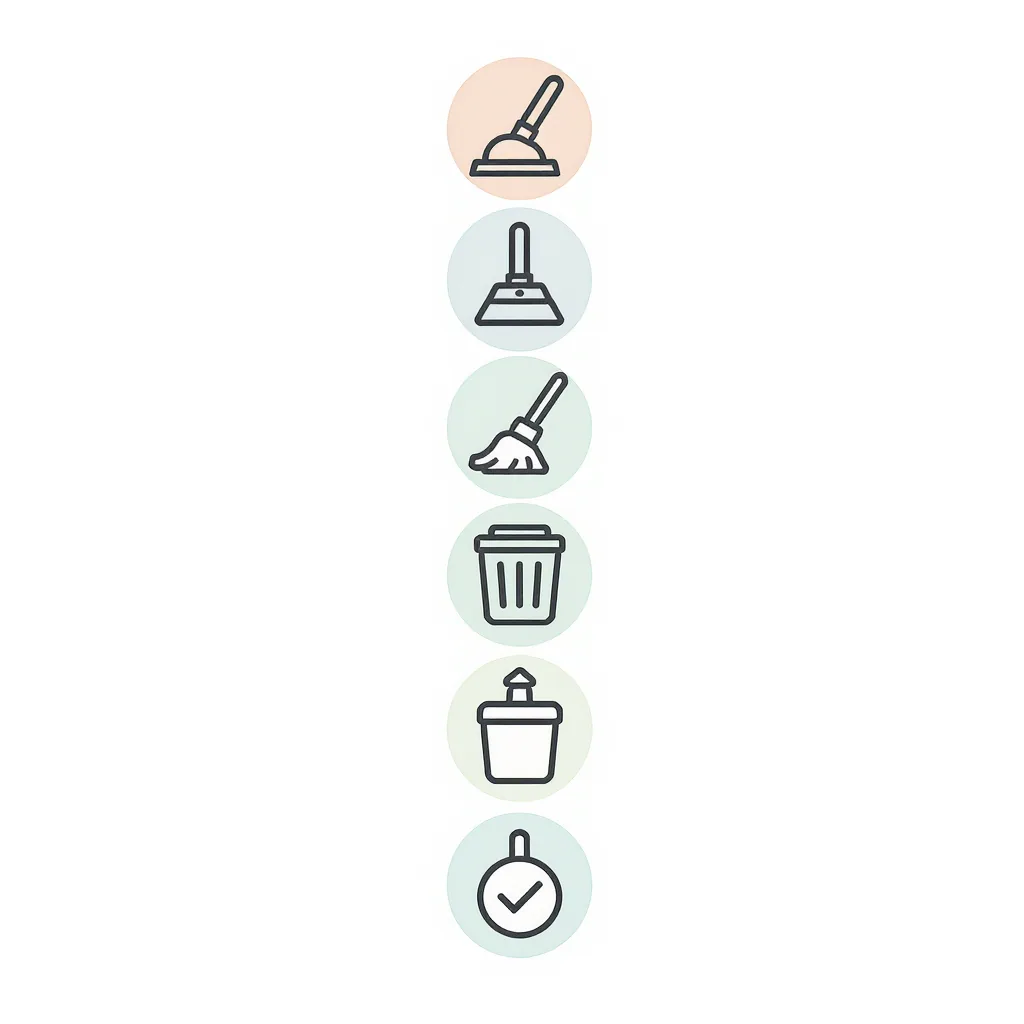
Your 7-Step Cleaning Protocol (The Playbook)
This is your universal, actionable blueprint. Apply this correct cleaning order to any room for a guaranteed efficient result.
- Gather & Prep. Collect all tools (duster, microfiber cloths, vacuum, mop, cleaners) in a caddy. Open windows for ventilation. Put on music or a podcast.
- Declutter. Remove any items that don’t belong in the room. Put away loose objects like magazines, dishes, or toys. A clear space is a cleanable space.
- High & Dry (Dusting). Using an extendable duster or a microfiber cloth on a pole, start at the ceiling: hit corners, light fixtures, fan blades, and tops of door frames. Work down to shelves, picture frames, and furniture surfaces.
- Mid-Level Wiping. Spray and wipe all horizontal surfaces: tables, counters, desks, and appliance exteriors. Don’t forget switch plates, door handles, and TV screens. This is where you tackle sticky spots and fingerprints.
- Vacuum/Sweep. Now that everything above is clean, address the floor. First, vacuum or sweep the entire floor surface, getting under furniture and into corners. Use the crevice tool for edges.
- Wet Clean (Mop/Spot Wash). After the floor is free of dry debris, mop it. In other areas, this step is for any final wet-washing, like scrubbing the inside of a sink or giving a stovetop a deep degrease after counters are wiped.
- Final Touches. This is your polish. Empty trash bins, fluff pillows, straighten rugs, wipe the baseboards you passed with the mop, and add a fresh scent if desired. Walk out and admire your work.
Applying the Protocol: Kitchen vs. Bathroom Scenarios
The 7-step protocol is a framework. Here’s how this room cleaning order adapts to two complex spaces.
Kitchen Workflow
The kitchen challenges you with grease and food debris. The order is critical.

- Declutter: Clear counters of appliances and dishes.
- High & Dry: Dust top of fridge, cabinets, and light fixtures.
- Mid-Level Wipe: Clean cabinets fronts, then countertops. Next, wipe outside of appliances (fridge, microwave).
- Deep Wipe (Wet): Now tackle heavy grime: scrub stovetop and inside microwave. Then clean the sink last, as it will be your tool-rinsing station.
- Vacuum/Sweep: Sweep the floor thoroughly, pulling out the kitchen mat.
- Wet Clean: Mop the floor, working your way out of the room.
- Final Touches: Take out trash, replace mat, wipe faucet for shine.
Bathroom Workflow
Here, the goal is to contain germs and work from least to most dirty.
- Declutter: Remove towels, rugs, and shower products.
- High & Dry: Dust exhaust fan, top of mirror, and window sills.
- Mid-Level Wipe: Clean mirror, then wipe all counter surfaces and the outside of the toilet tank.
- Deep Scrub (Wet): Apply cleaner to shower/tub walls and let it sit. Then scrub toilet (bowl last), followed by the shower/tub. Wipe down sink and faucet.
- Vacuum/Sweep: Sweep the floor, picking up any hair or debris.
- Wet Clean: Mop the bathroom floor.
- Final Touches: Hang fresh towels, replace the rug, empty the trash.
Stop Cleaning Harder, Start Cleaning Smarter
The difference between a draining chore and an efficient routine isn’t how hard you scrub—it’s the order in which you move. By adopting the top-down, dry-to-wet protocol, you’re not just cleaning; you’re engineering a process where every action has purpose and nothing is done twice.
Your next cleaning day is the perfect test. Before you grab a single spray bottle, pause. Remember the three blunders and apply the seven steps to just one room. You’ll likely finish that room faster and with a more thorough result than ever before. That feeling of efficiency, of a job completely and correctly done, is the real reward. Make the shift from chaotic effort to systematic execution, and reclaim your time and your weekends.
A flawed cleaning sequence is the hidden culprit behind wasted time and incomplete results. The core solution is a systematic workflow built on golden rules: always work from top to bottom, perform dry tasks before wet ones, and finish one room completely before moving to the next.
Your actionable playbook is the 7-Step Protocol: 1) Gather Tools, 2) Declutter, 3) Dust High, 4) Wipe Mid-Level, 5) Vacuum/Sweep, 6) Mop/Wet Clean, 7) Final Touches. Applying this logical order—whether in a kitchen, bathroom, or living room—ensures you never backtrack or re-clean. Embrace this method to transform cleaning from a frustrating chore into a streamlined, effective routine.
For more detail, see Cleaning Mistakes to Avoid.